Road Tiles Assembly
✎Modified 2020-02-20 by hosnerm
Knowledge of the Duckietown appearance specifications
Materials: tiles, white, yellow and red road markings
Tools: scissors (or a sharp cutter) and a ruler
Duckietown road tiles
Before we begin
✎Modified 2020-02-20 by hosnerm
To ensure that your streets will last long, make sure to follow these tips:
- Clean the tiles with a cloth and some water and soap before attaching any tape.
- Place the yellow tape on the tile and cut out pieces rather than pre-cutting them and attaching them to the tile as glue will be lost if you do not directly place them at the intended spot.
Straight roads
✎Modified 2020-02-20 by hosnerm
Each straight road segment has:
- Solid white markings on the outer sides of the lanes (right of direction of travel)
- Dashed yellow markings at the center
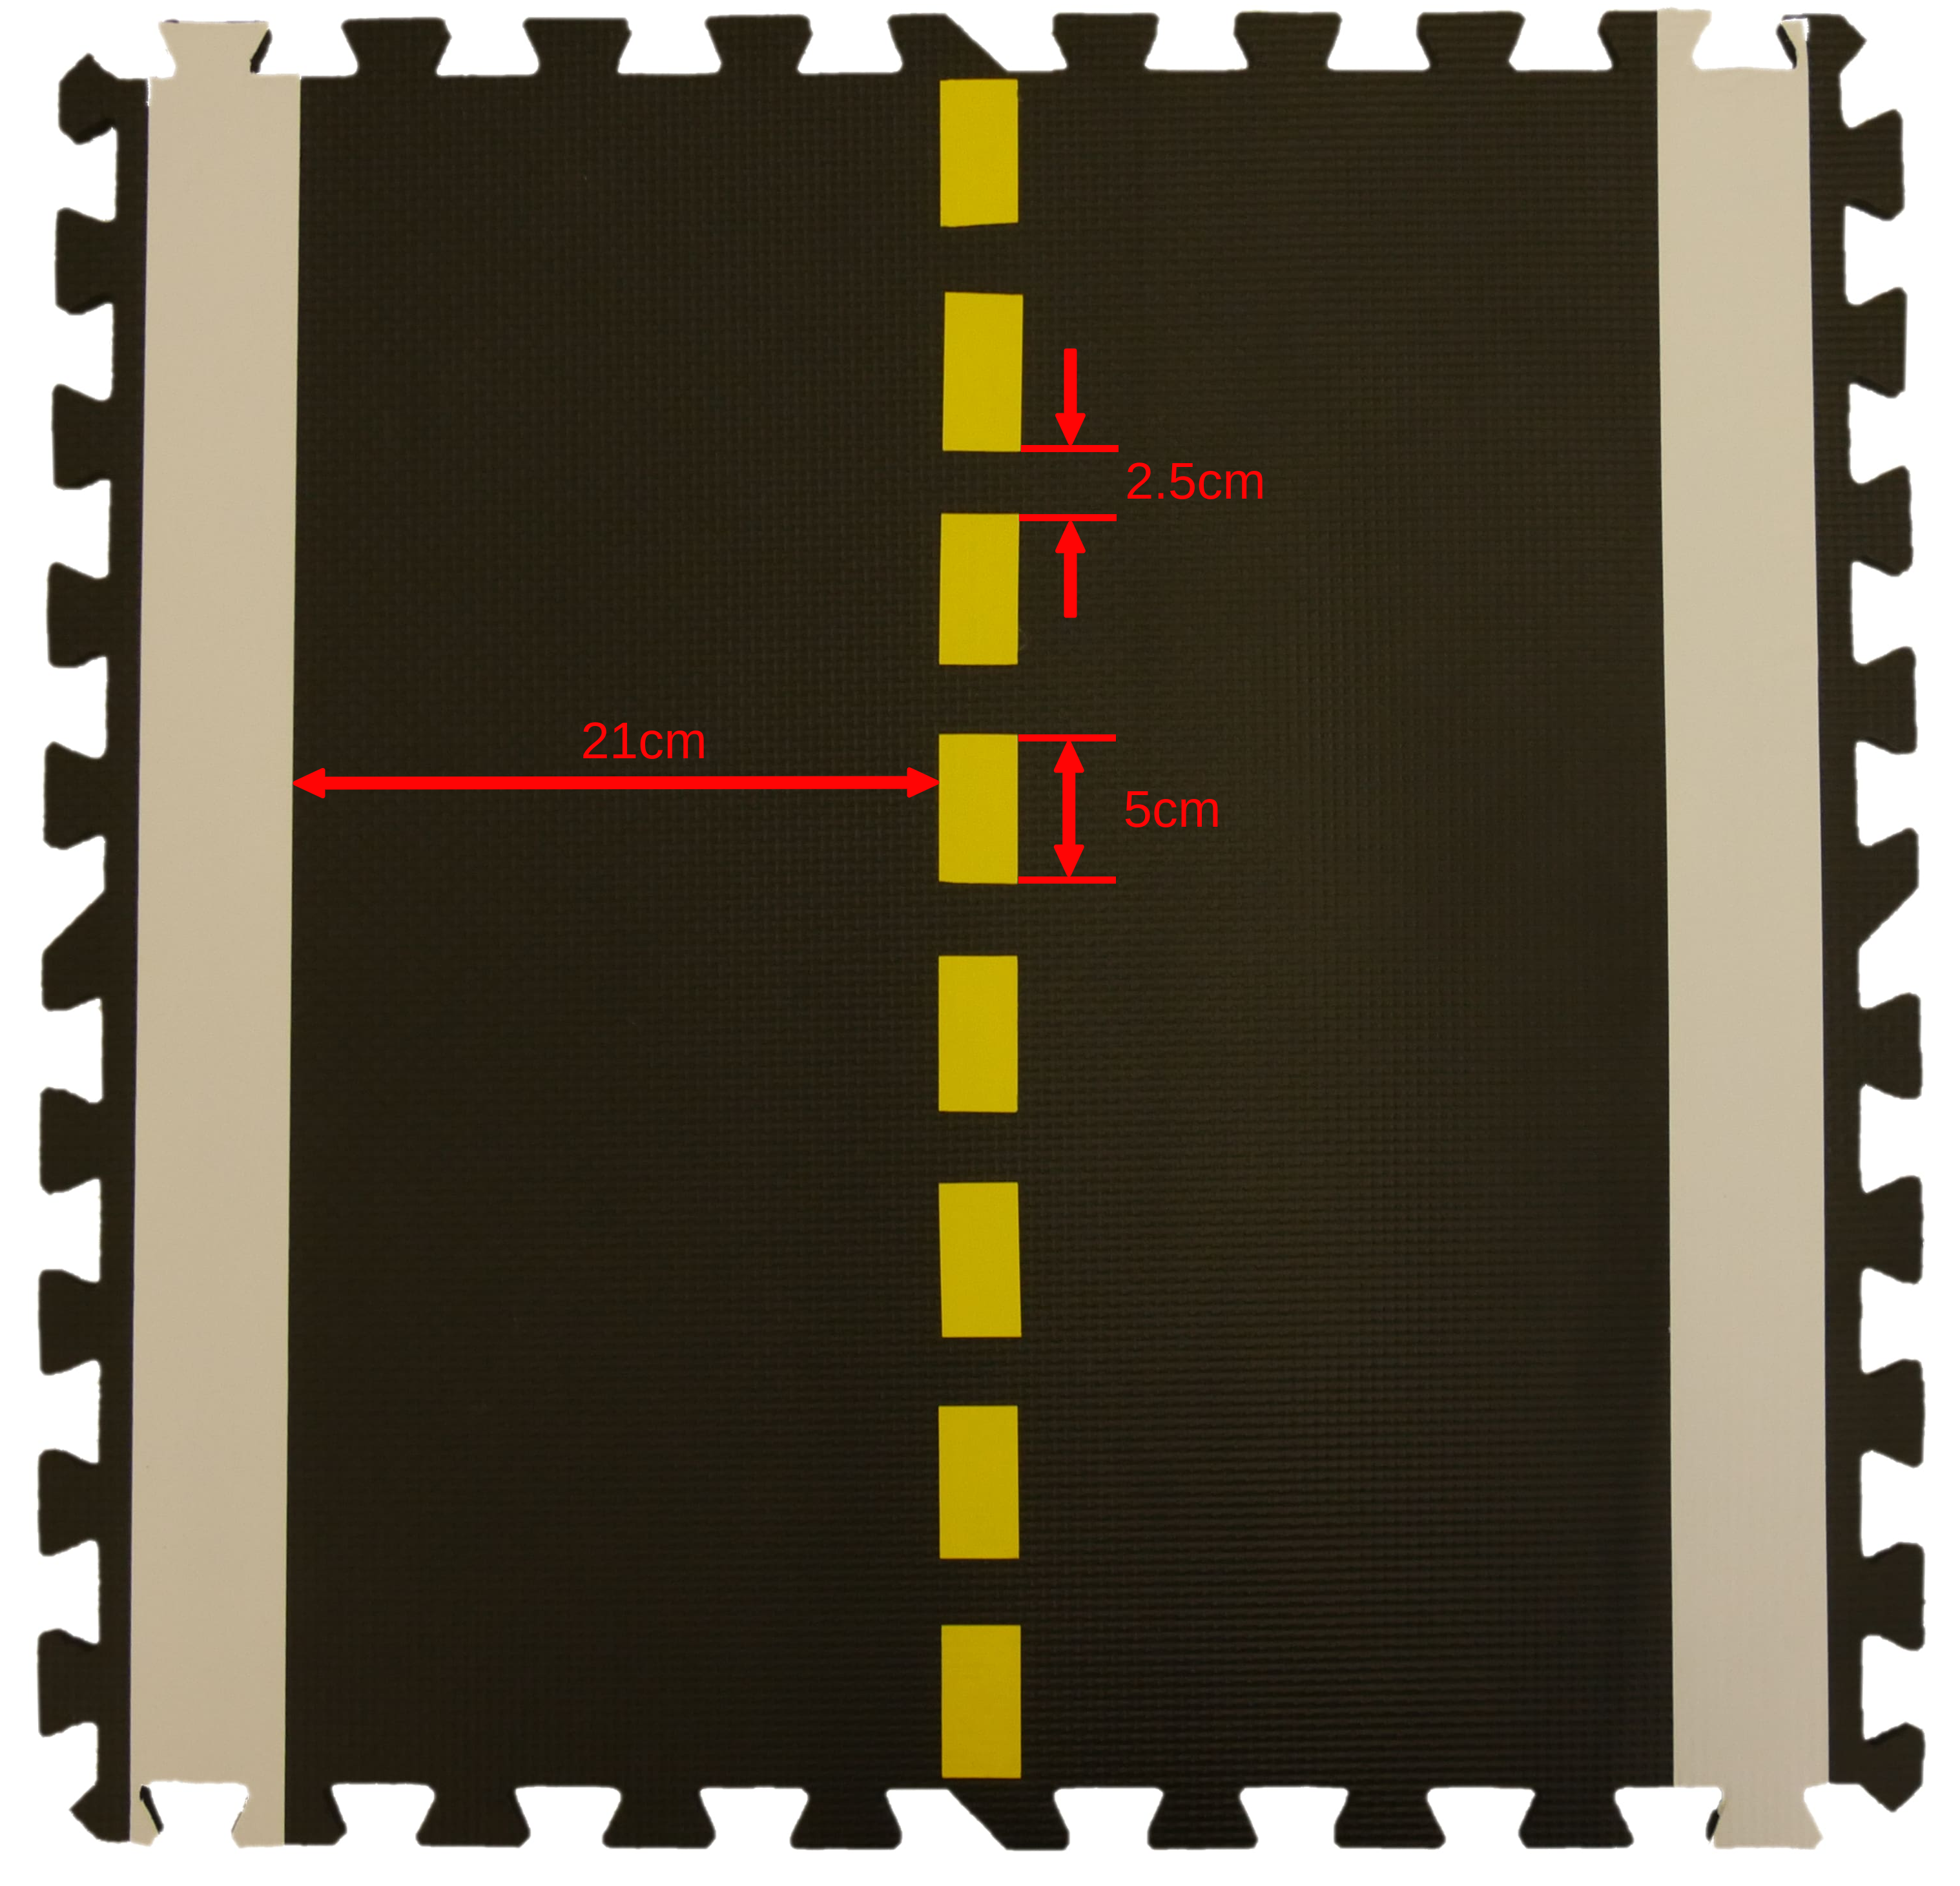
- Each lane is 21 cm wide (from end of white to beginning of yellow)
Assembly
✎Modified 2020-02-27 by hosnerm
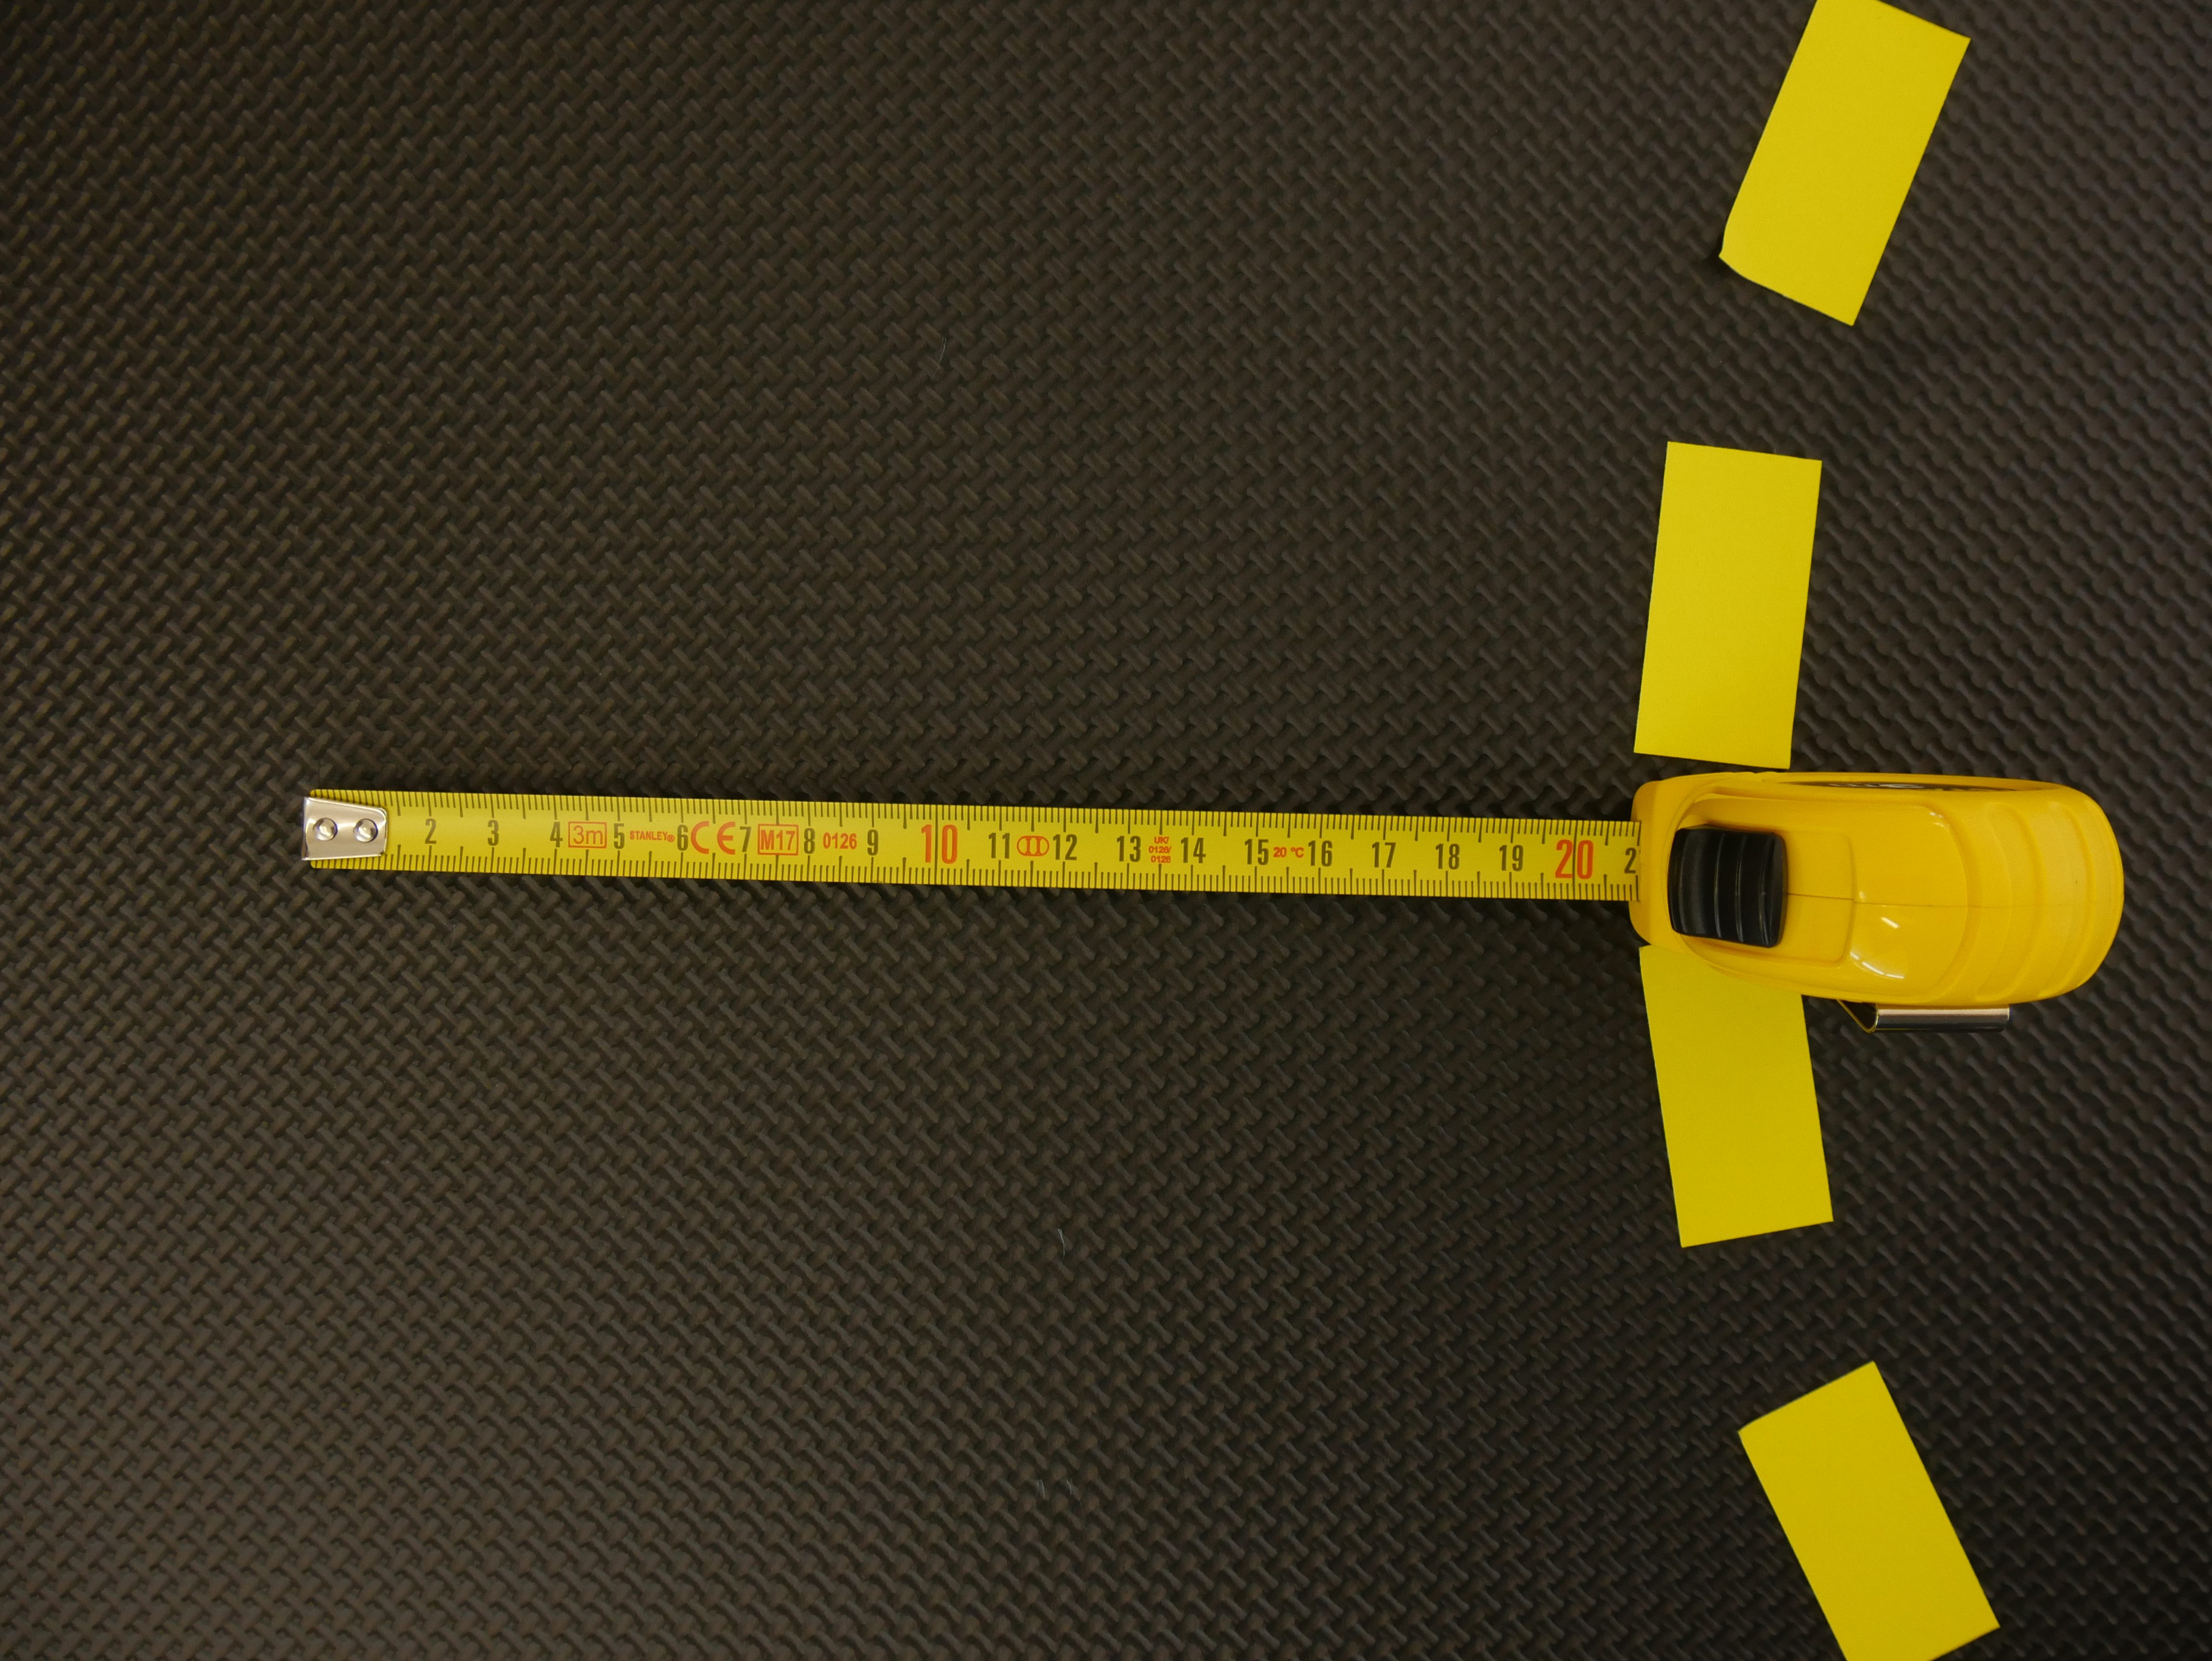
Start by placing the yellow tape in the middle of the tile as shown in Figure 1.1.
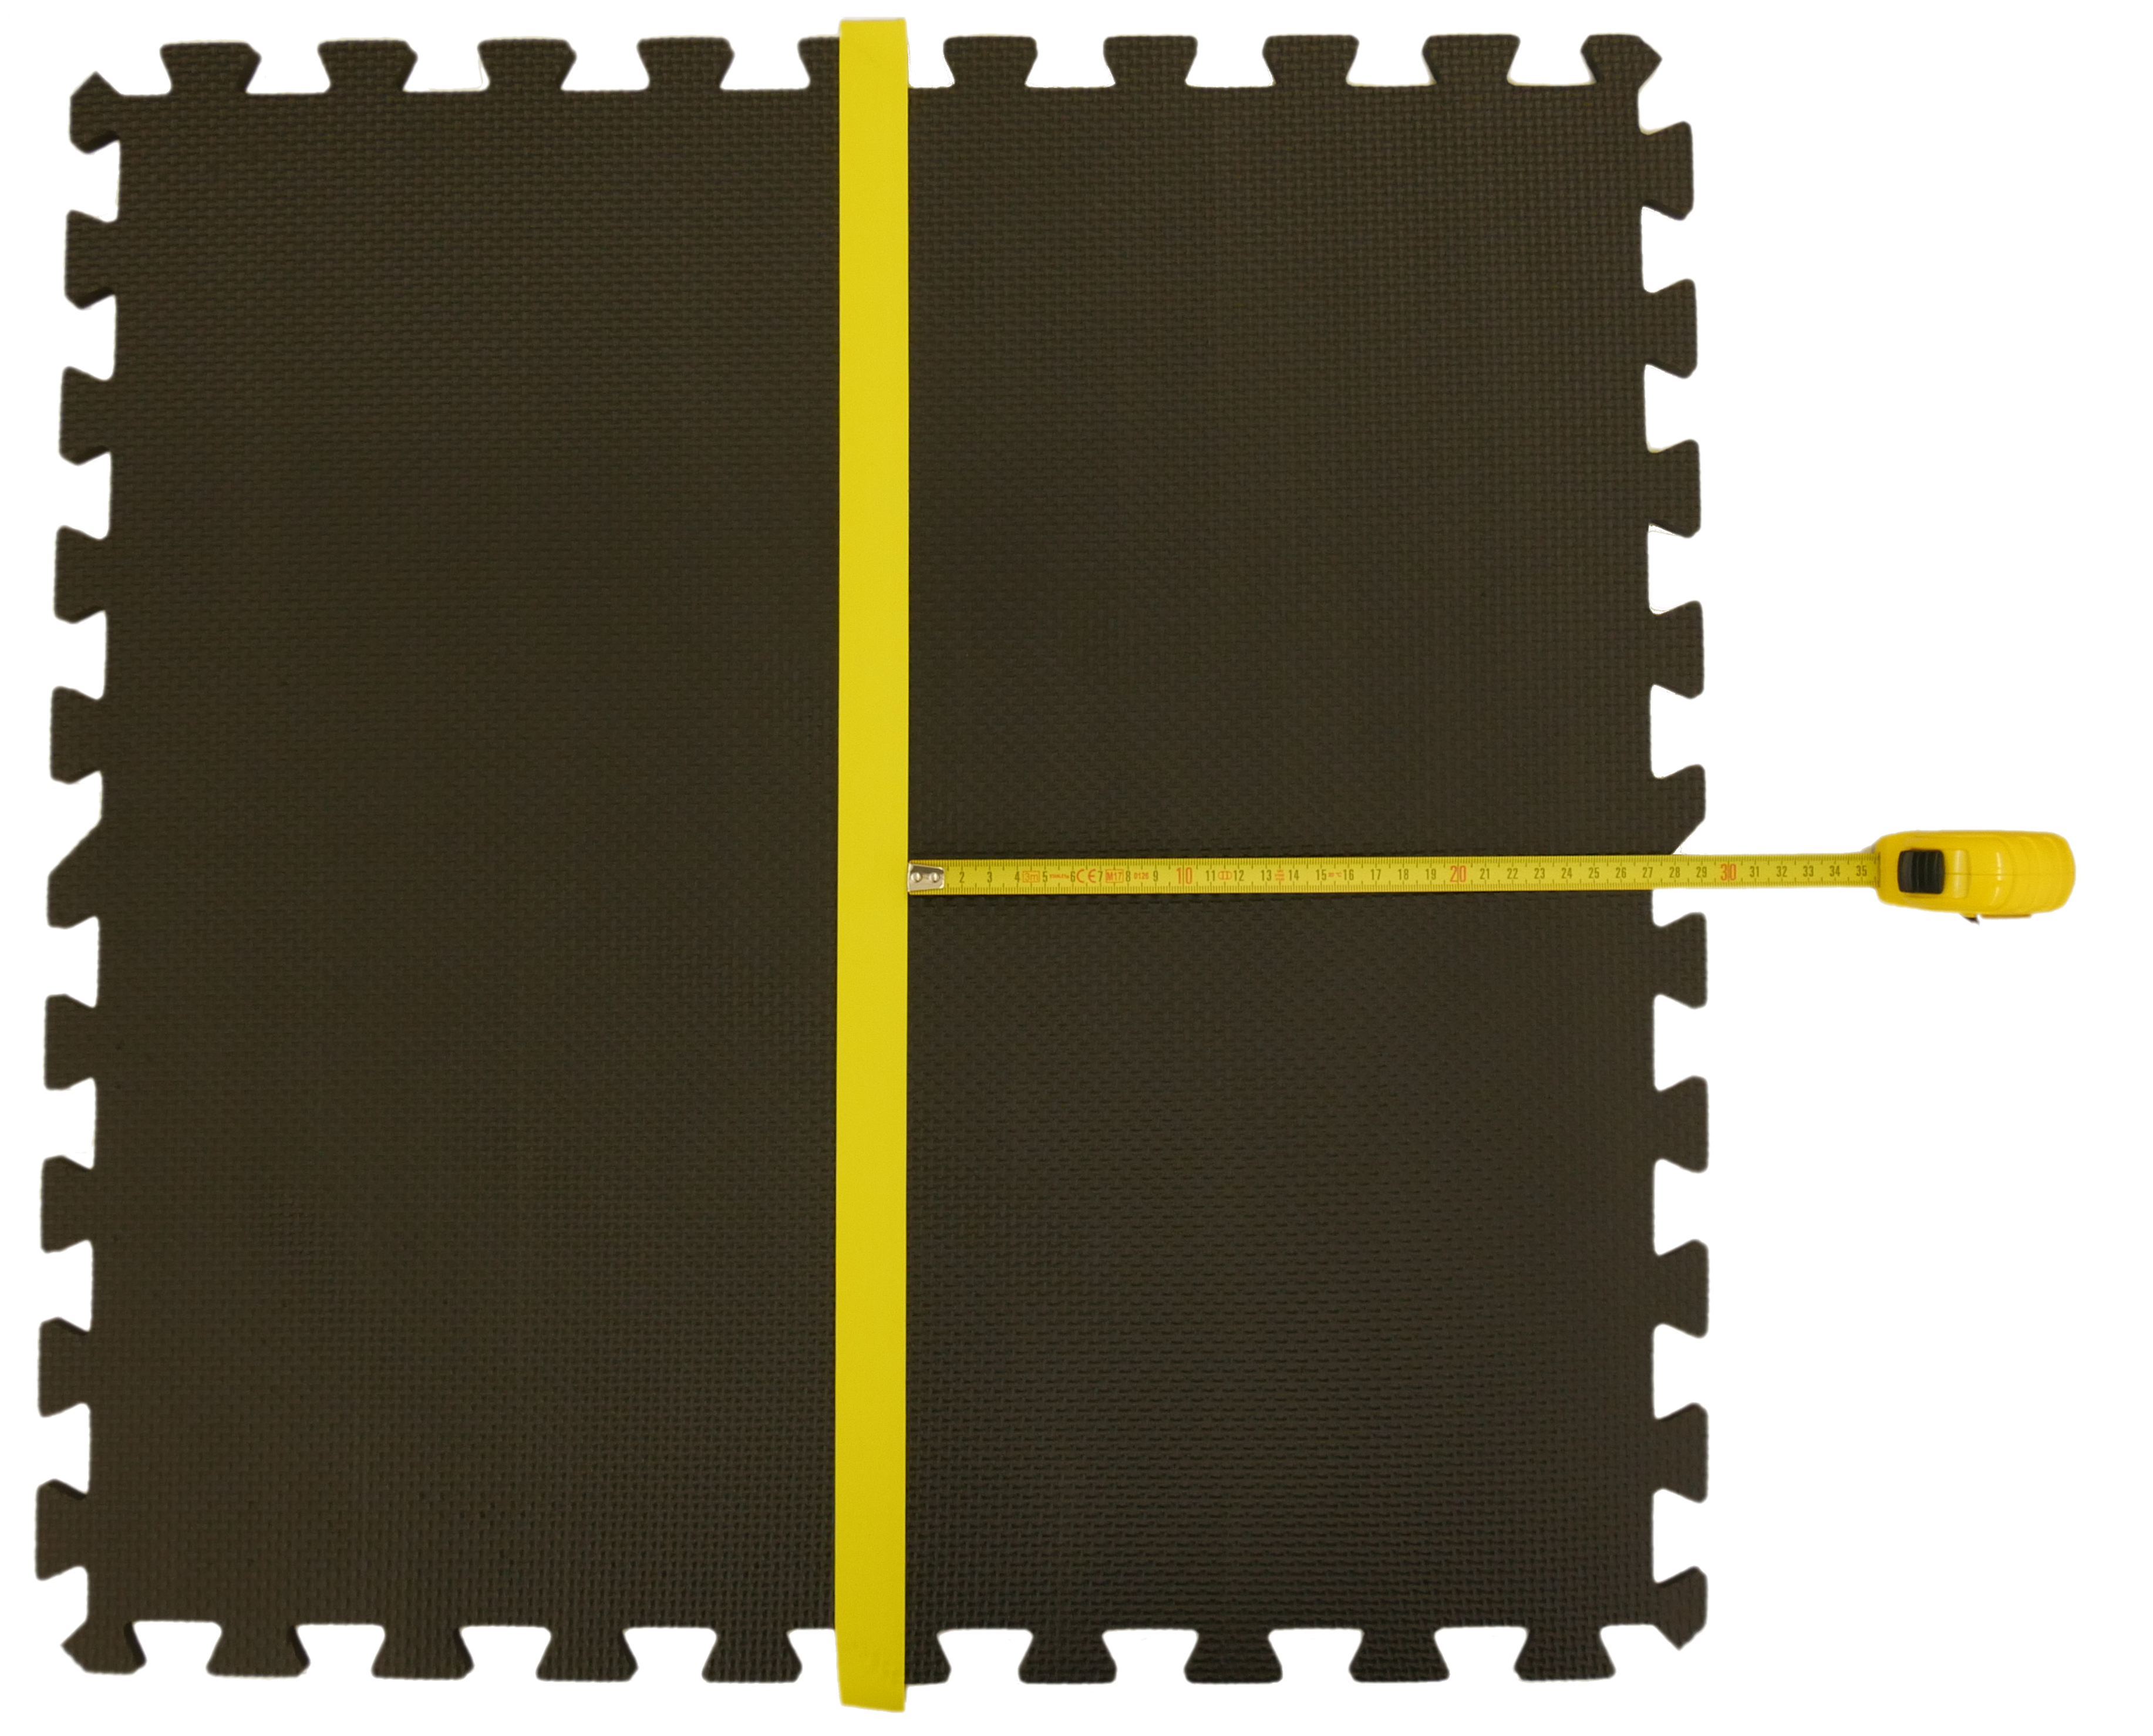
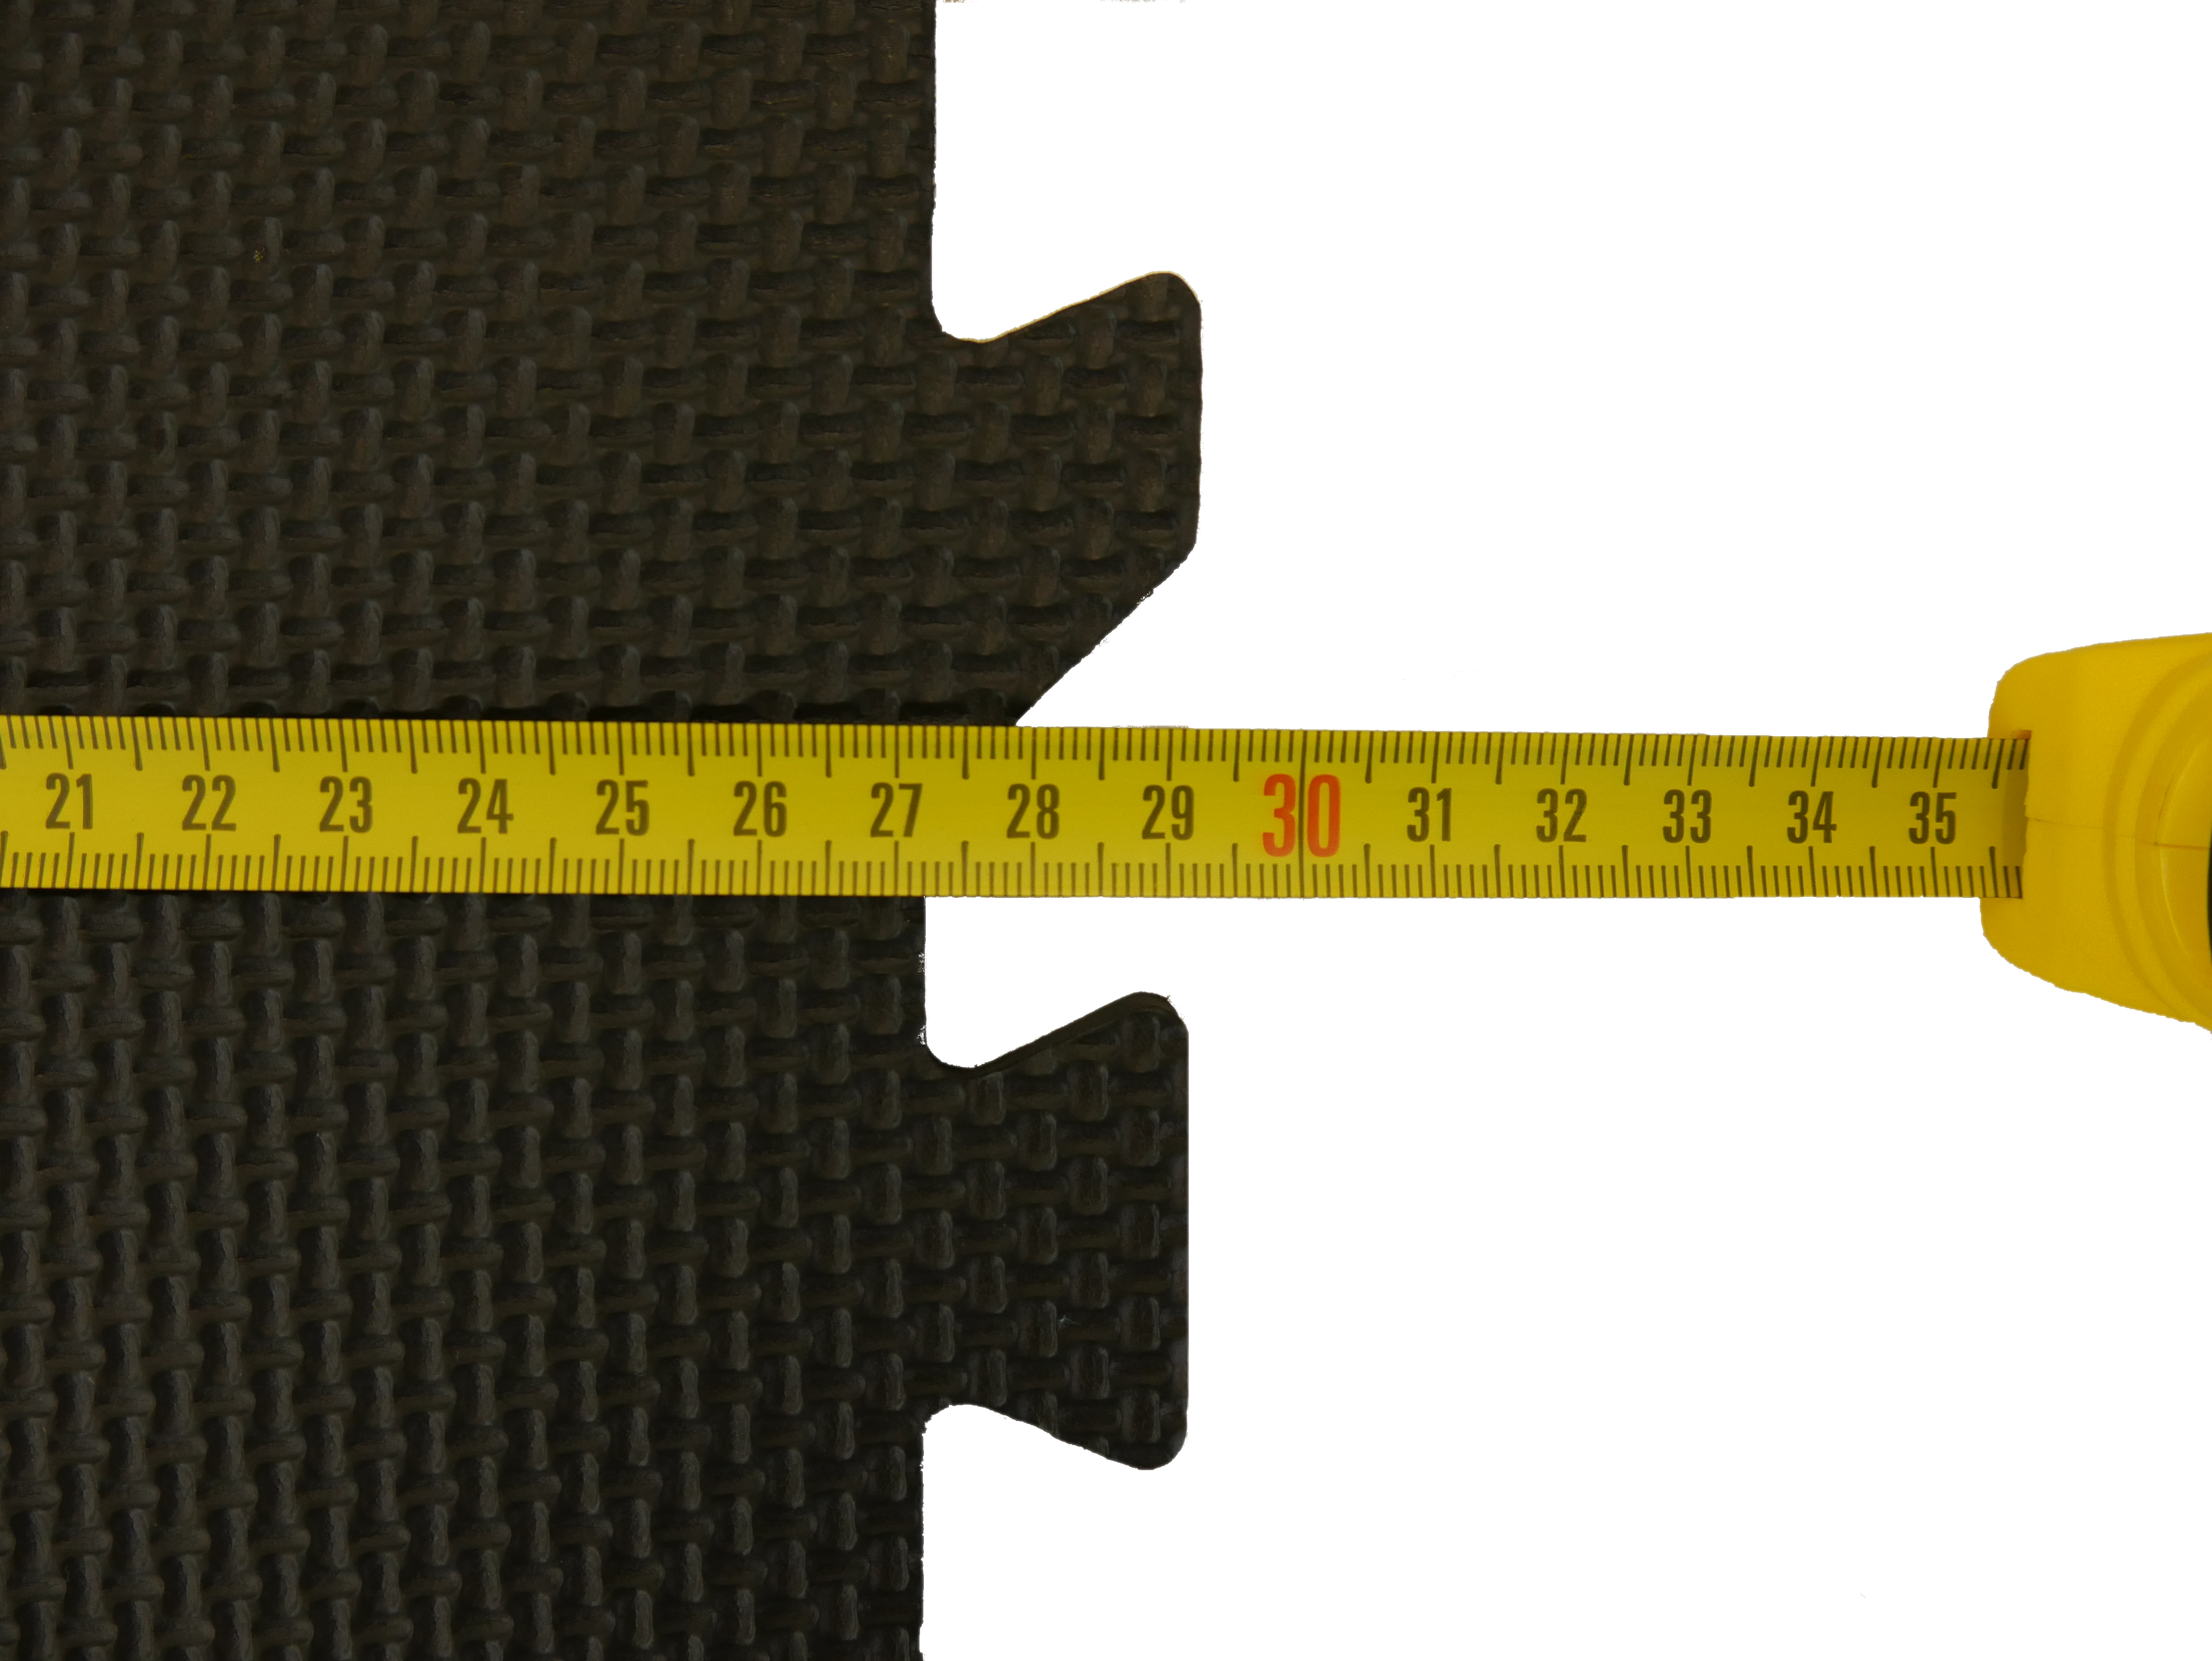
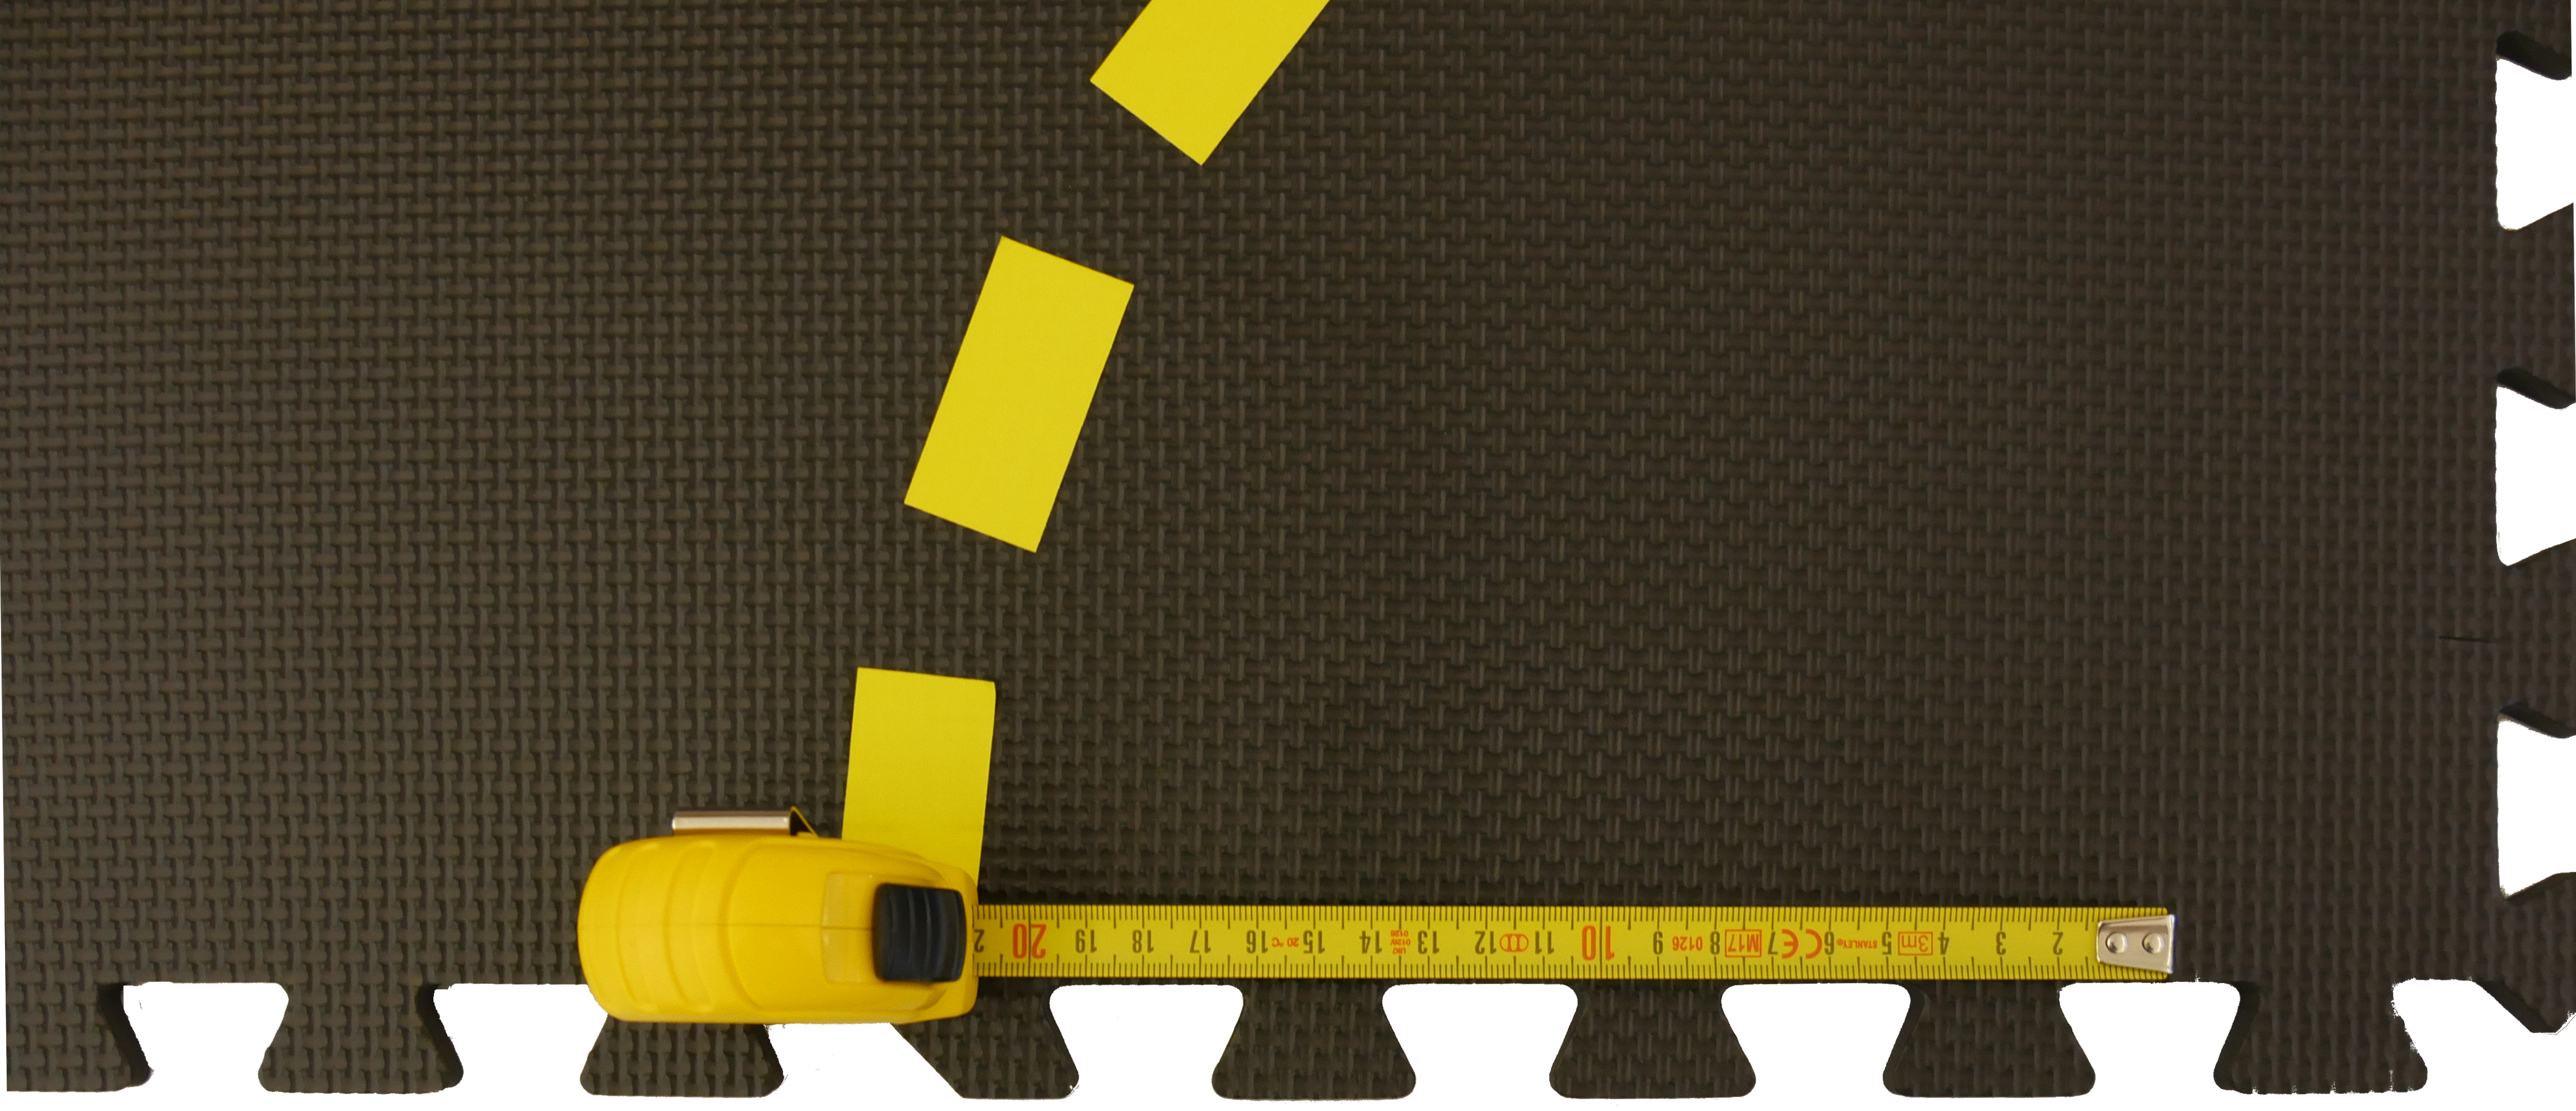
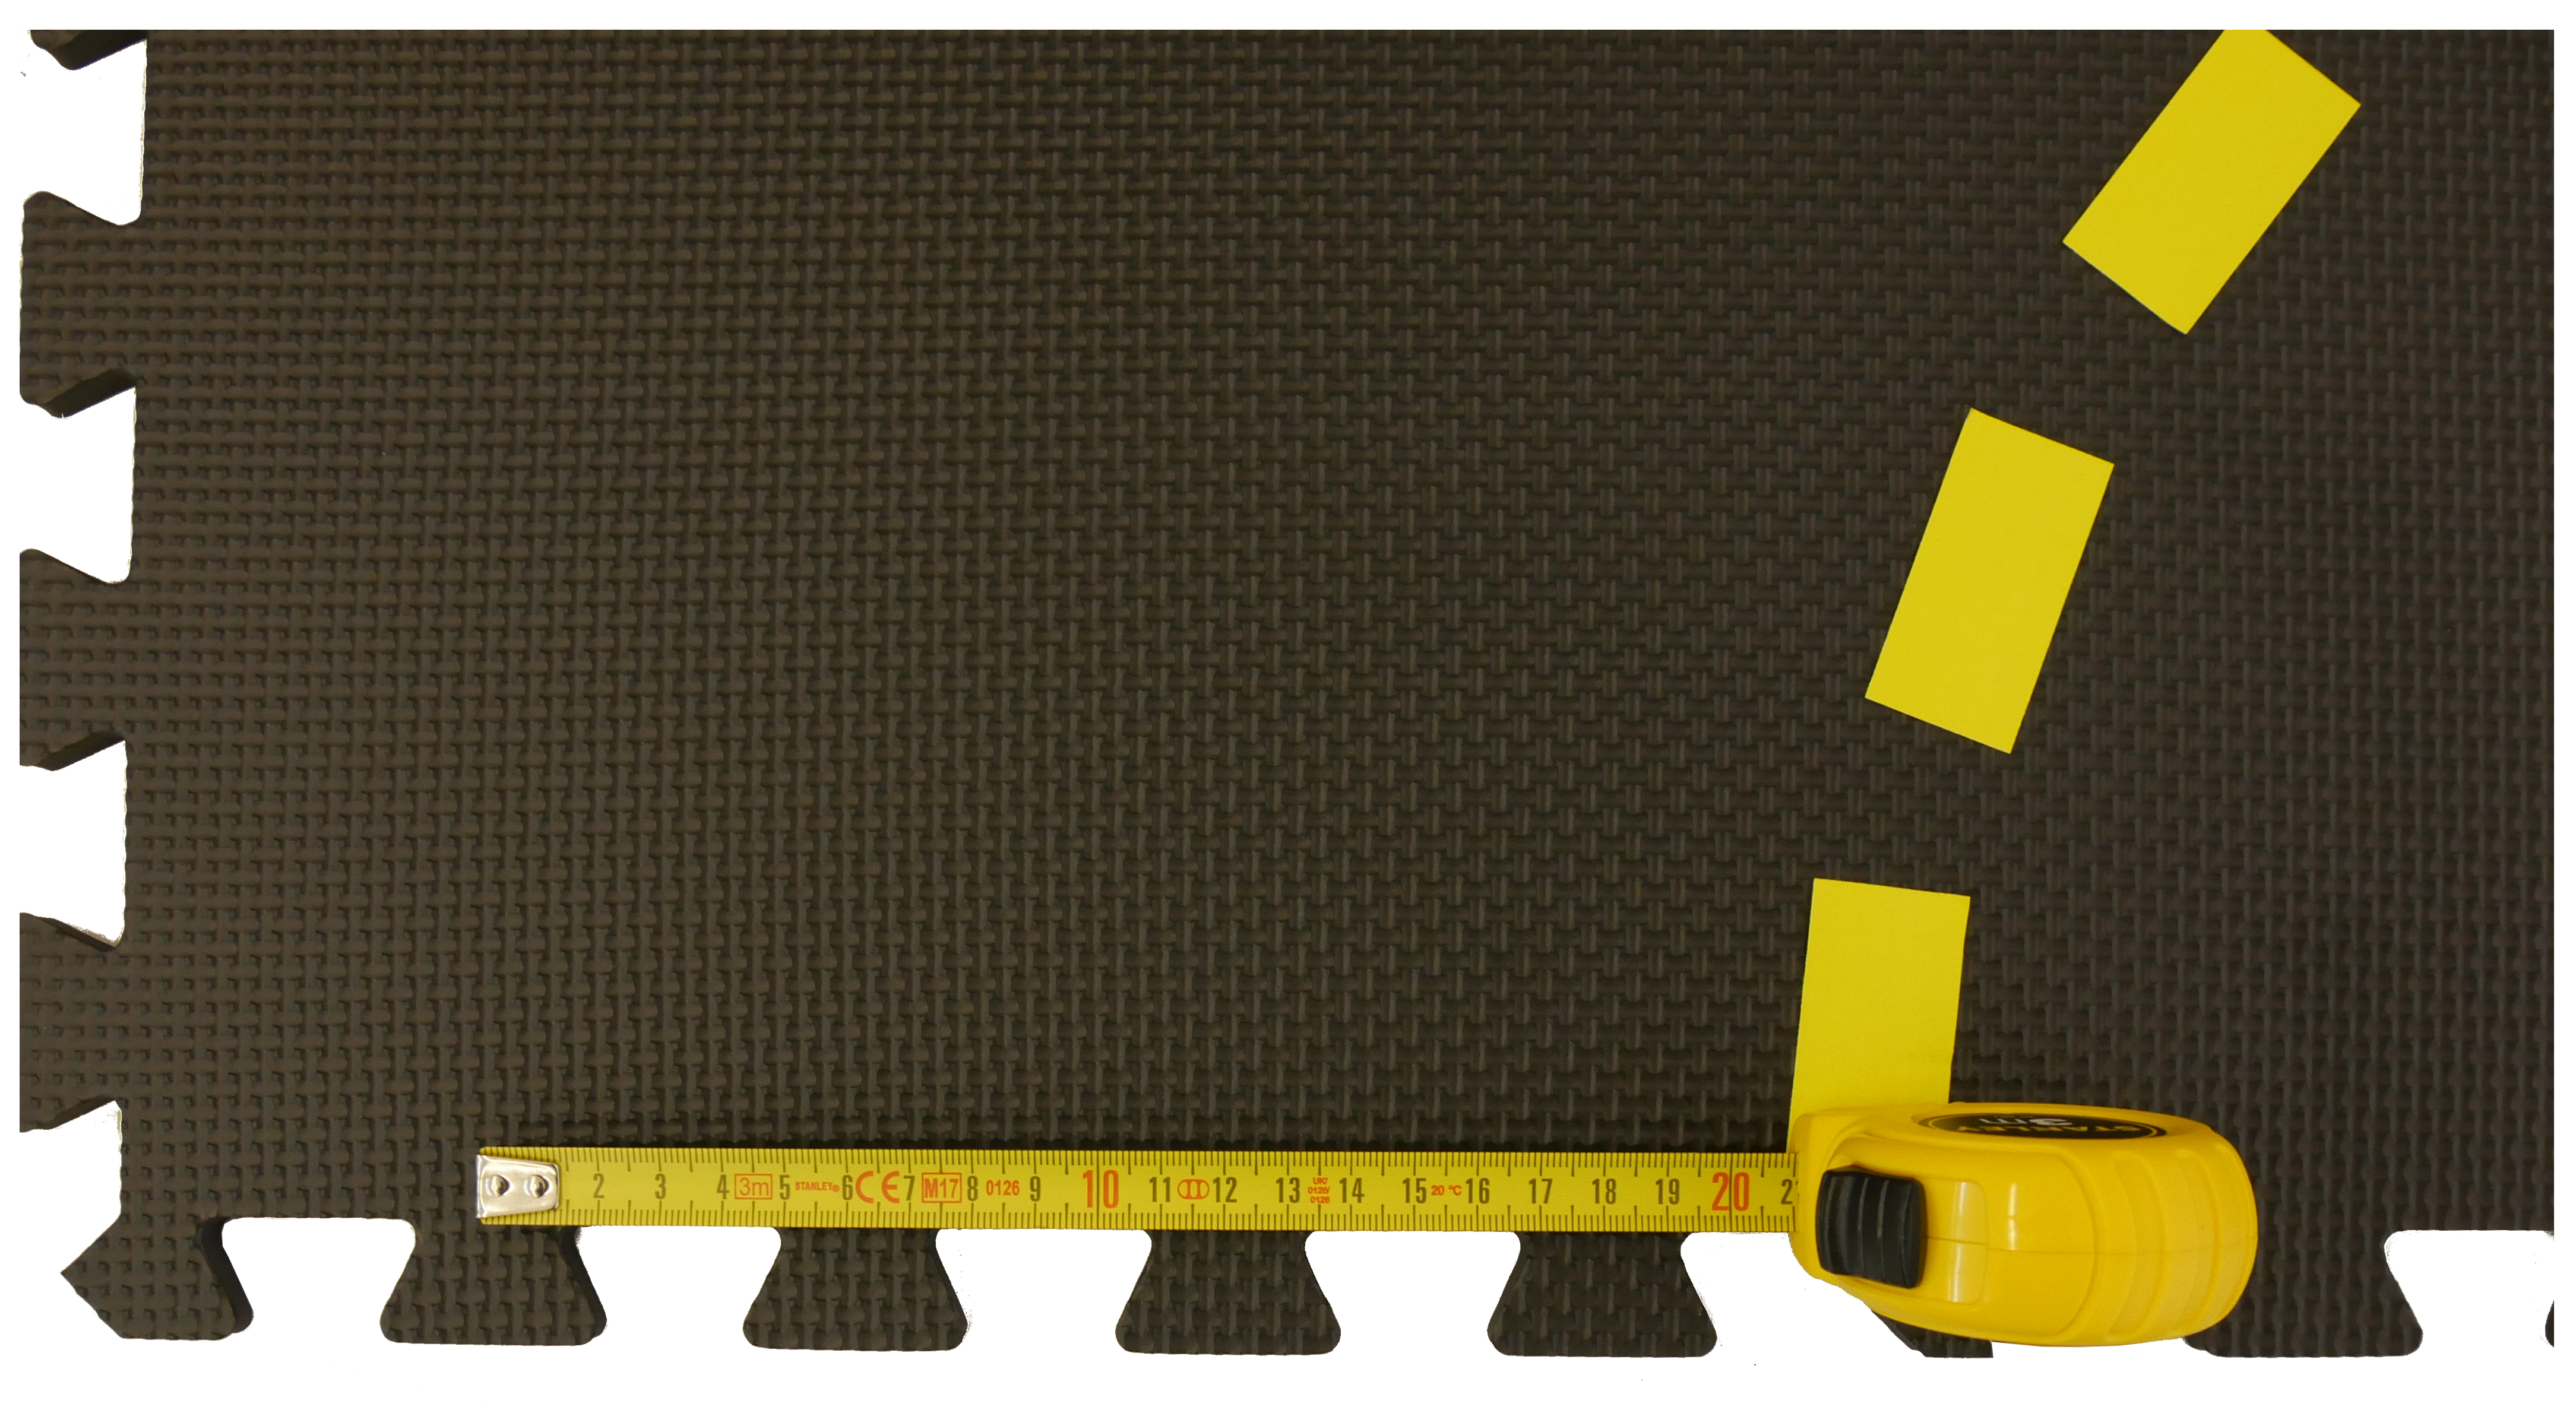
Make sure that the yellow tape is properly centered on the tile. The tile has a nominal width of 57cm without the interlocking teeth. This means from the end of the yellow tape to the end of the tile there should be a distance of 27.25cm as can be seen in Figure 1.2.
Once you have placed the yellow tape, cut out pieces of 2.5cm each, starting 5cm from the outer edge of the tile without the interlocking teeth (as shown in Figure 1.3). Next, place the white lane markings at the outer part of the tile in a distance of 21cm to the end of the yellow tape. The Result can be seen in Figure 1.3.
Curved roads
✎Modified 2020-02-20 by hosnerm
Each curved road segment has:
- Solid white markings on the outer sides of the lanes (right of direction of travel)
- Dashed yellow markings at the center
- Each lane is 21 cm wide (from end of white to beginning of yellow)
Assembly
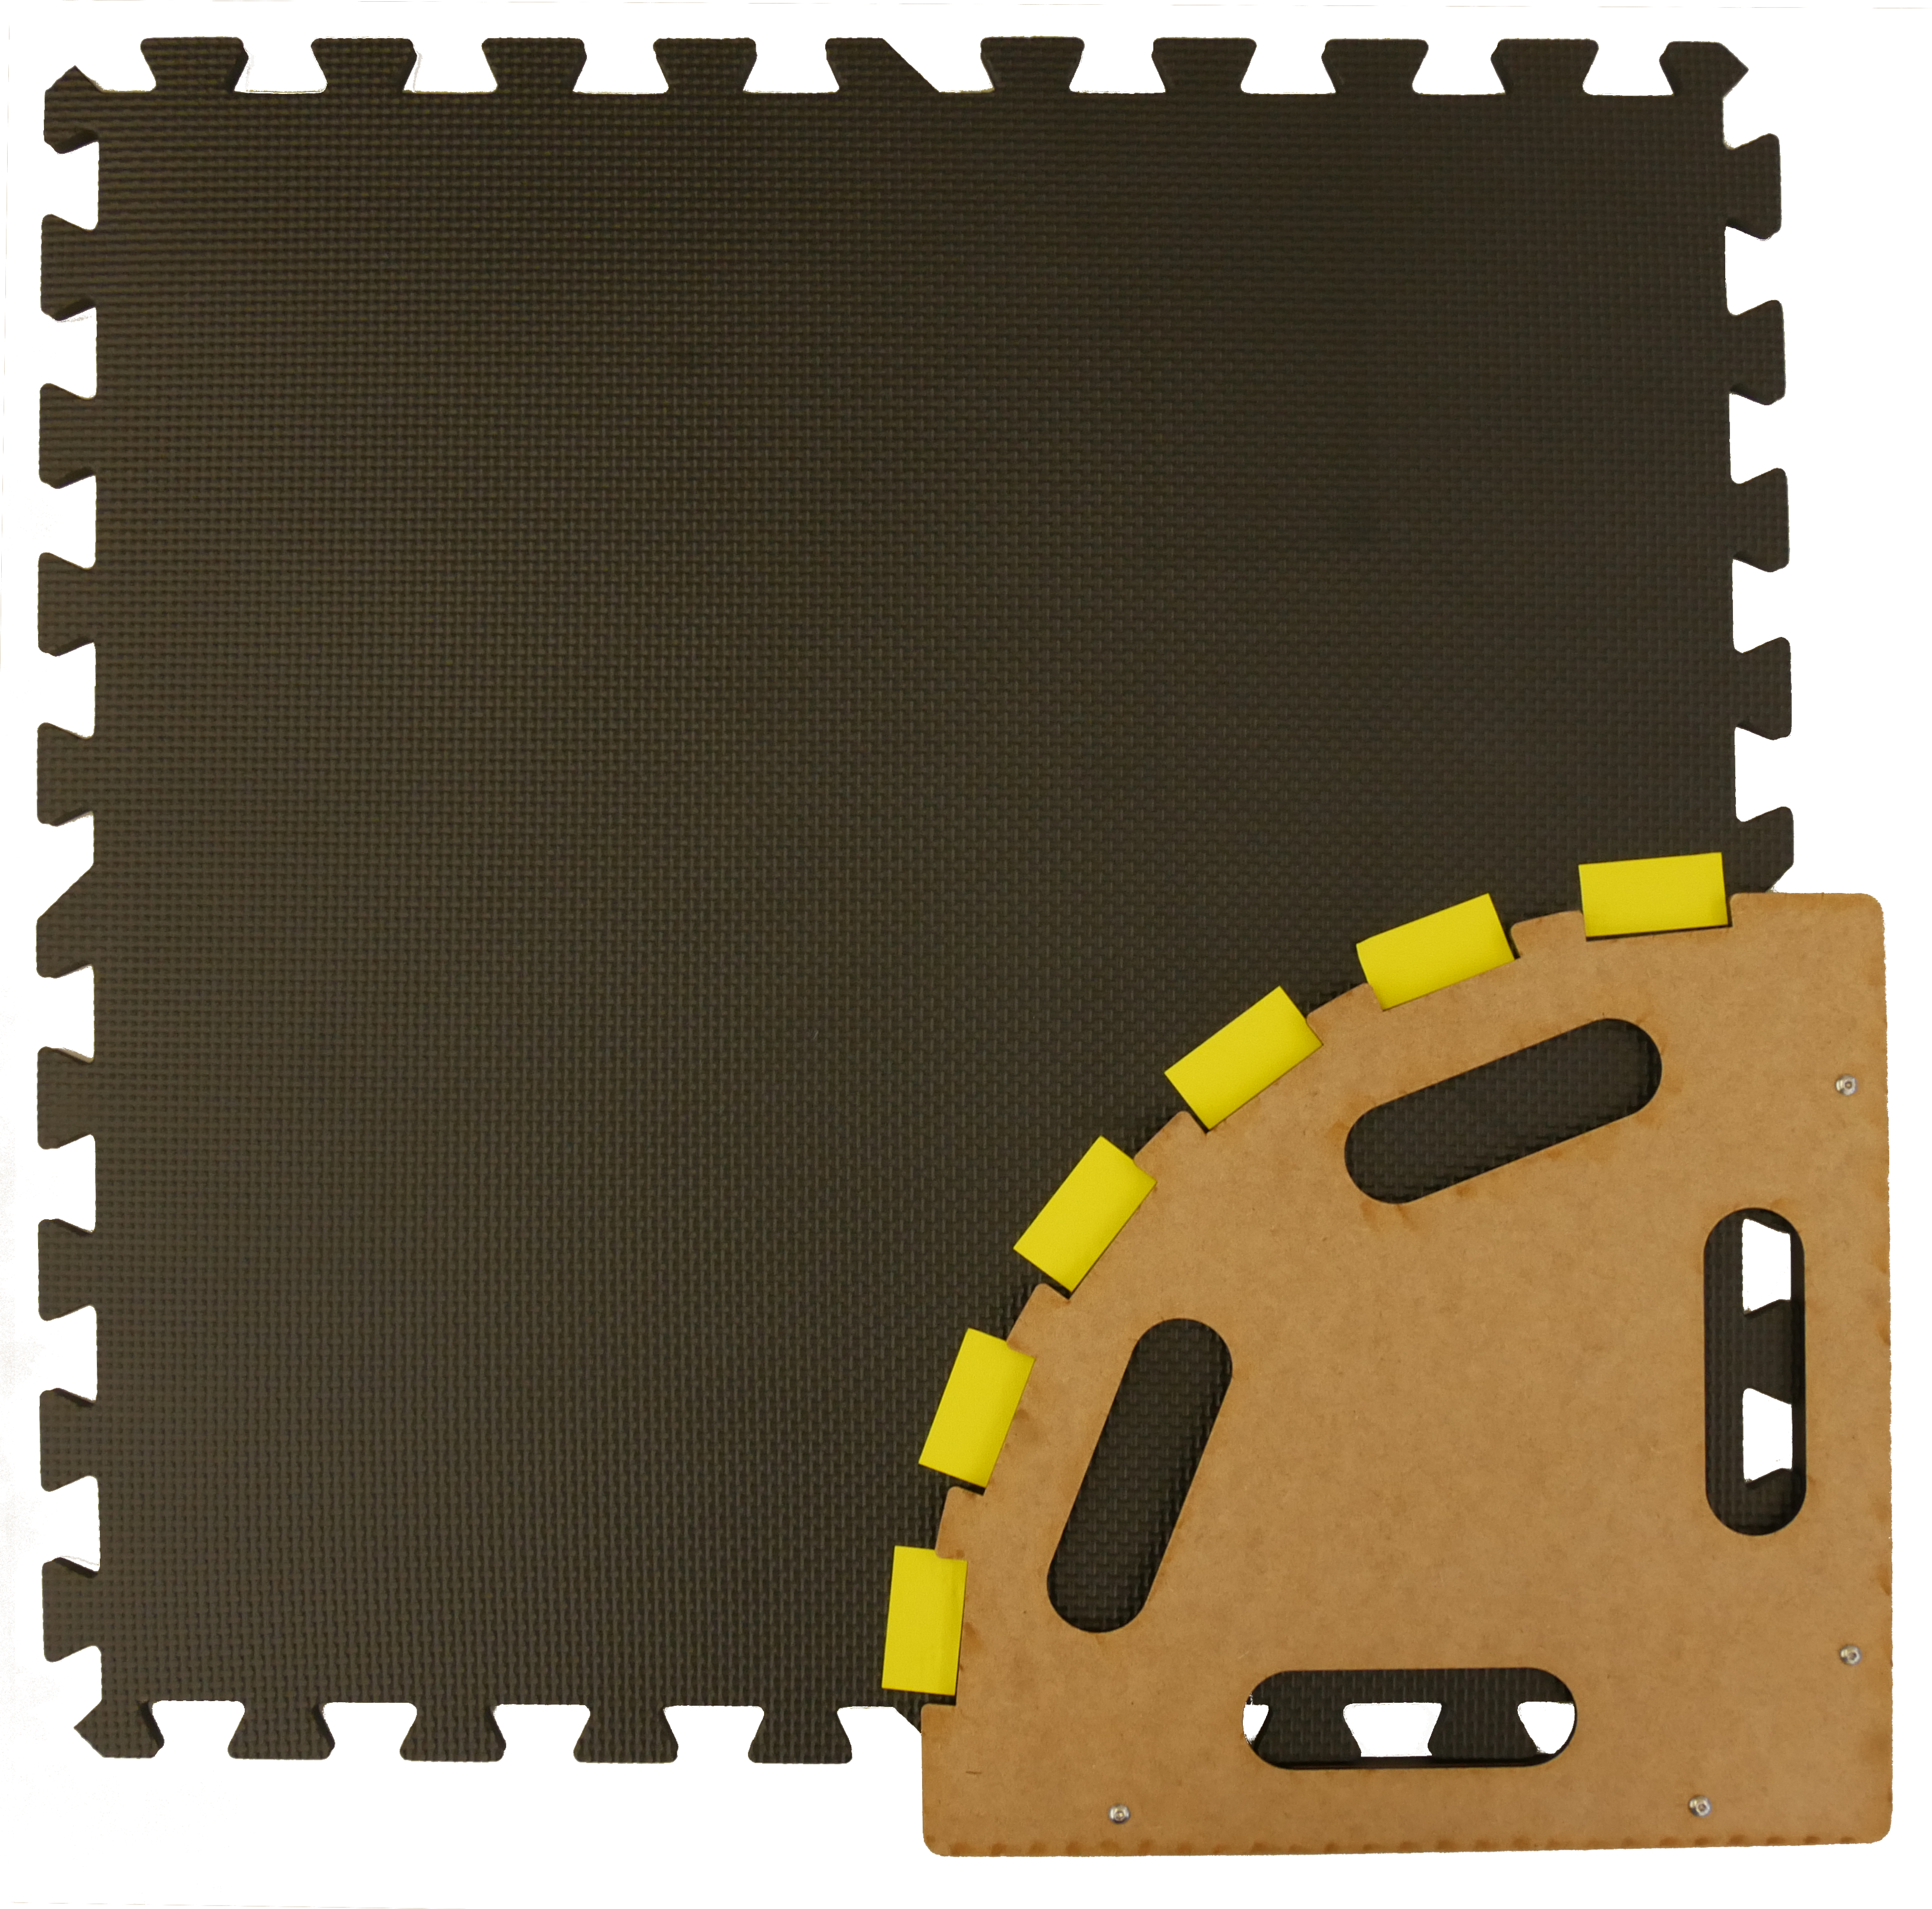
✎If you have a laser cutter available, you can use the provided file from here to laser cut the template shown below.
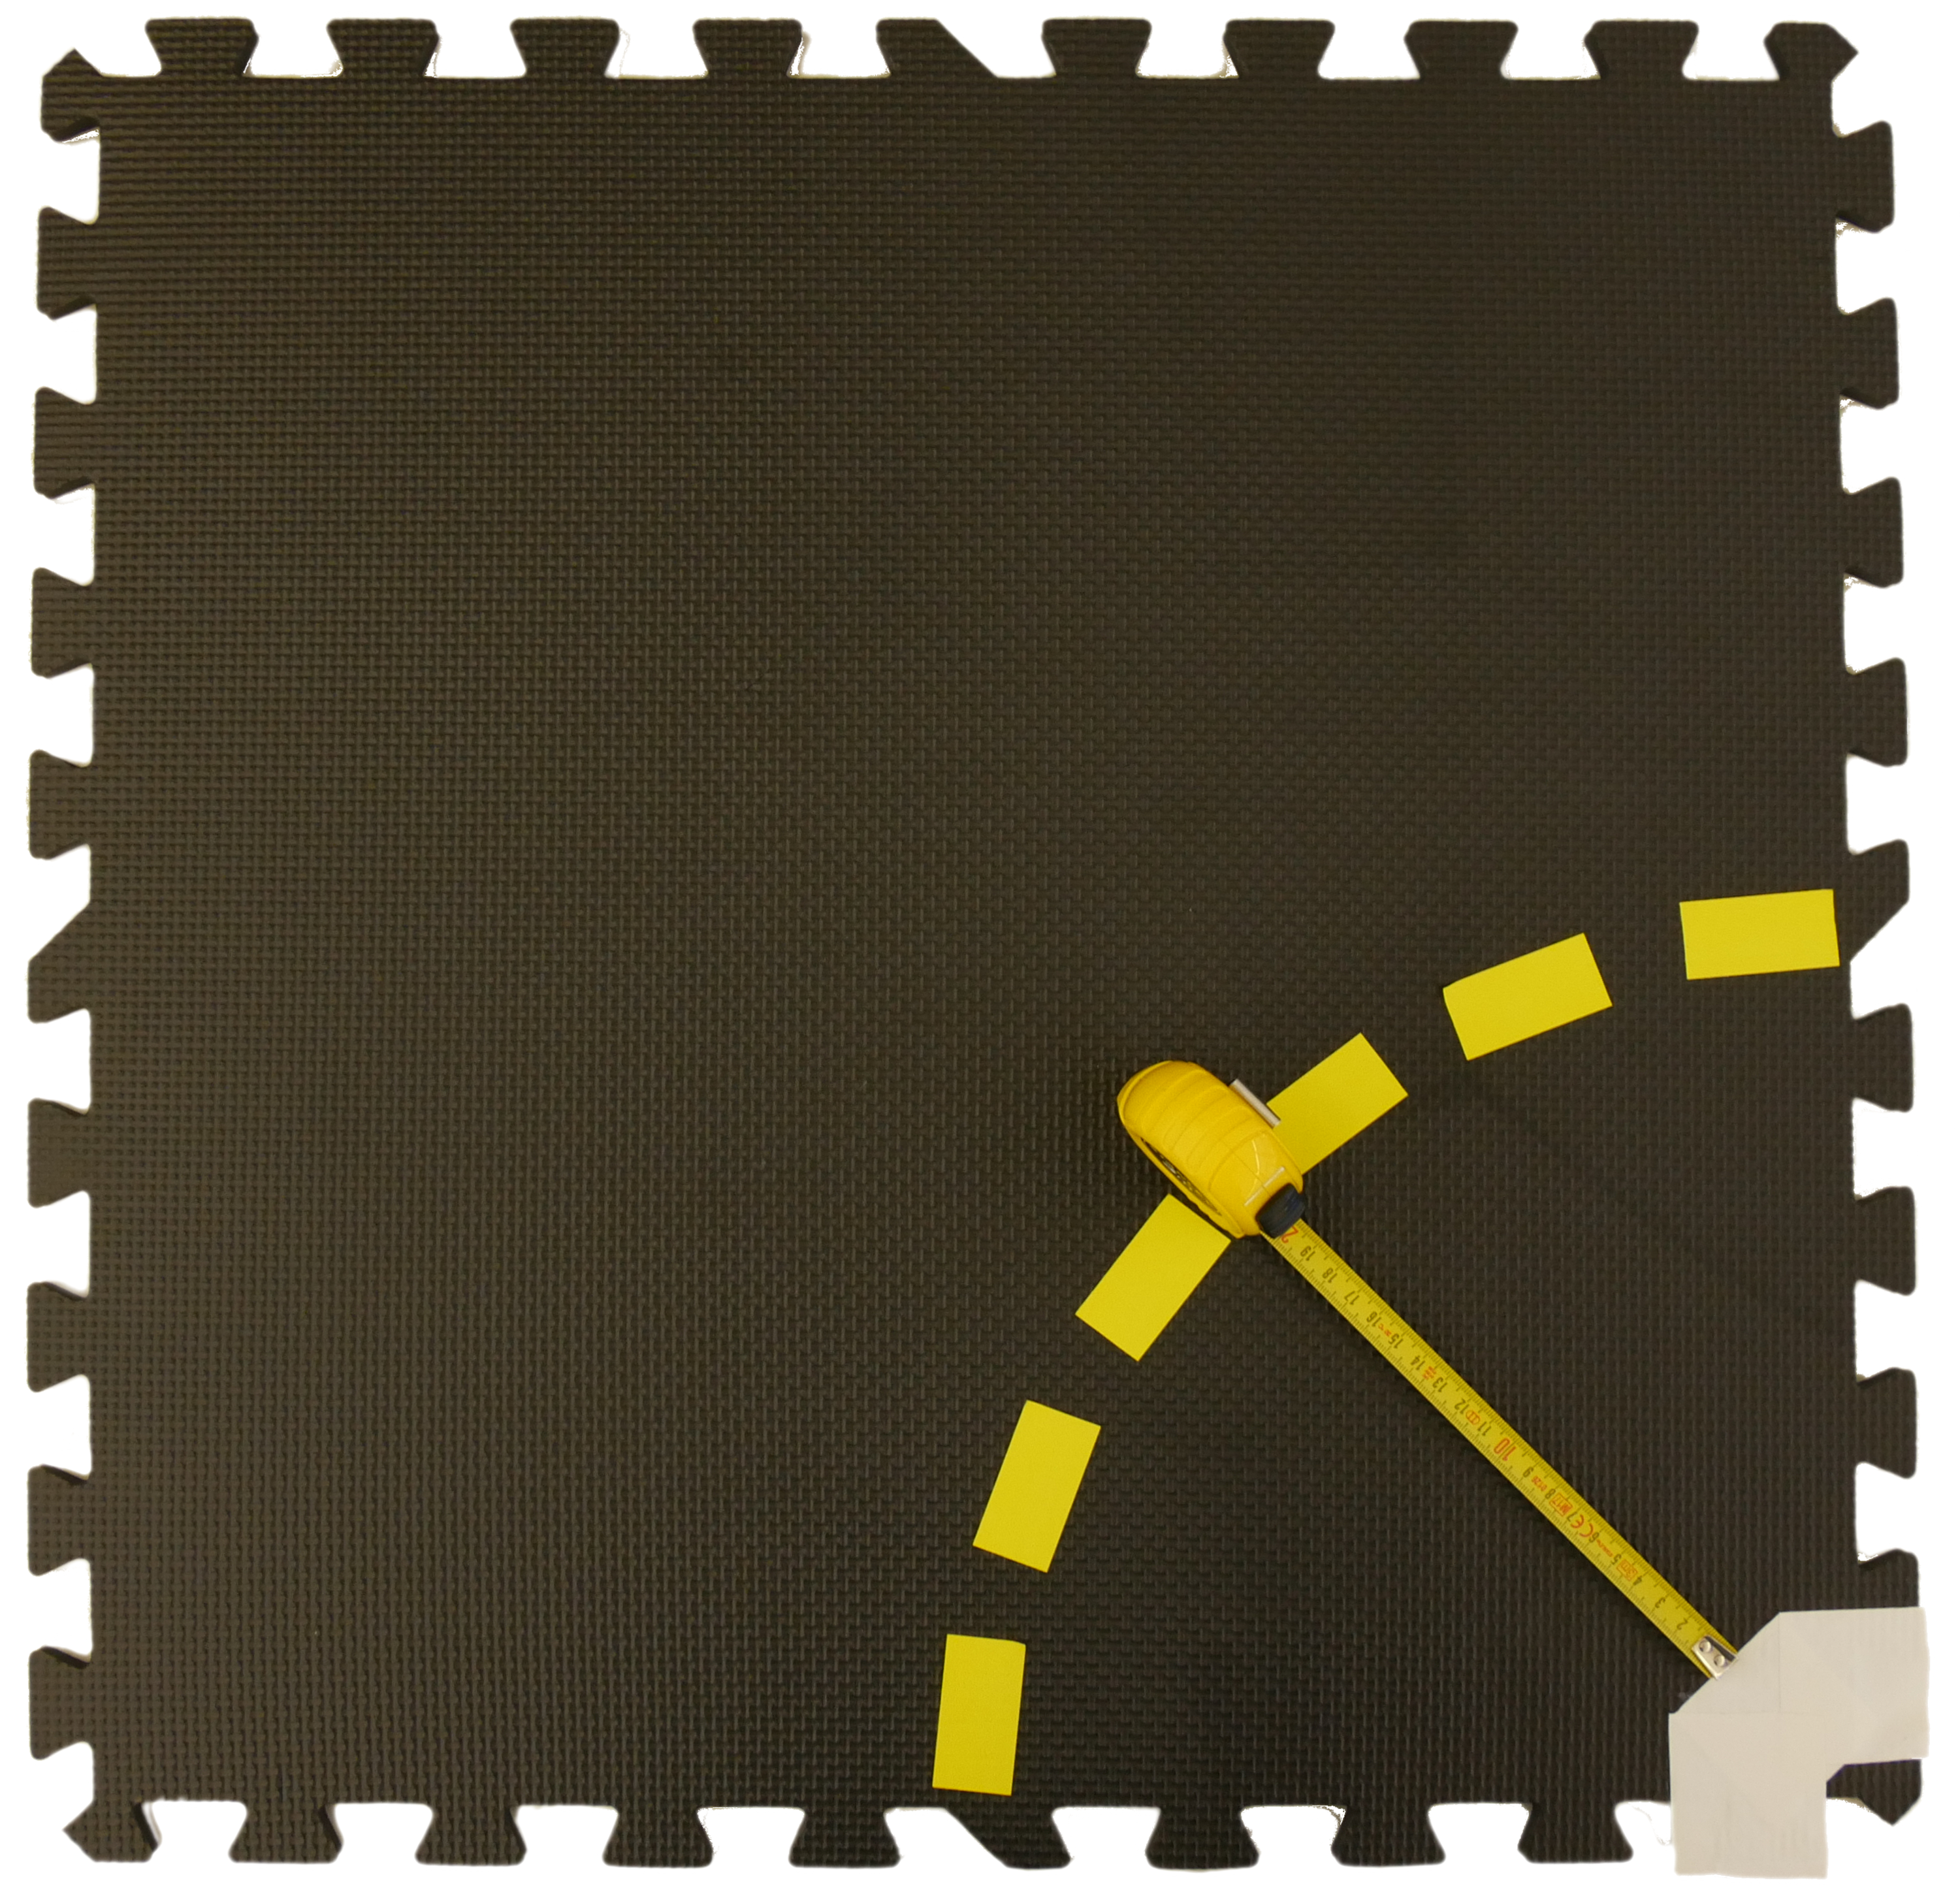
If you do not have access to a laser cutter, you have to create the middle line by hand. One way to do it is to take a string, place one end in the outer edge of the tile (excluding the interlocking teeth) and make small markings in the form of a quarter circle in a distance of 27.25cm. This represents the inner border of where you have to put the yellow tape. The length of the single tape pieces is 5cm as for the straight road segment. For more detailed measurements, refer to Figure 2.5.
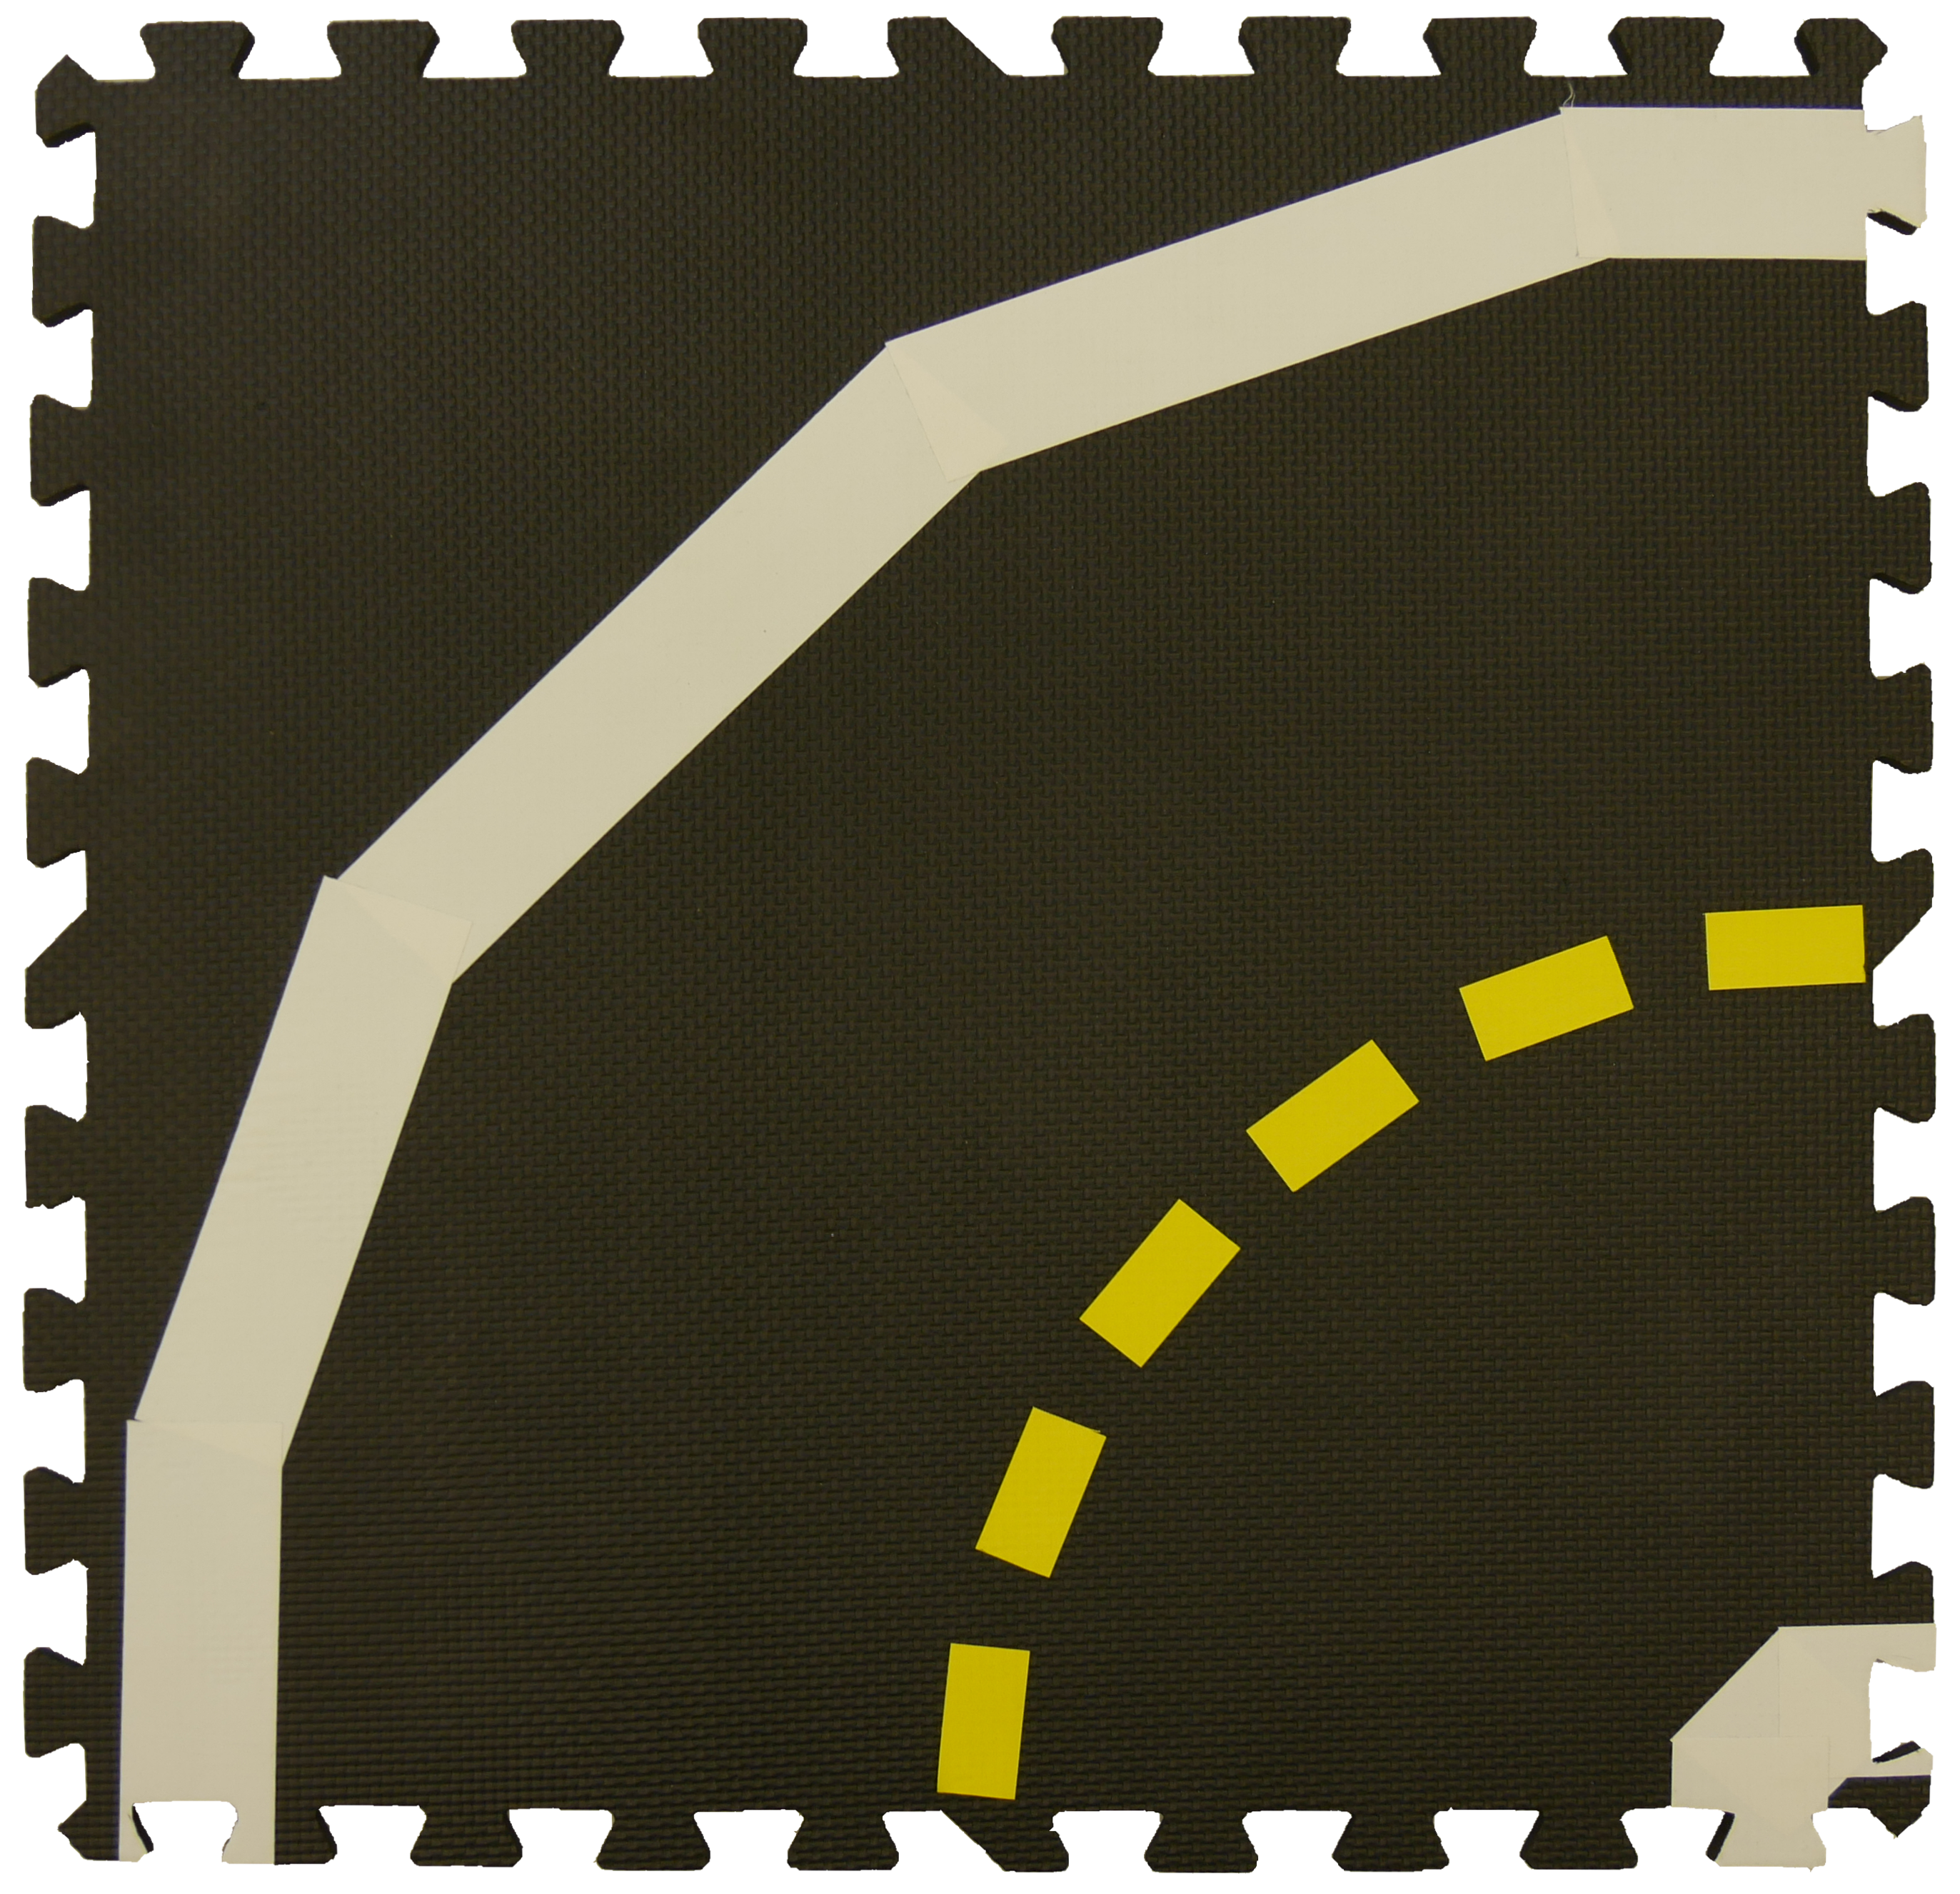
Once you have the middle of the lane in place, you are ready to add the inner white line of the road. Make sure that the lane width is 21cm.
To add the outer white line you can either use another template from above or you will have to measure again. You can use the same technique as for the yellow middle line: place one end of a rope in the edge of the tile and draw a quarter circle with a radius of 50.75cm which will represent the inner boundary of the white tape. Alternatively, you can mark the lane width of 21cm at different locations and place the white tape accordingly.
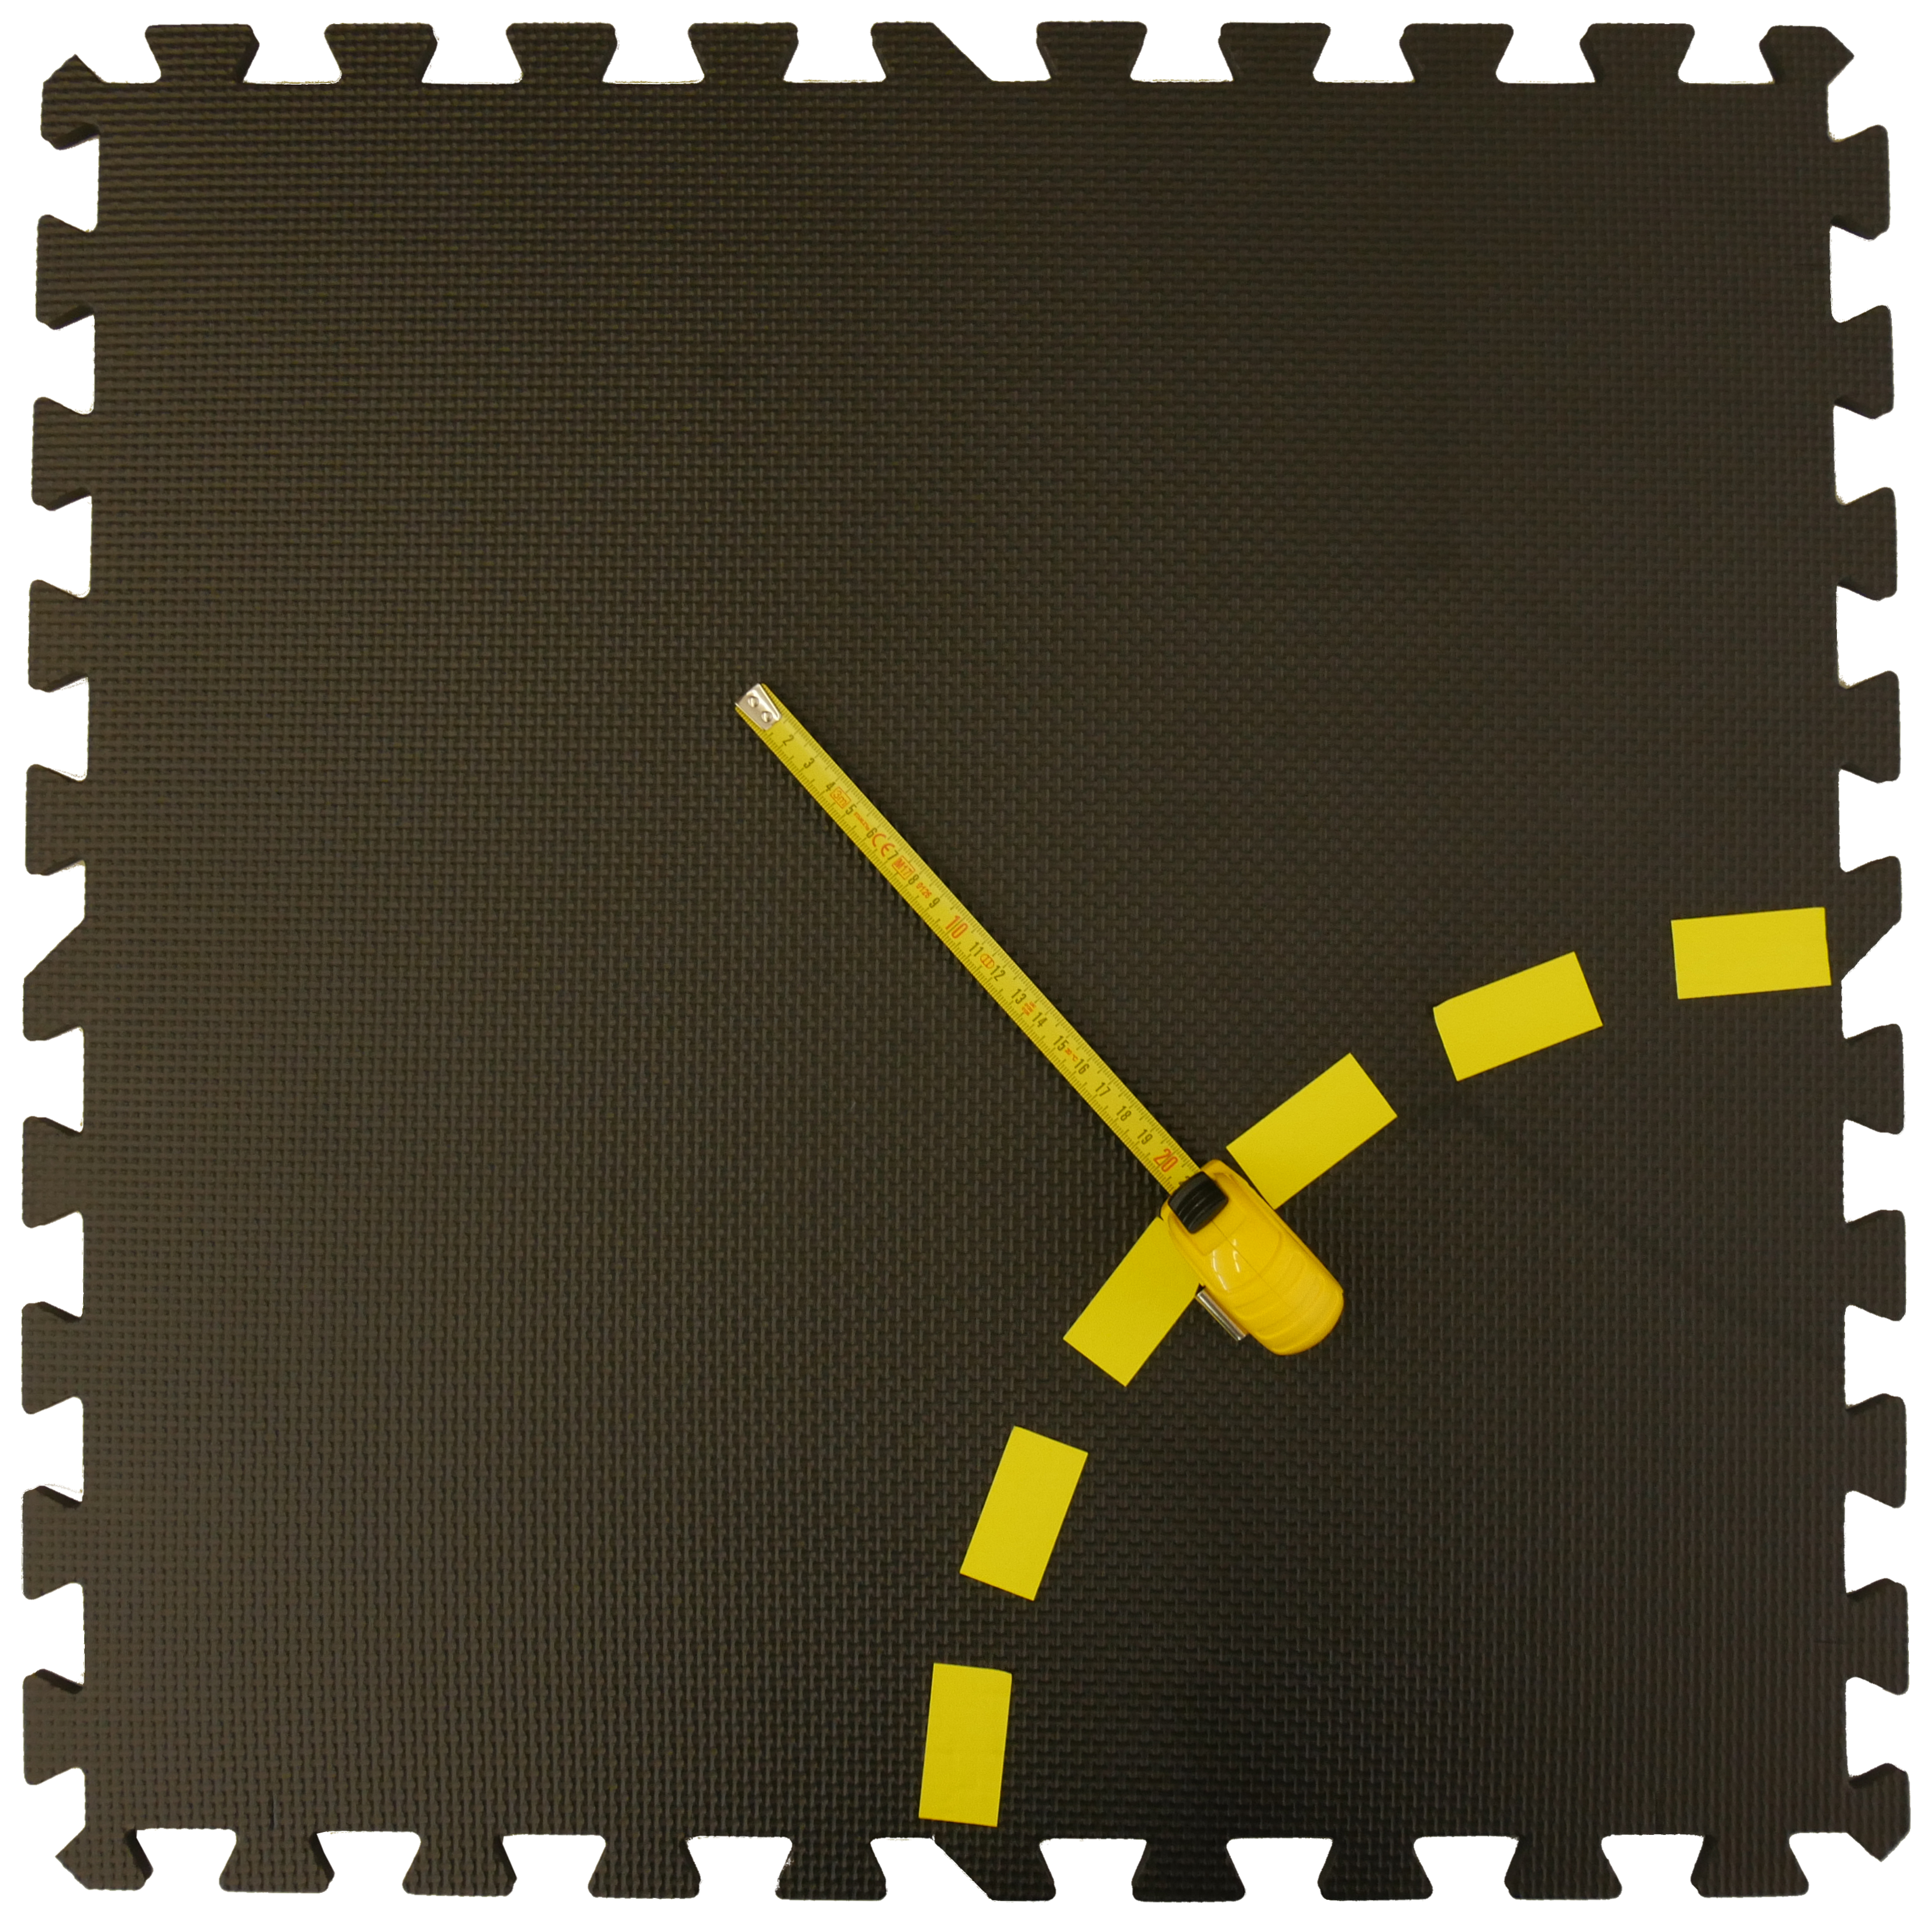
The finished curved lane segment looks as in Figure 1.10
Intersections
✎Modified 2020-02-20 by hosnerm
Each intersection road segment (3- or 4- way) has:
- Solid white markings on the outer sides of the lanes (right of direction of travel)
- Dashed yellow markings at the center
- Each lane is 21 cm wide (from end of white to beginning of yellow)
- Solid red markings as stop signs
Assembly of 4-way intersection
✎Modified 2020-02-20 by hosnerm
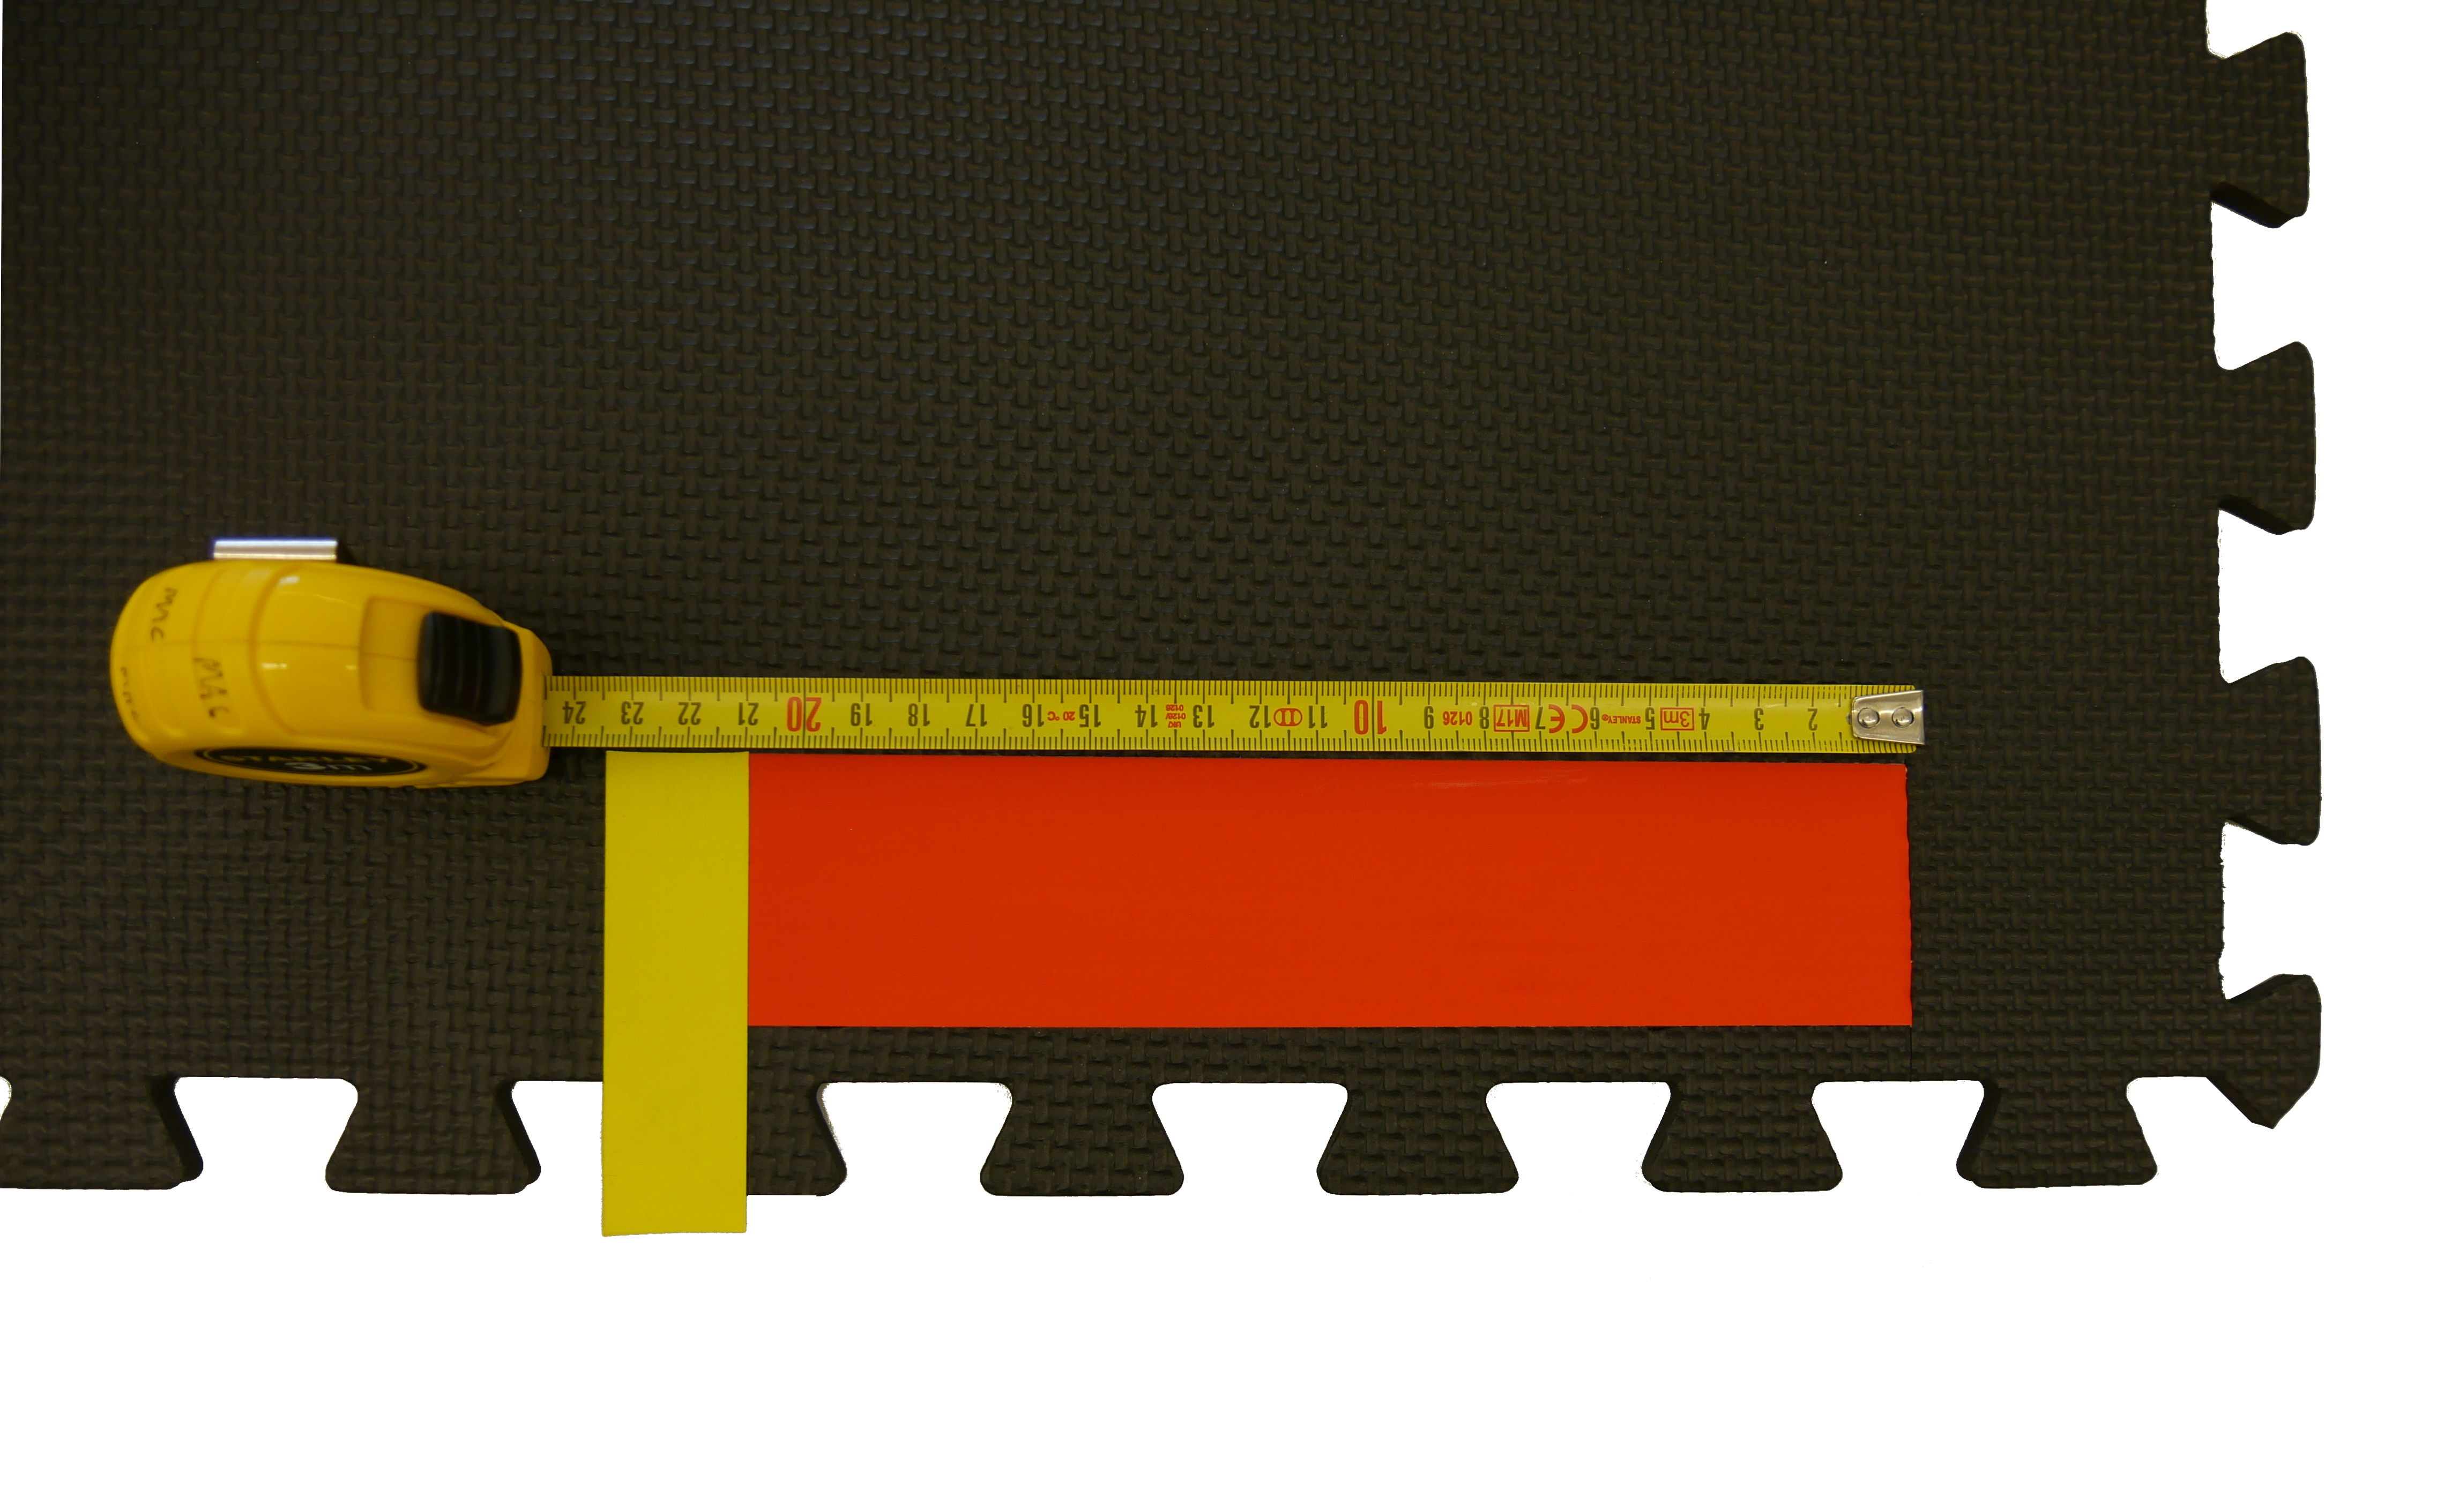
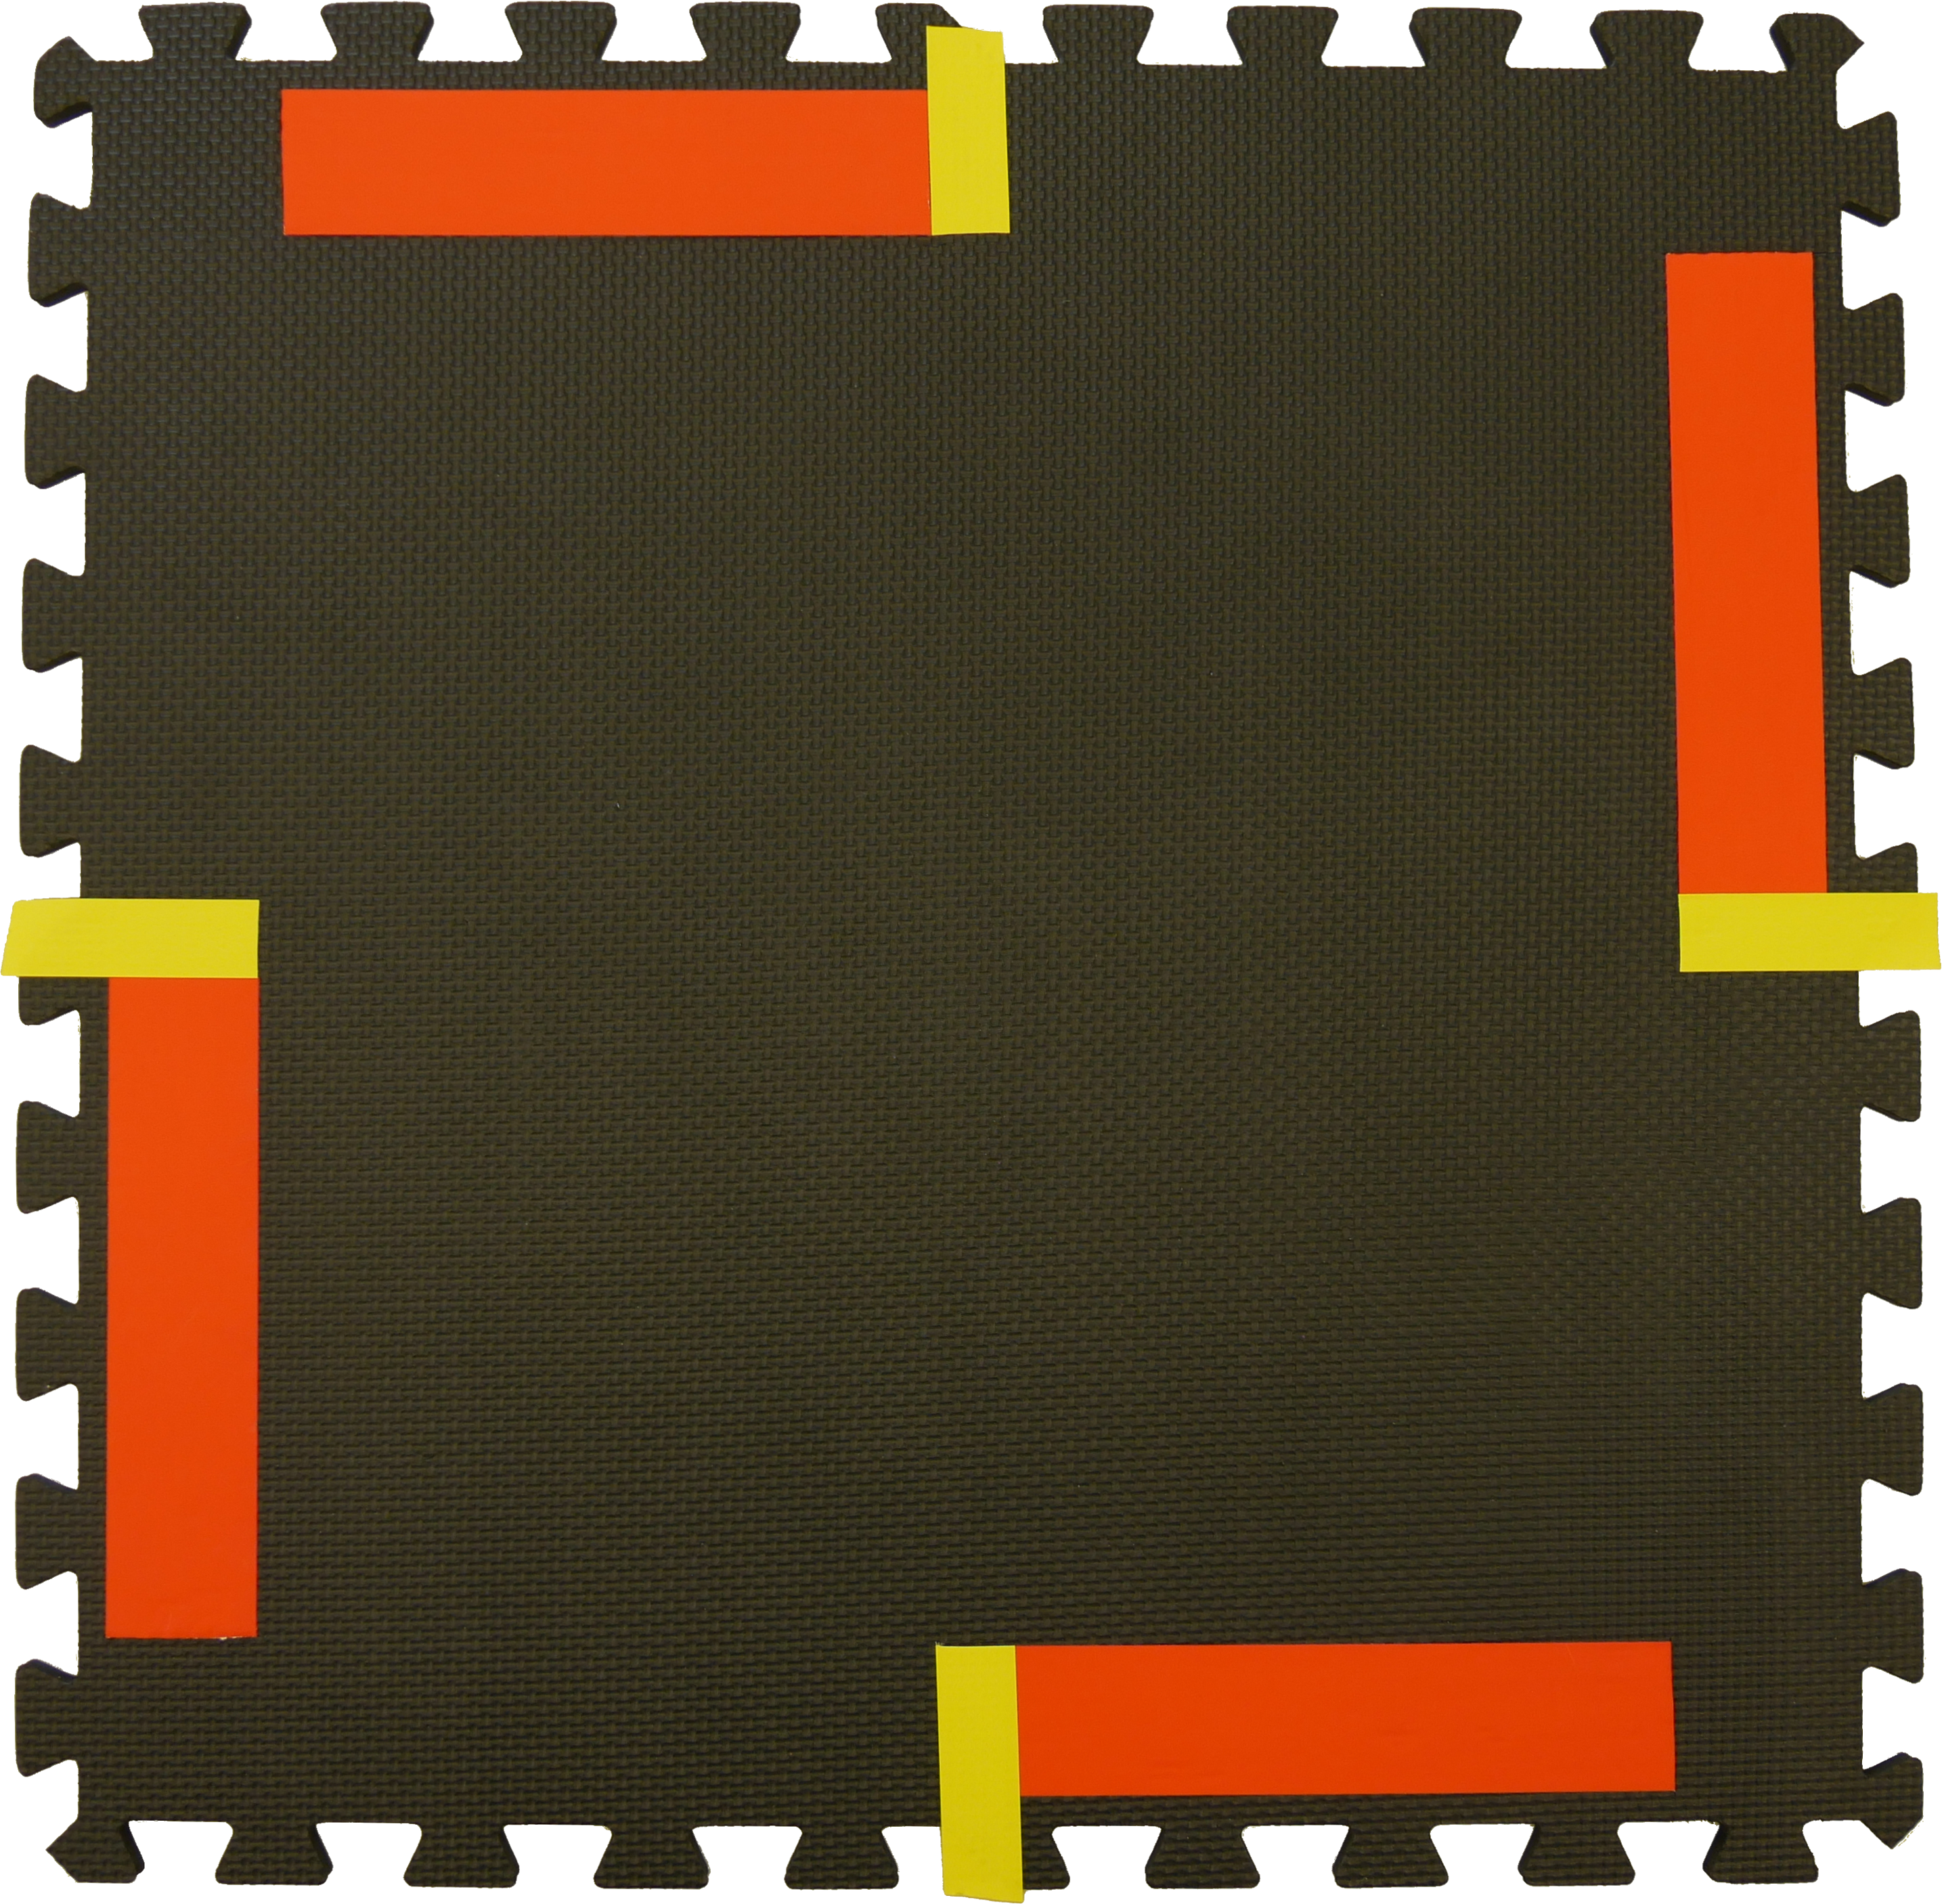
First, place four yellow tape strips as shown in the pictures below. Make sure that they are centered on the tile and that they reach in 6cm from the beginning of the tile without the interlocking teeth.
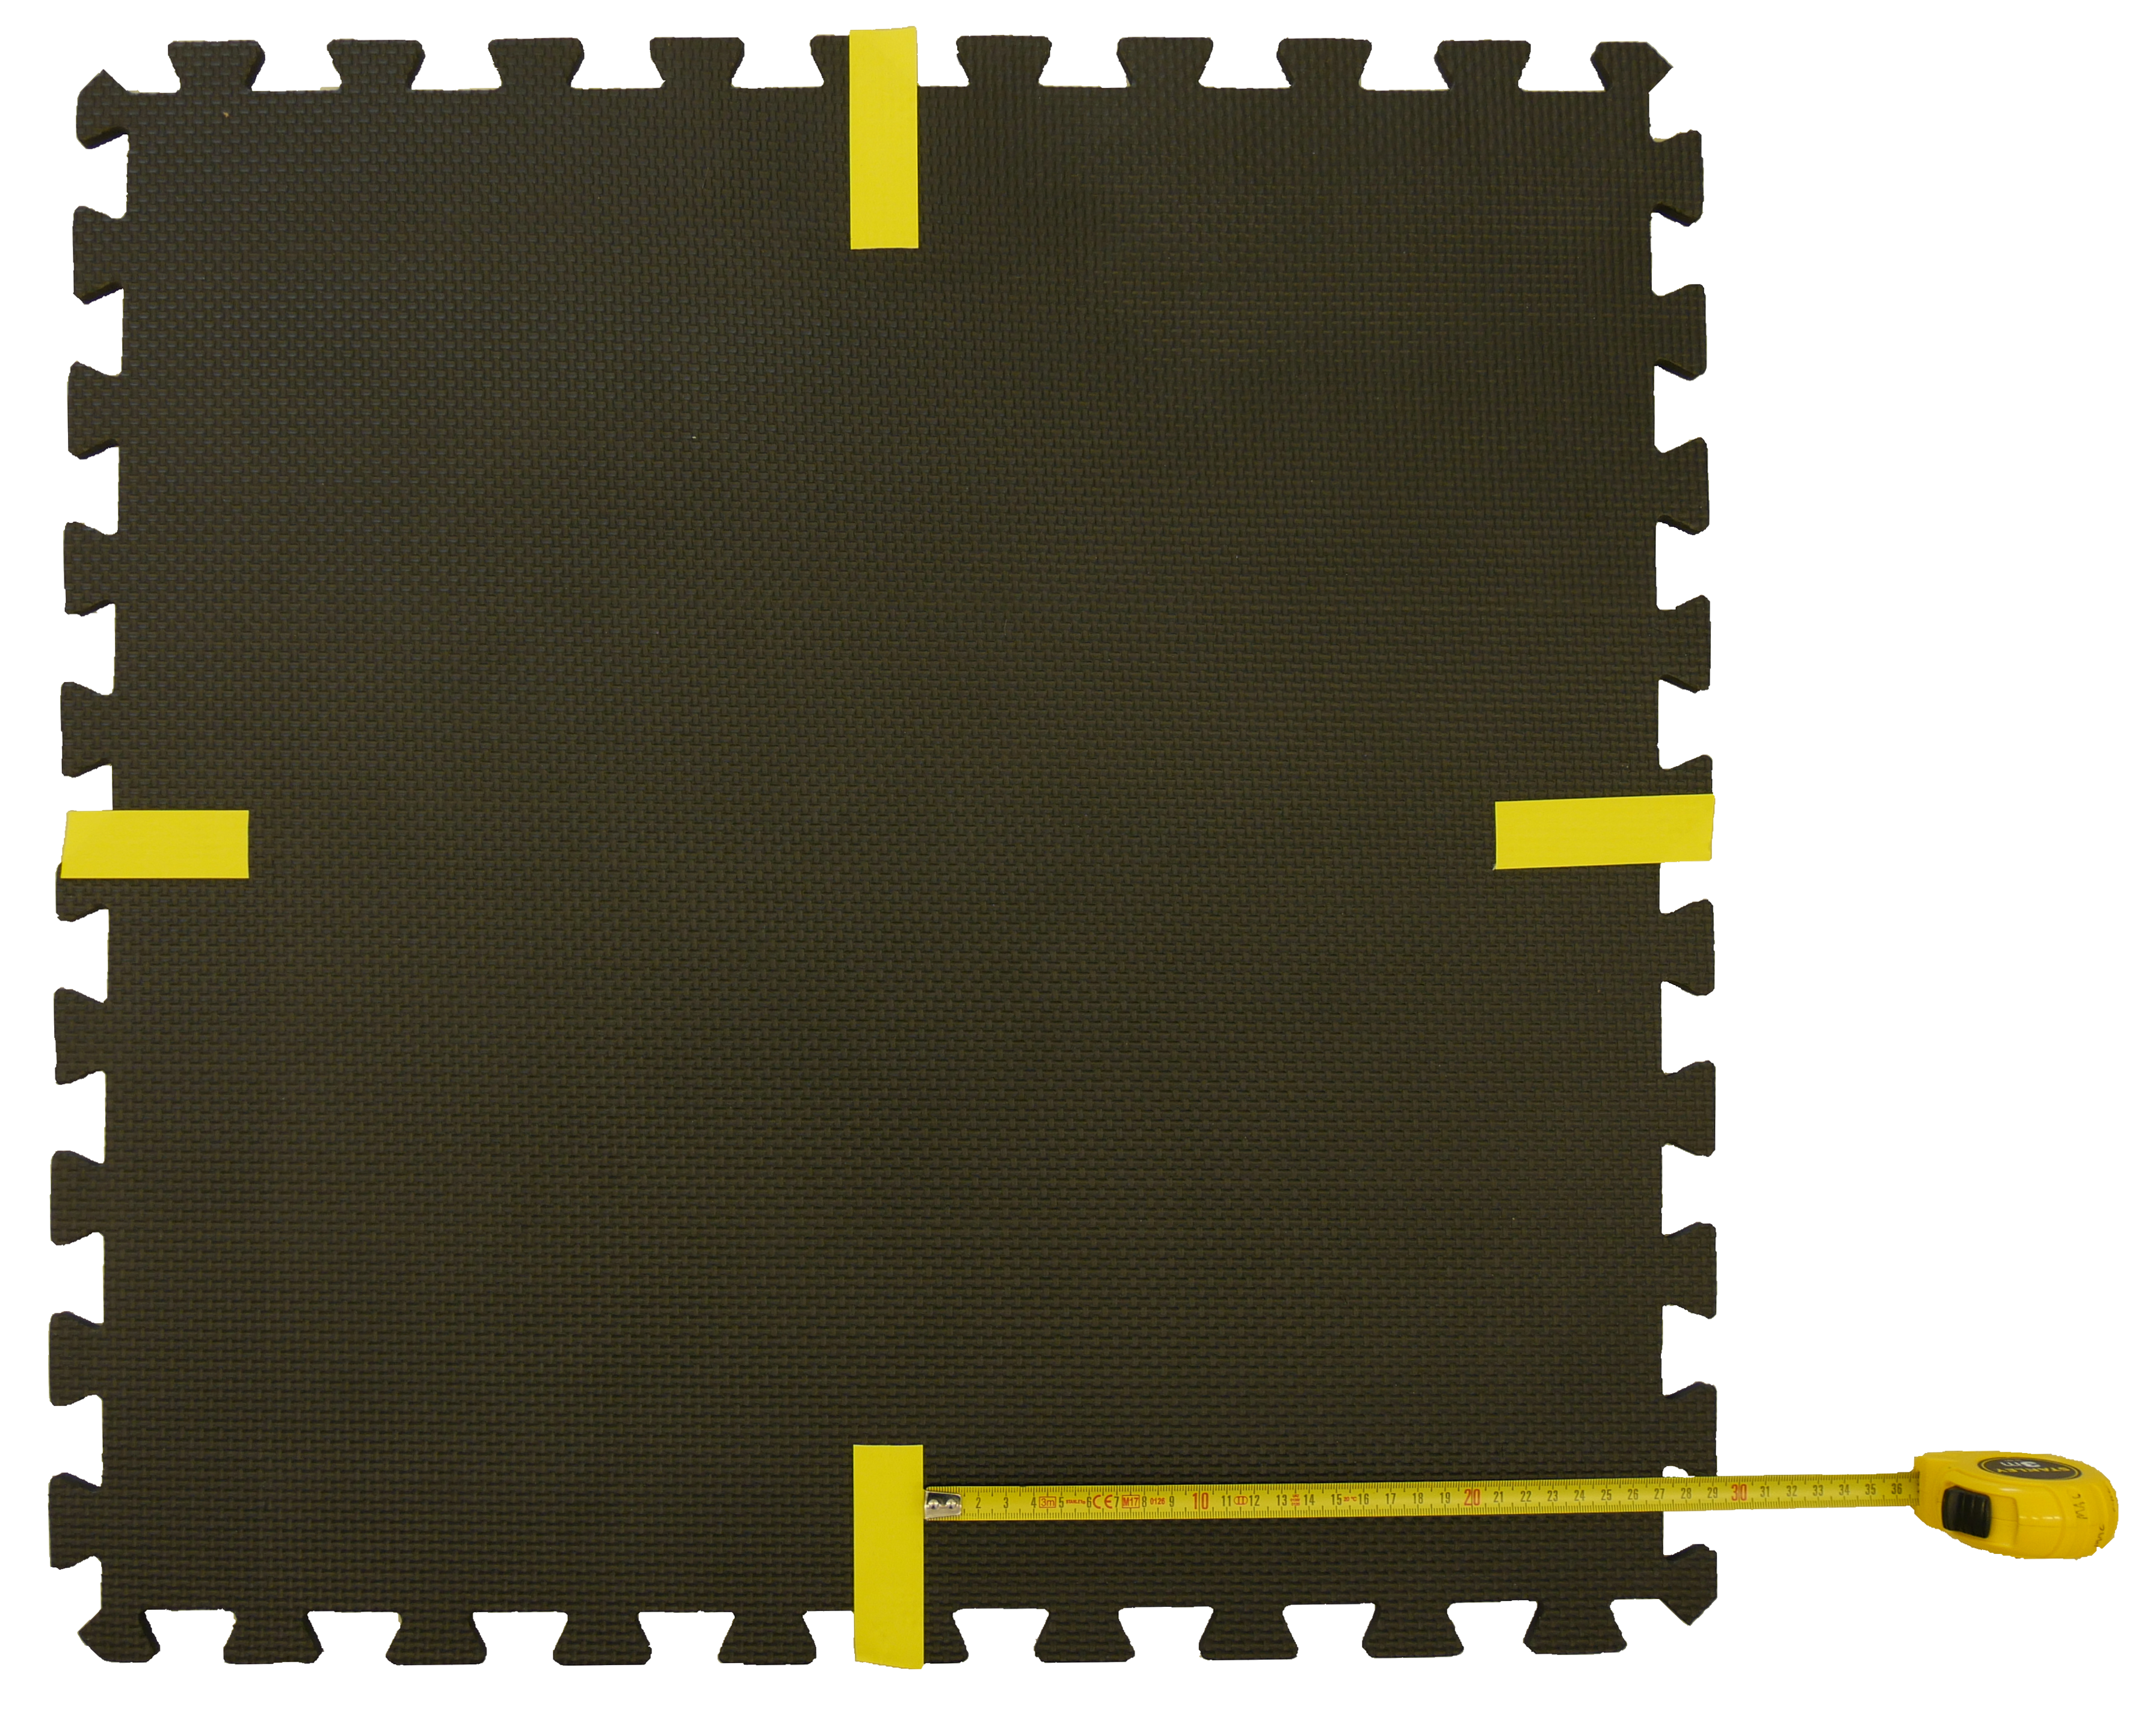
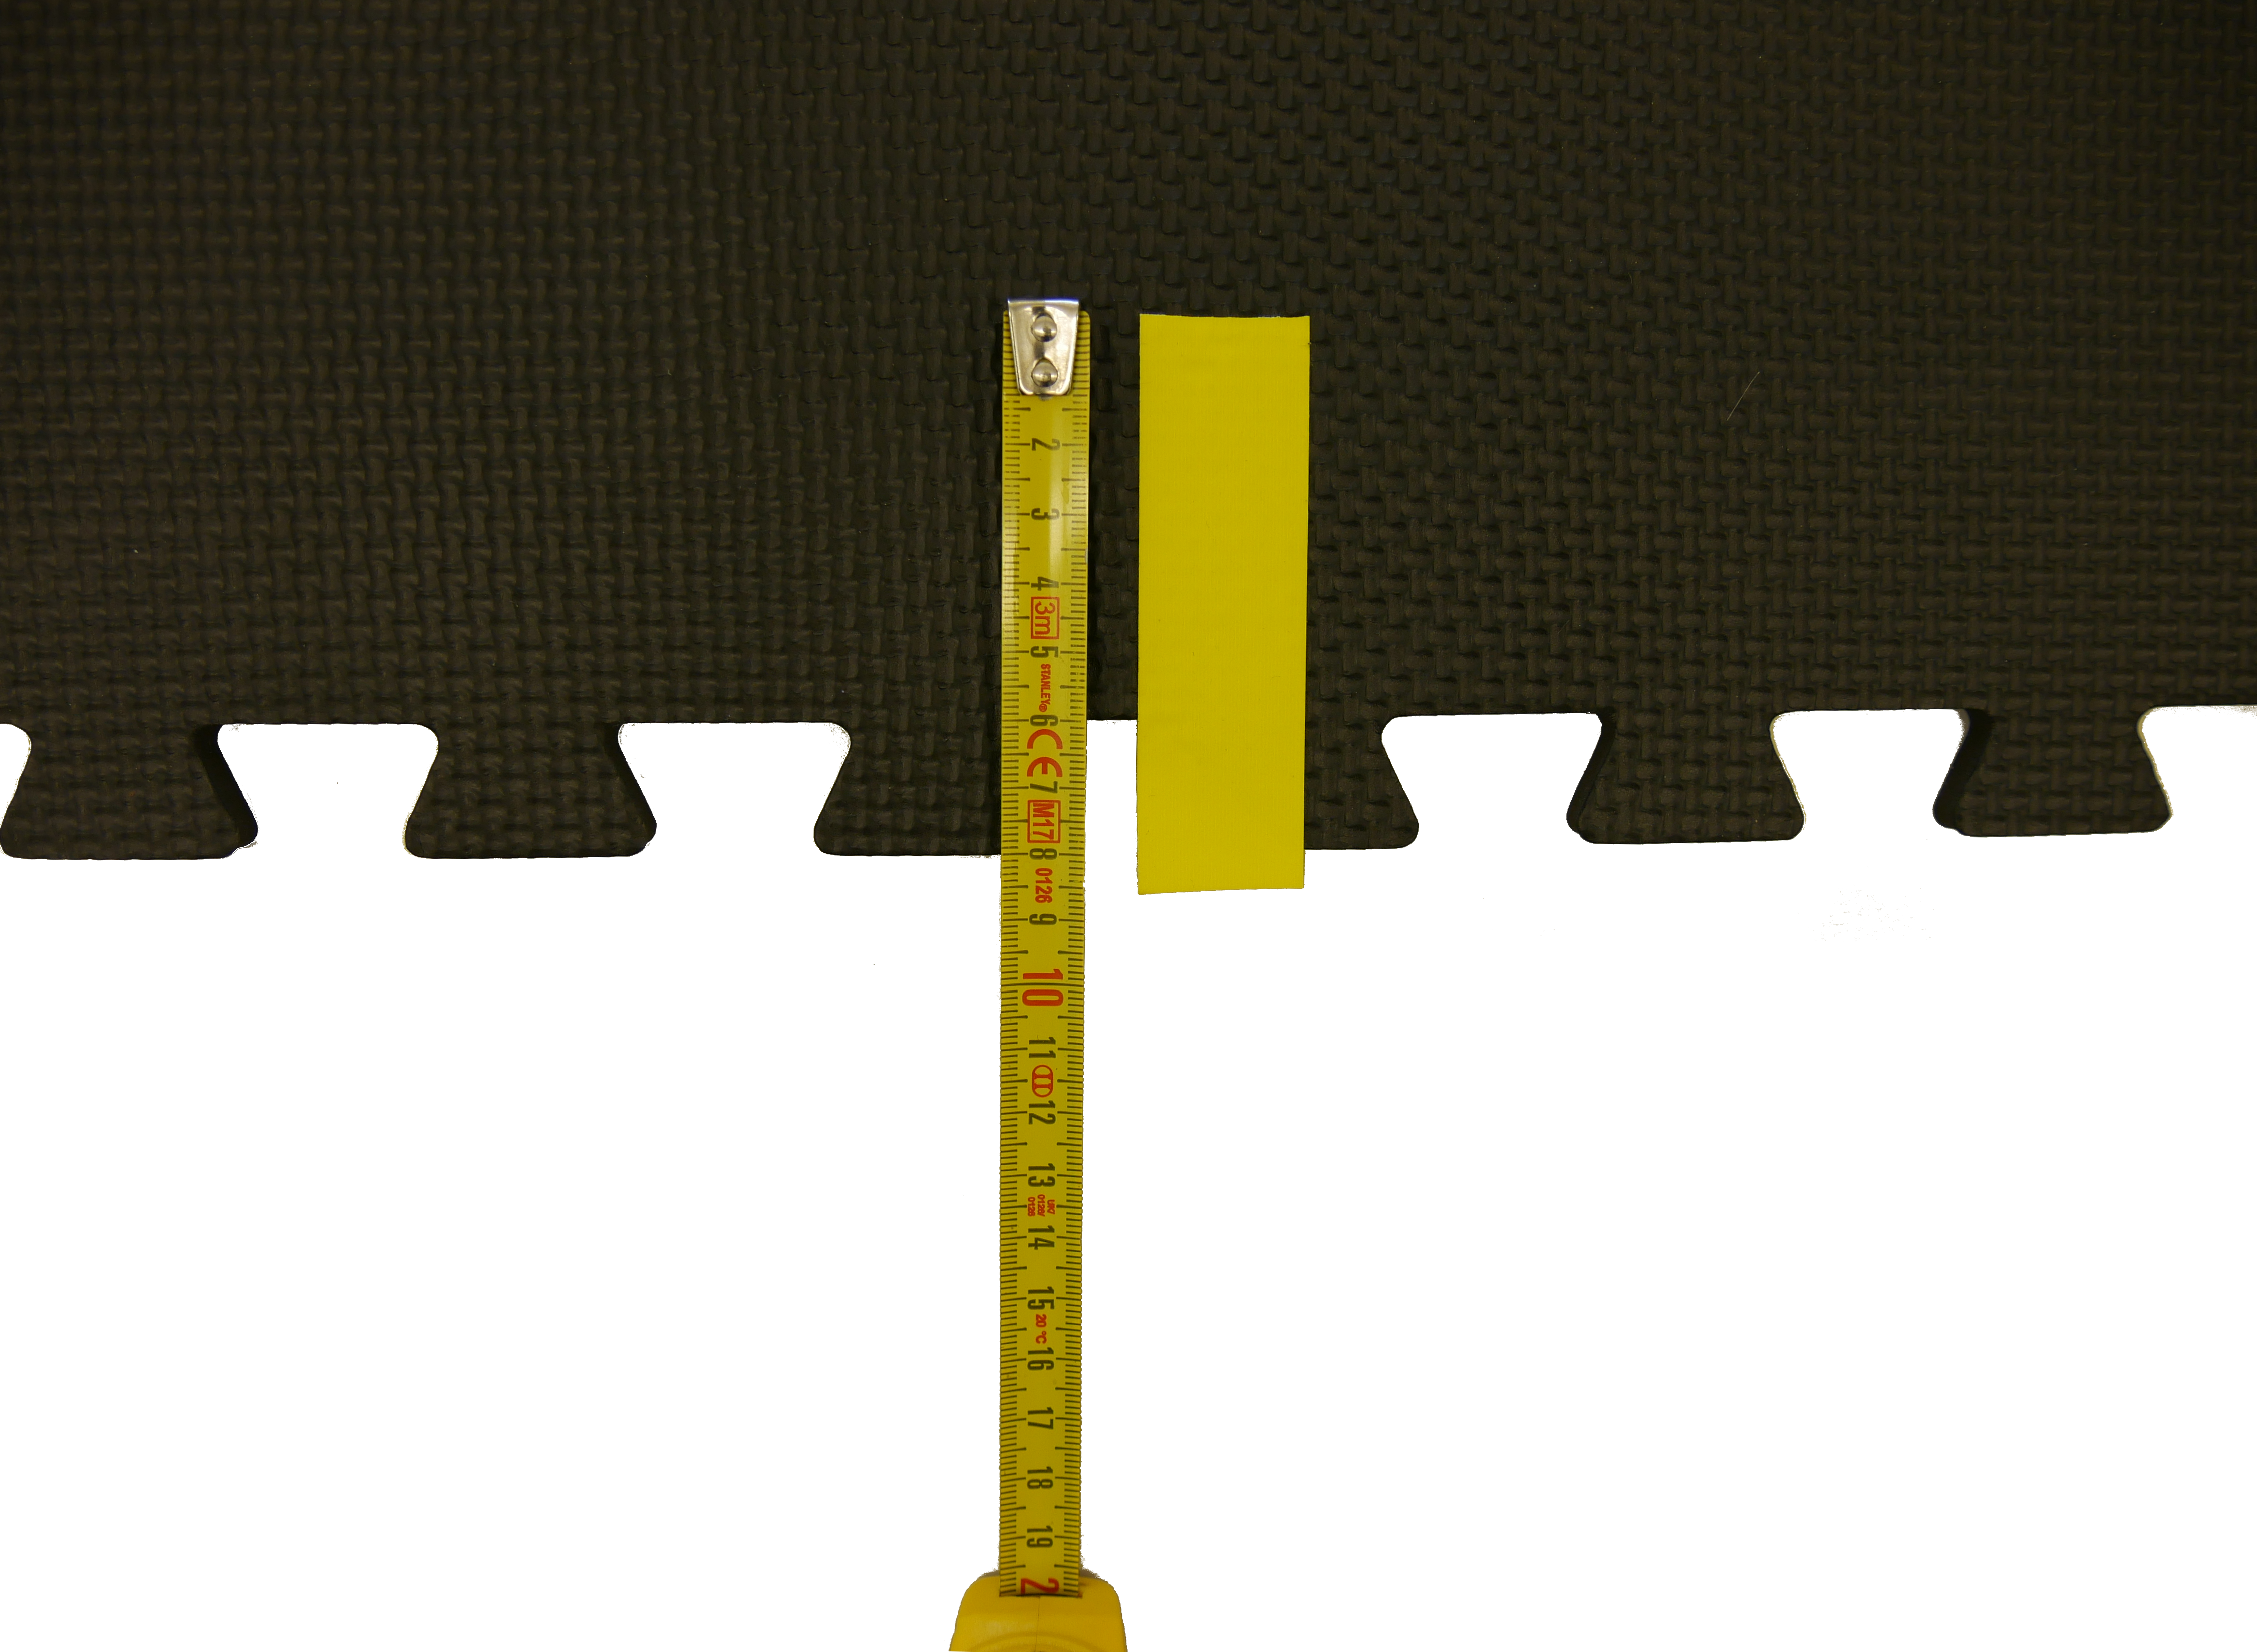
Now place the red tape aligned to the yellow tape. Ensure that the red tape is horizontally aligned with the edge of the tile and 21cm long.
Repeat this for the other edges of the intersection.
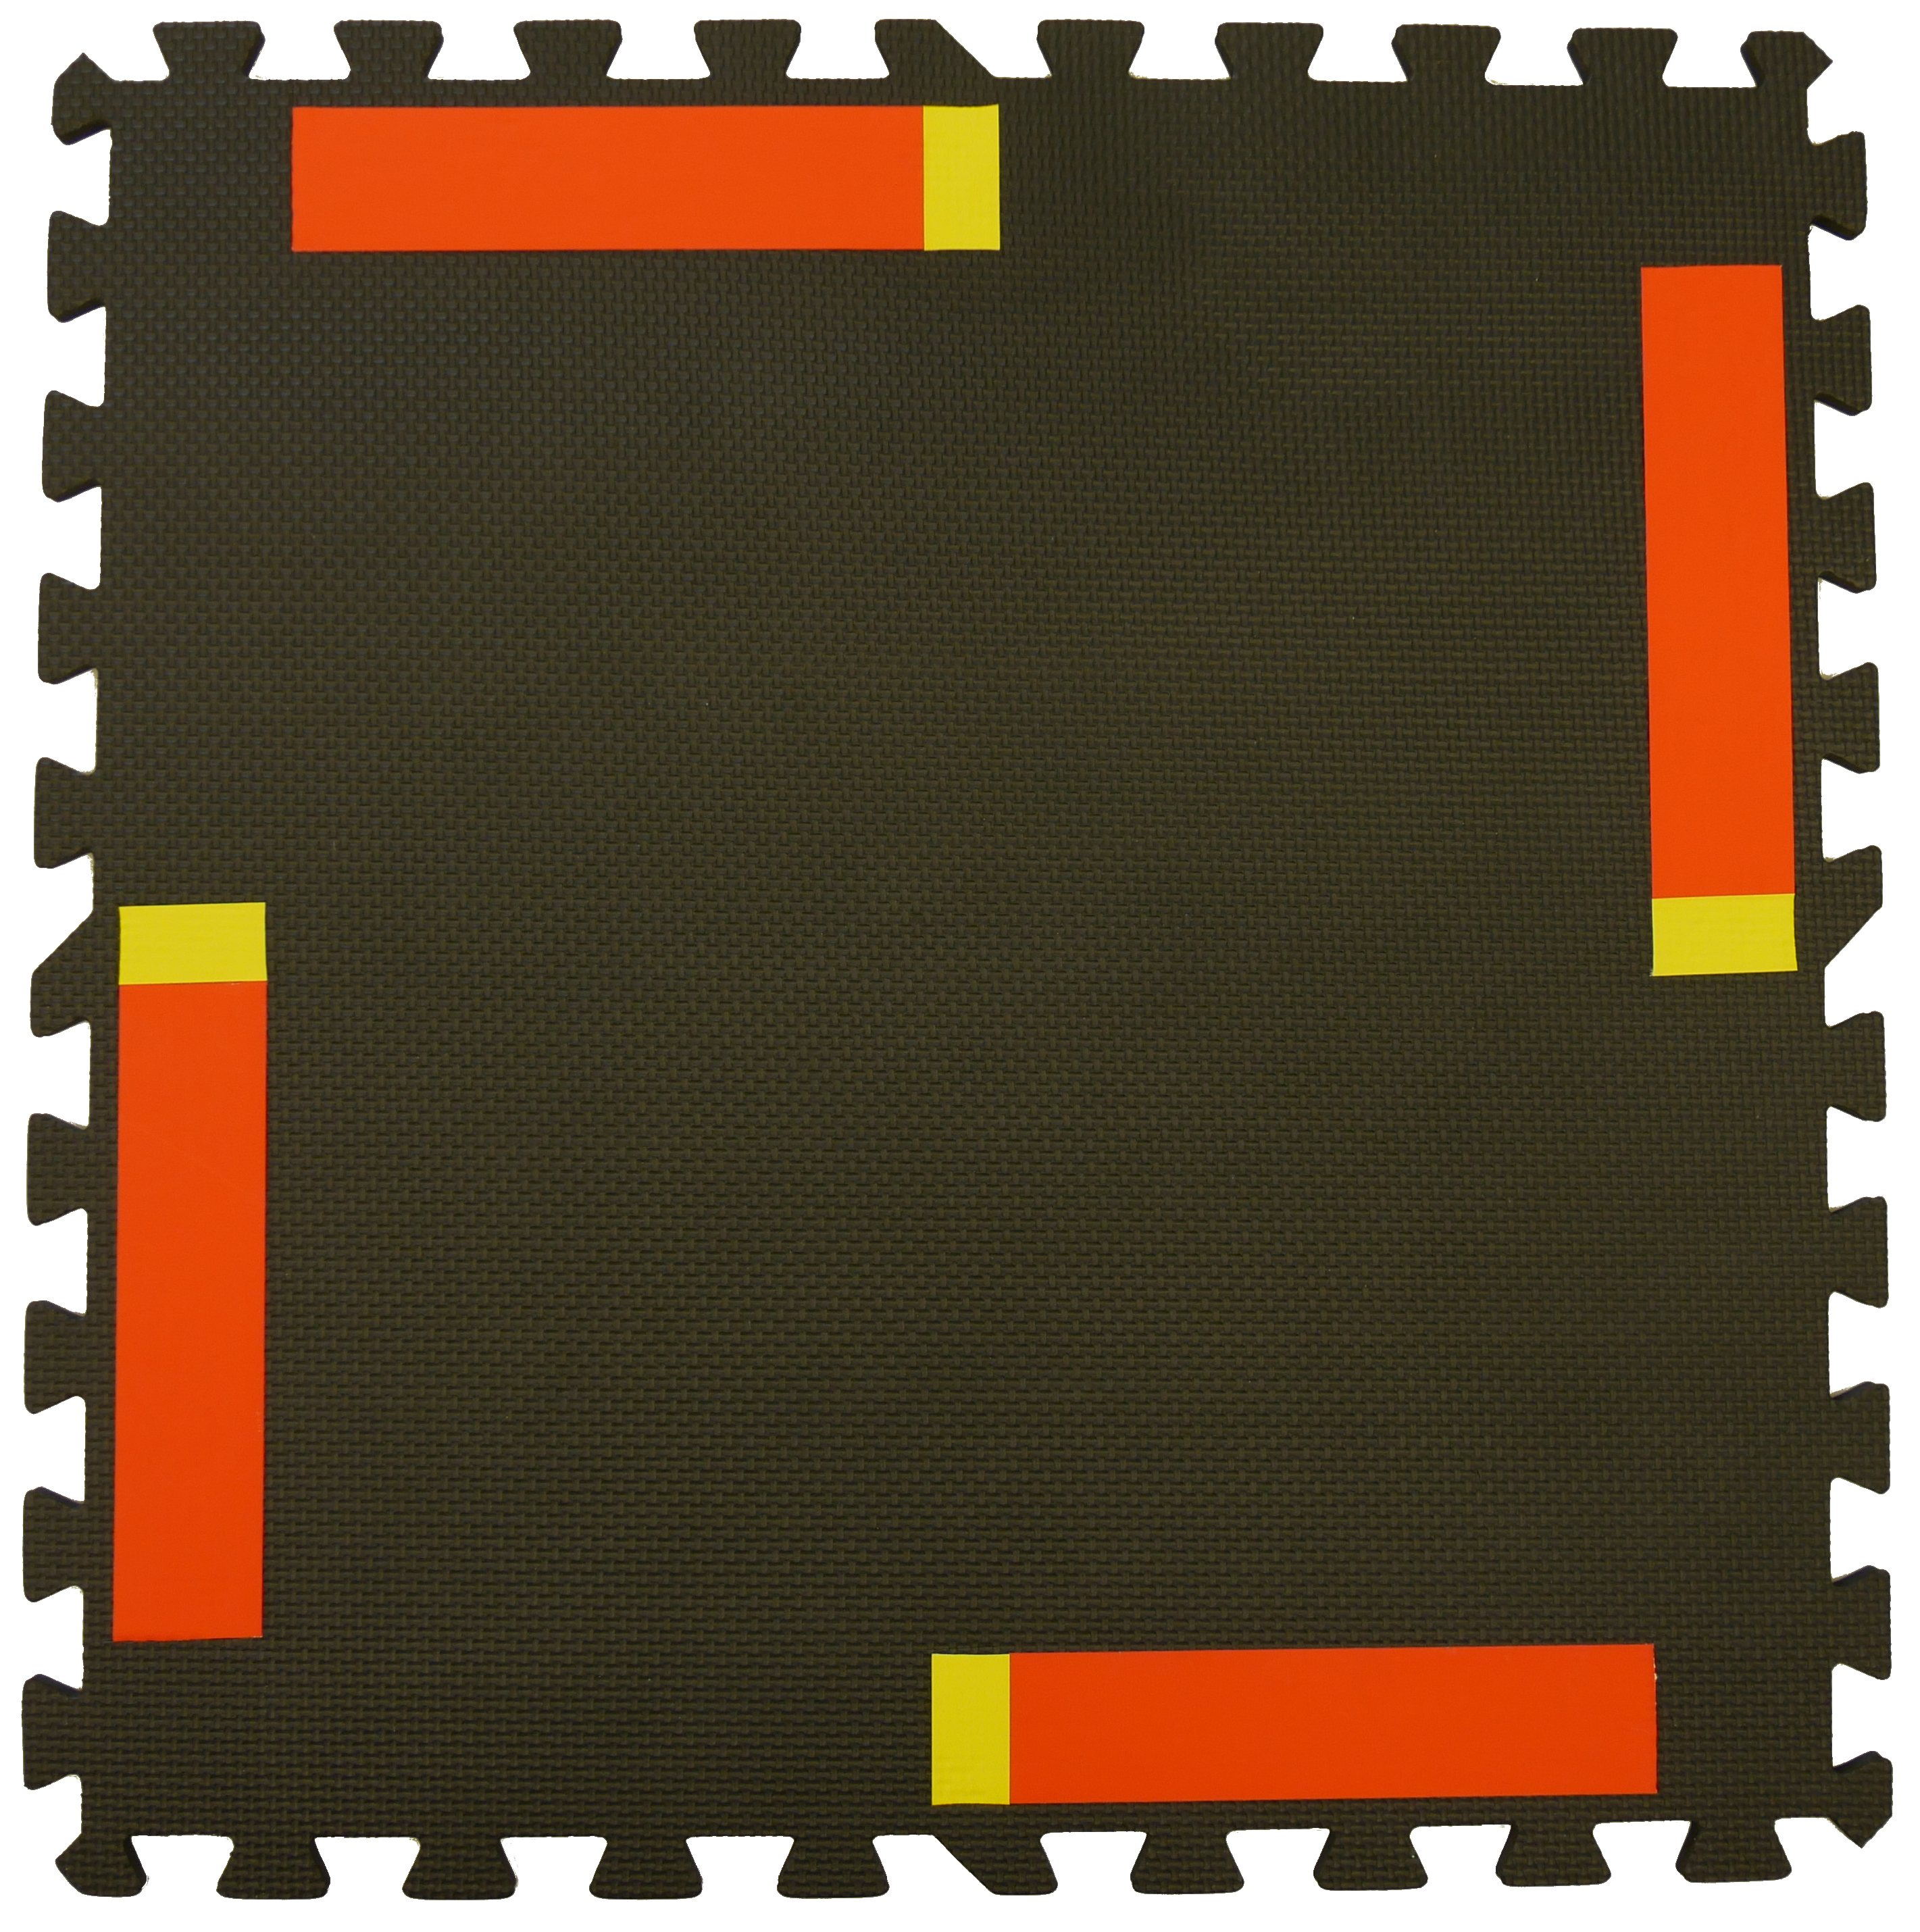
Cut the yellow lane markings to a length of 5cm.
Finally, add the white tape on the sides. Do this for all the corners of the intersection.
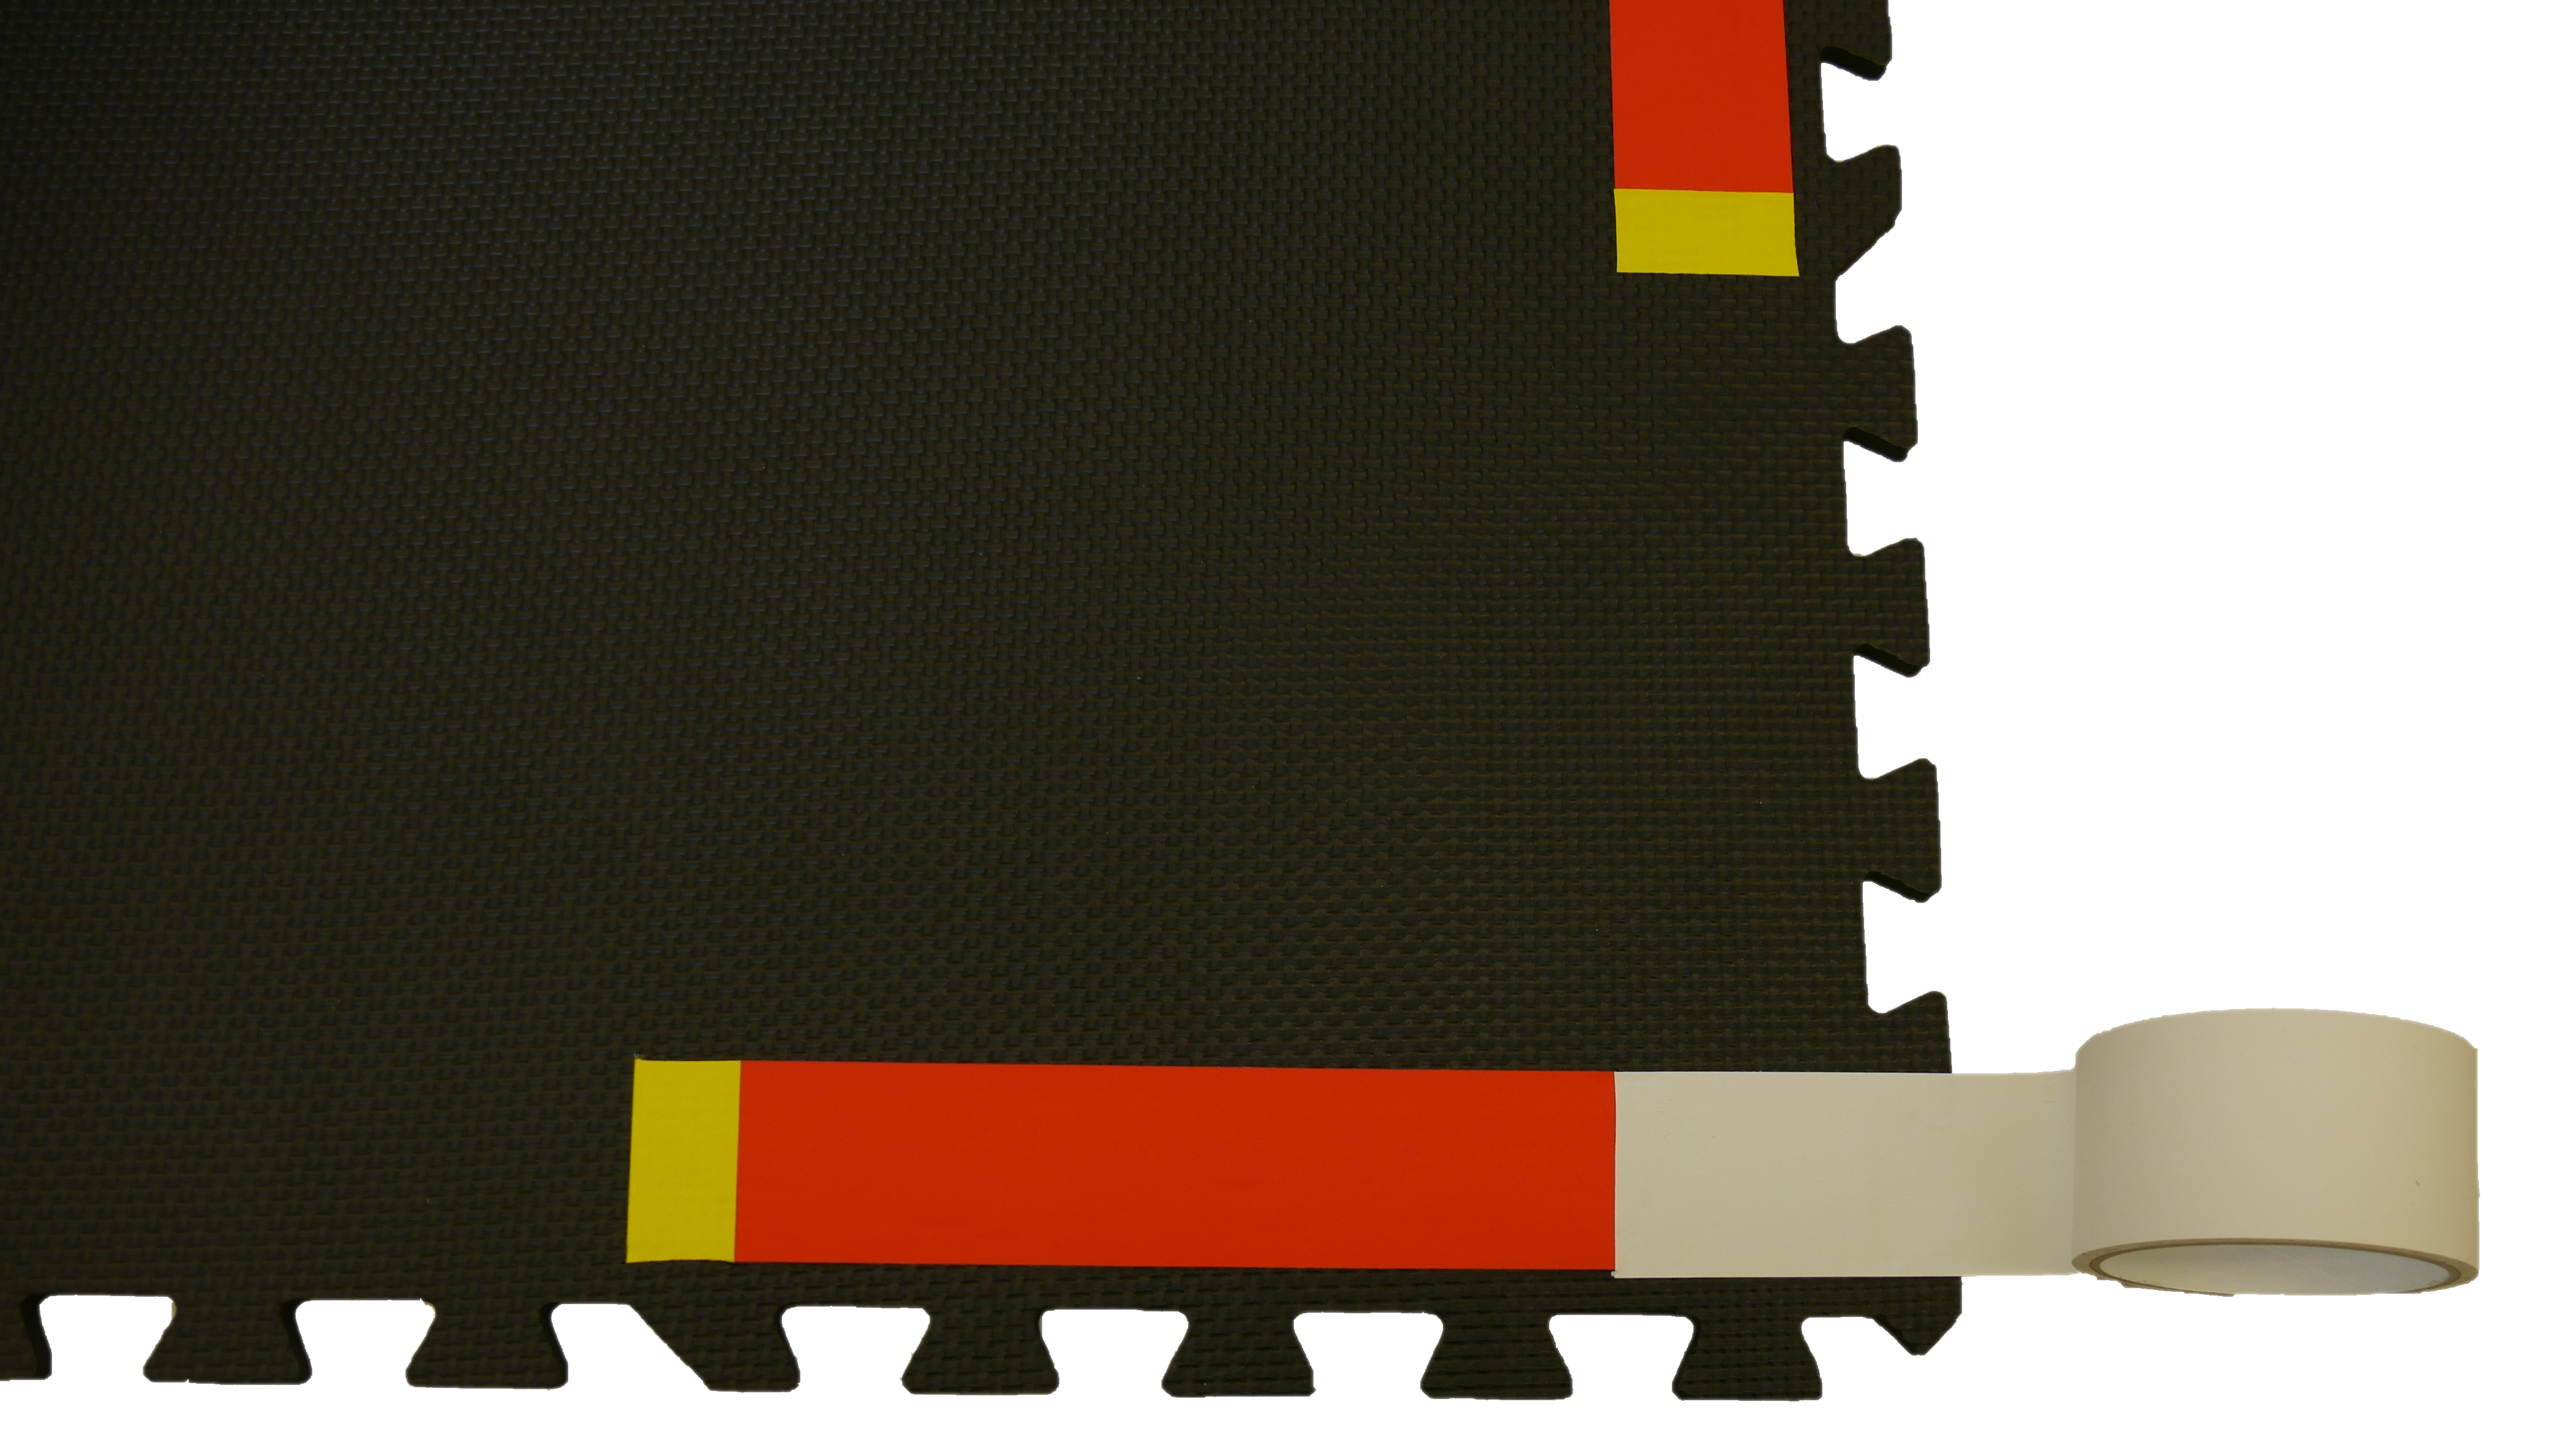
The finished 4-way intersection lane segment looks as in Figure 1.17
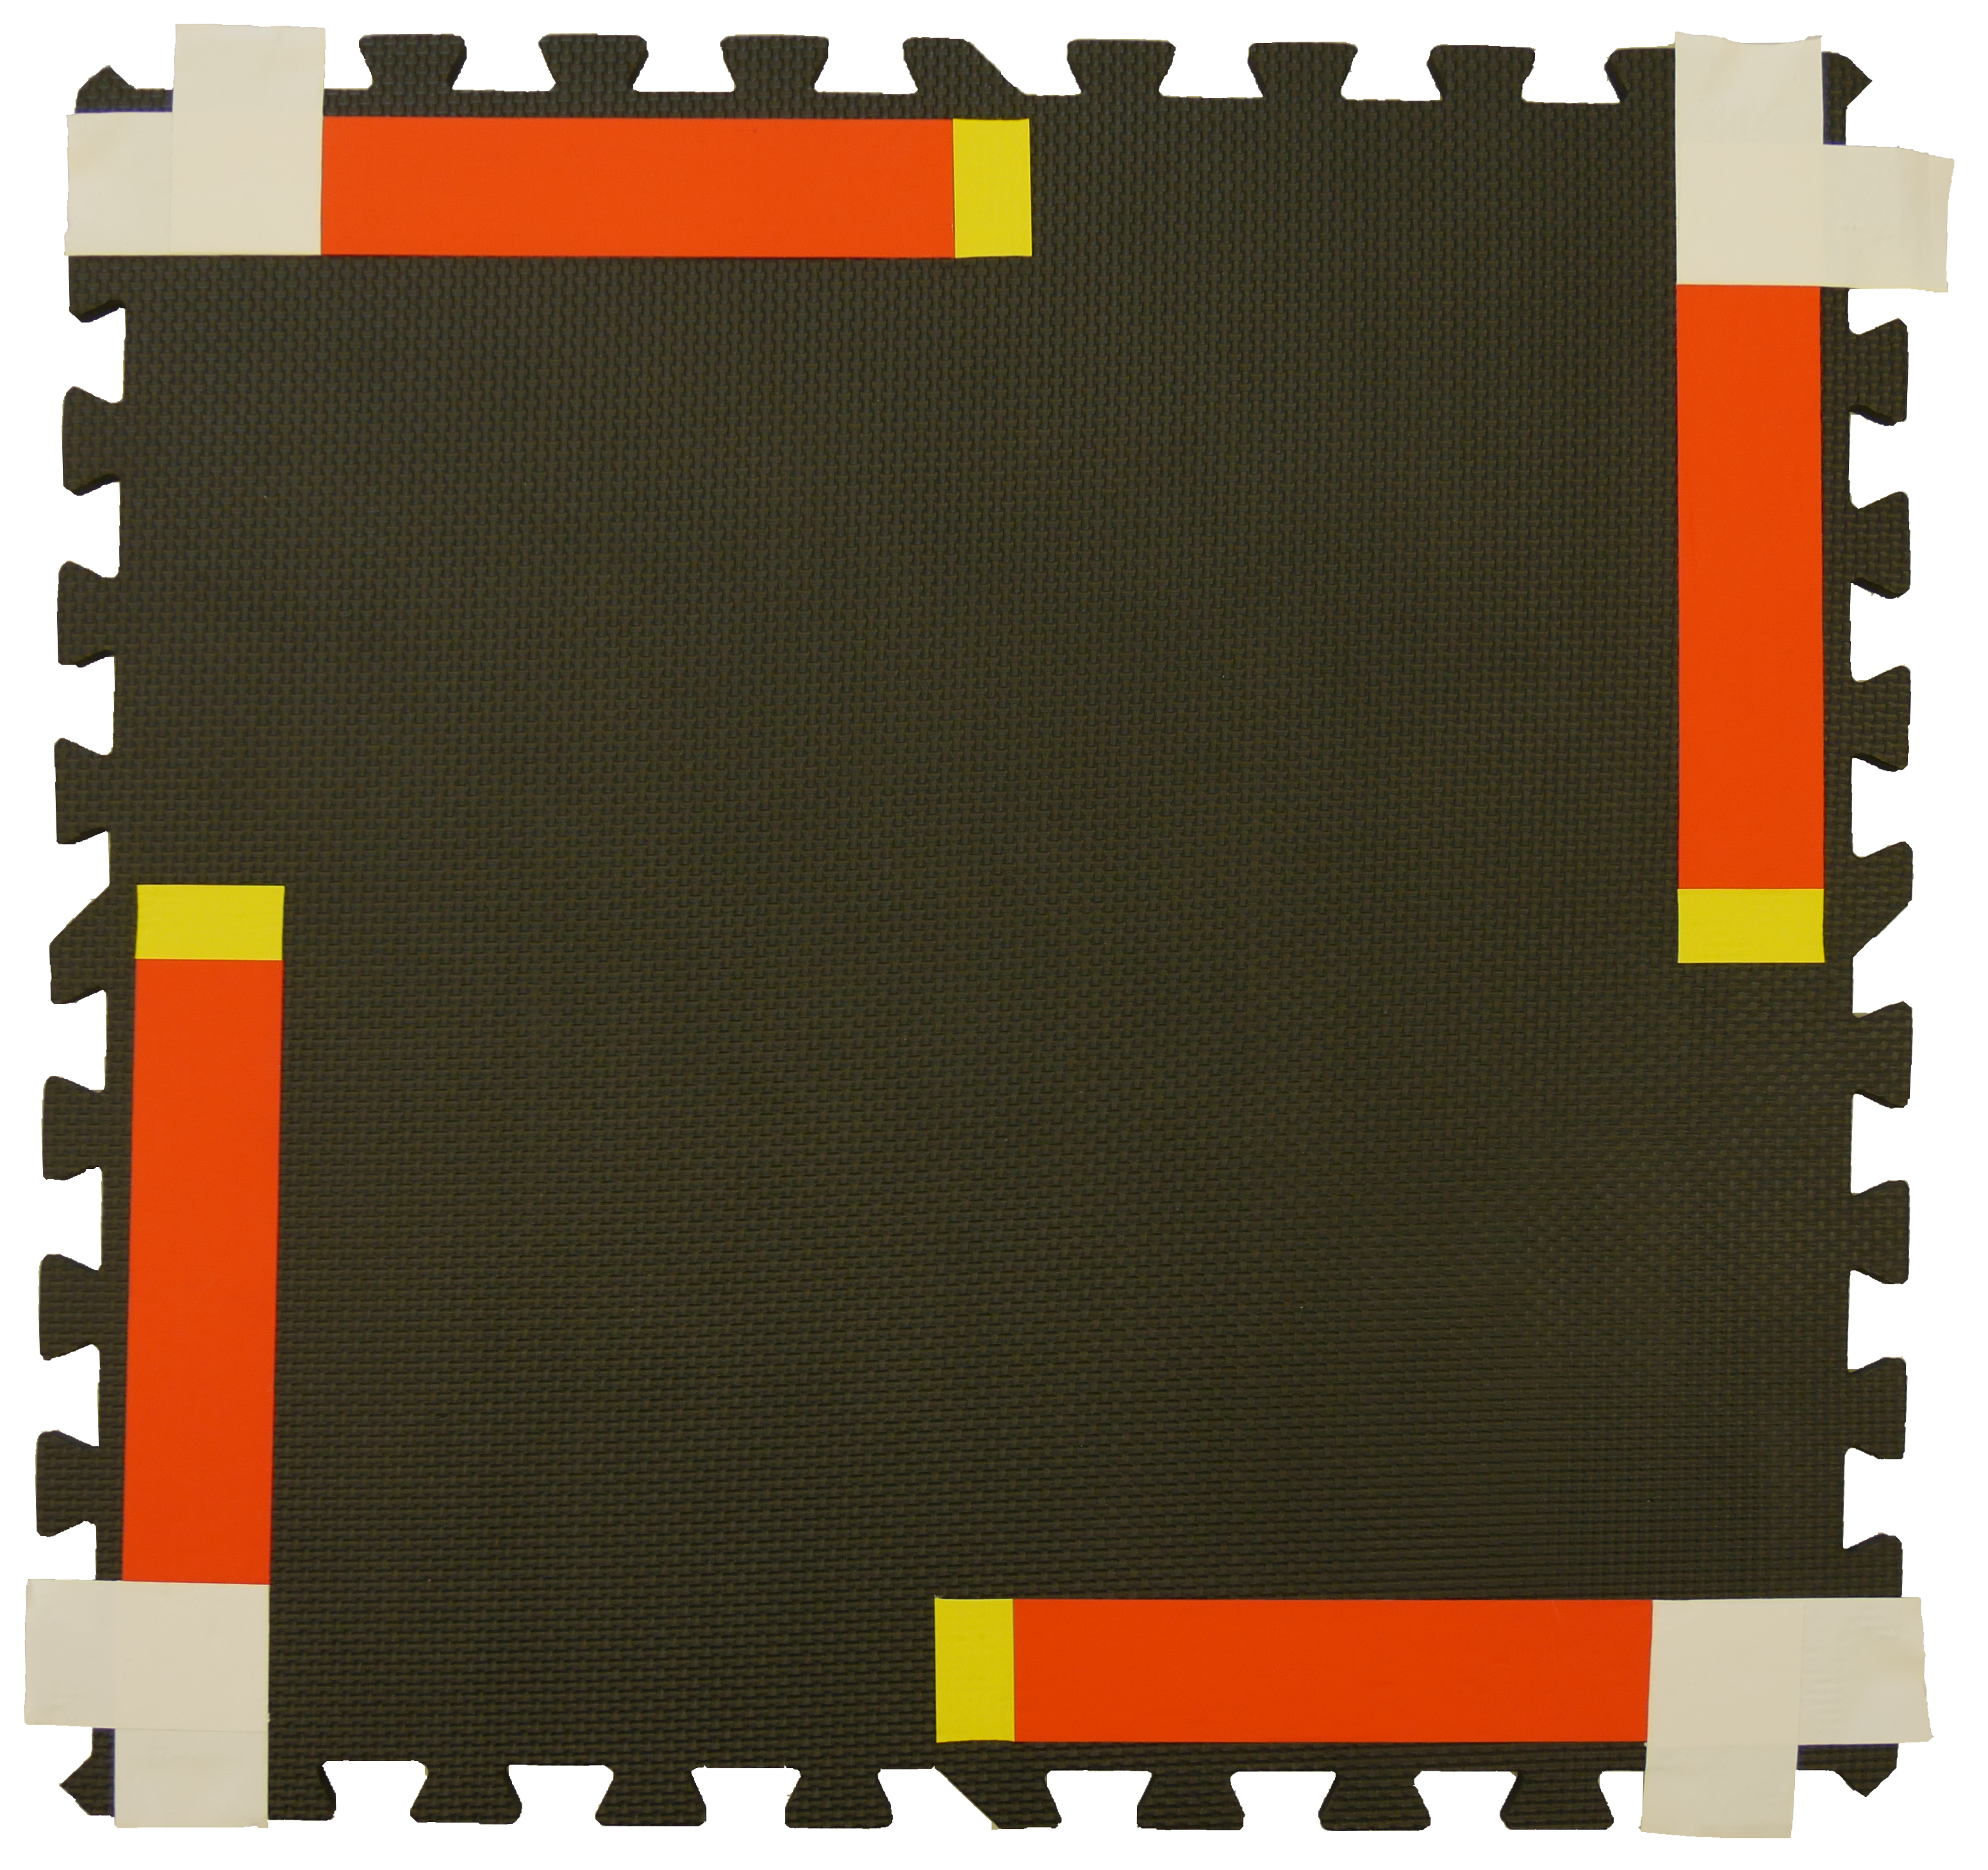
Tip: You don’t have to cut out the edges of the interlocking teeth from the white tape. Just use the overlapping tape to connect the road segment to the surrounding tiles nicely.
Assembly of 3-way intersection
✎Modified 2020-02-20 by hosnerm
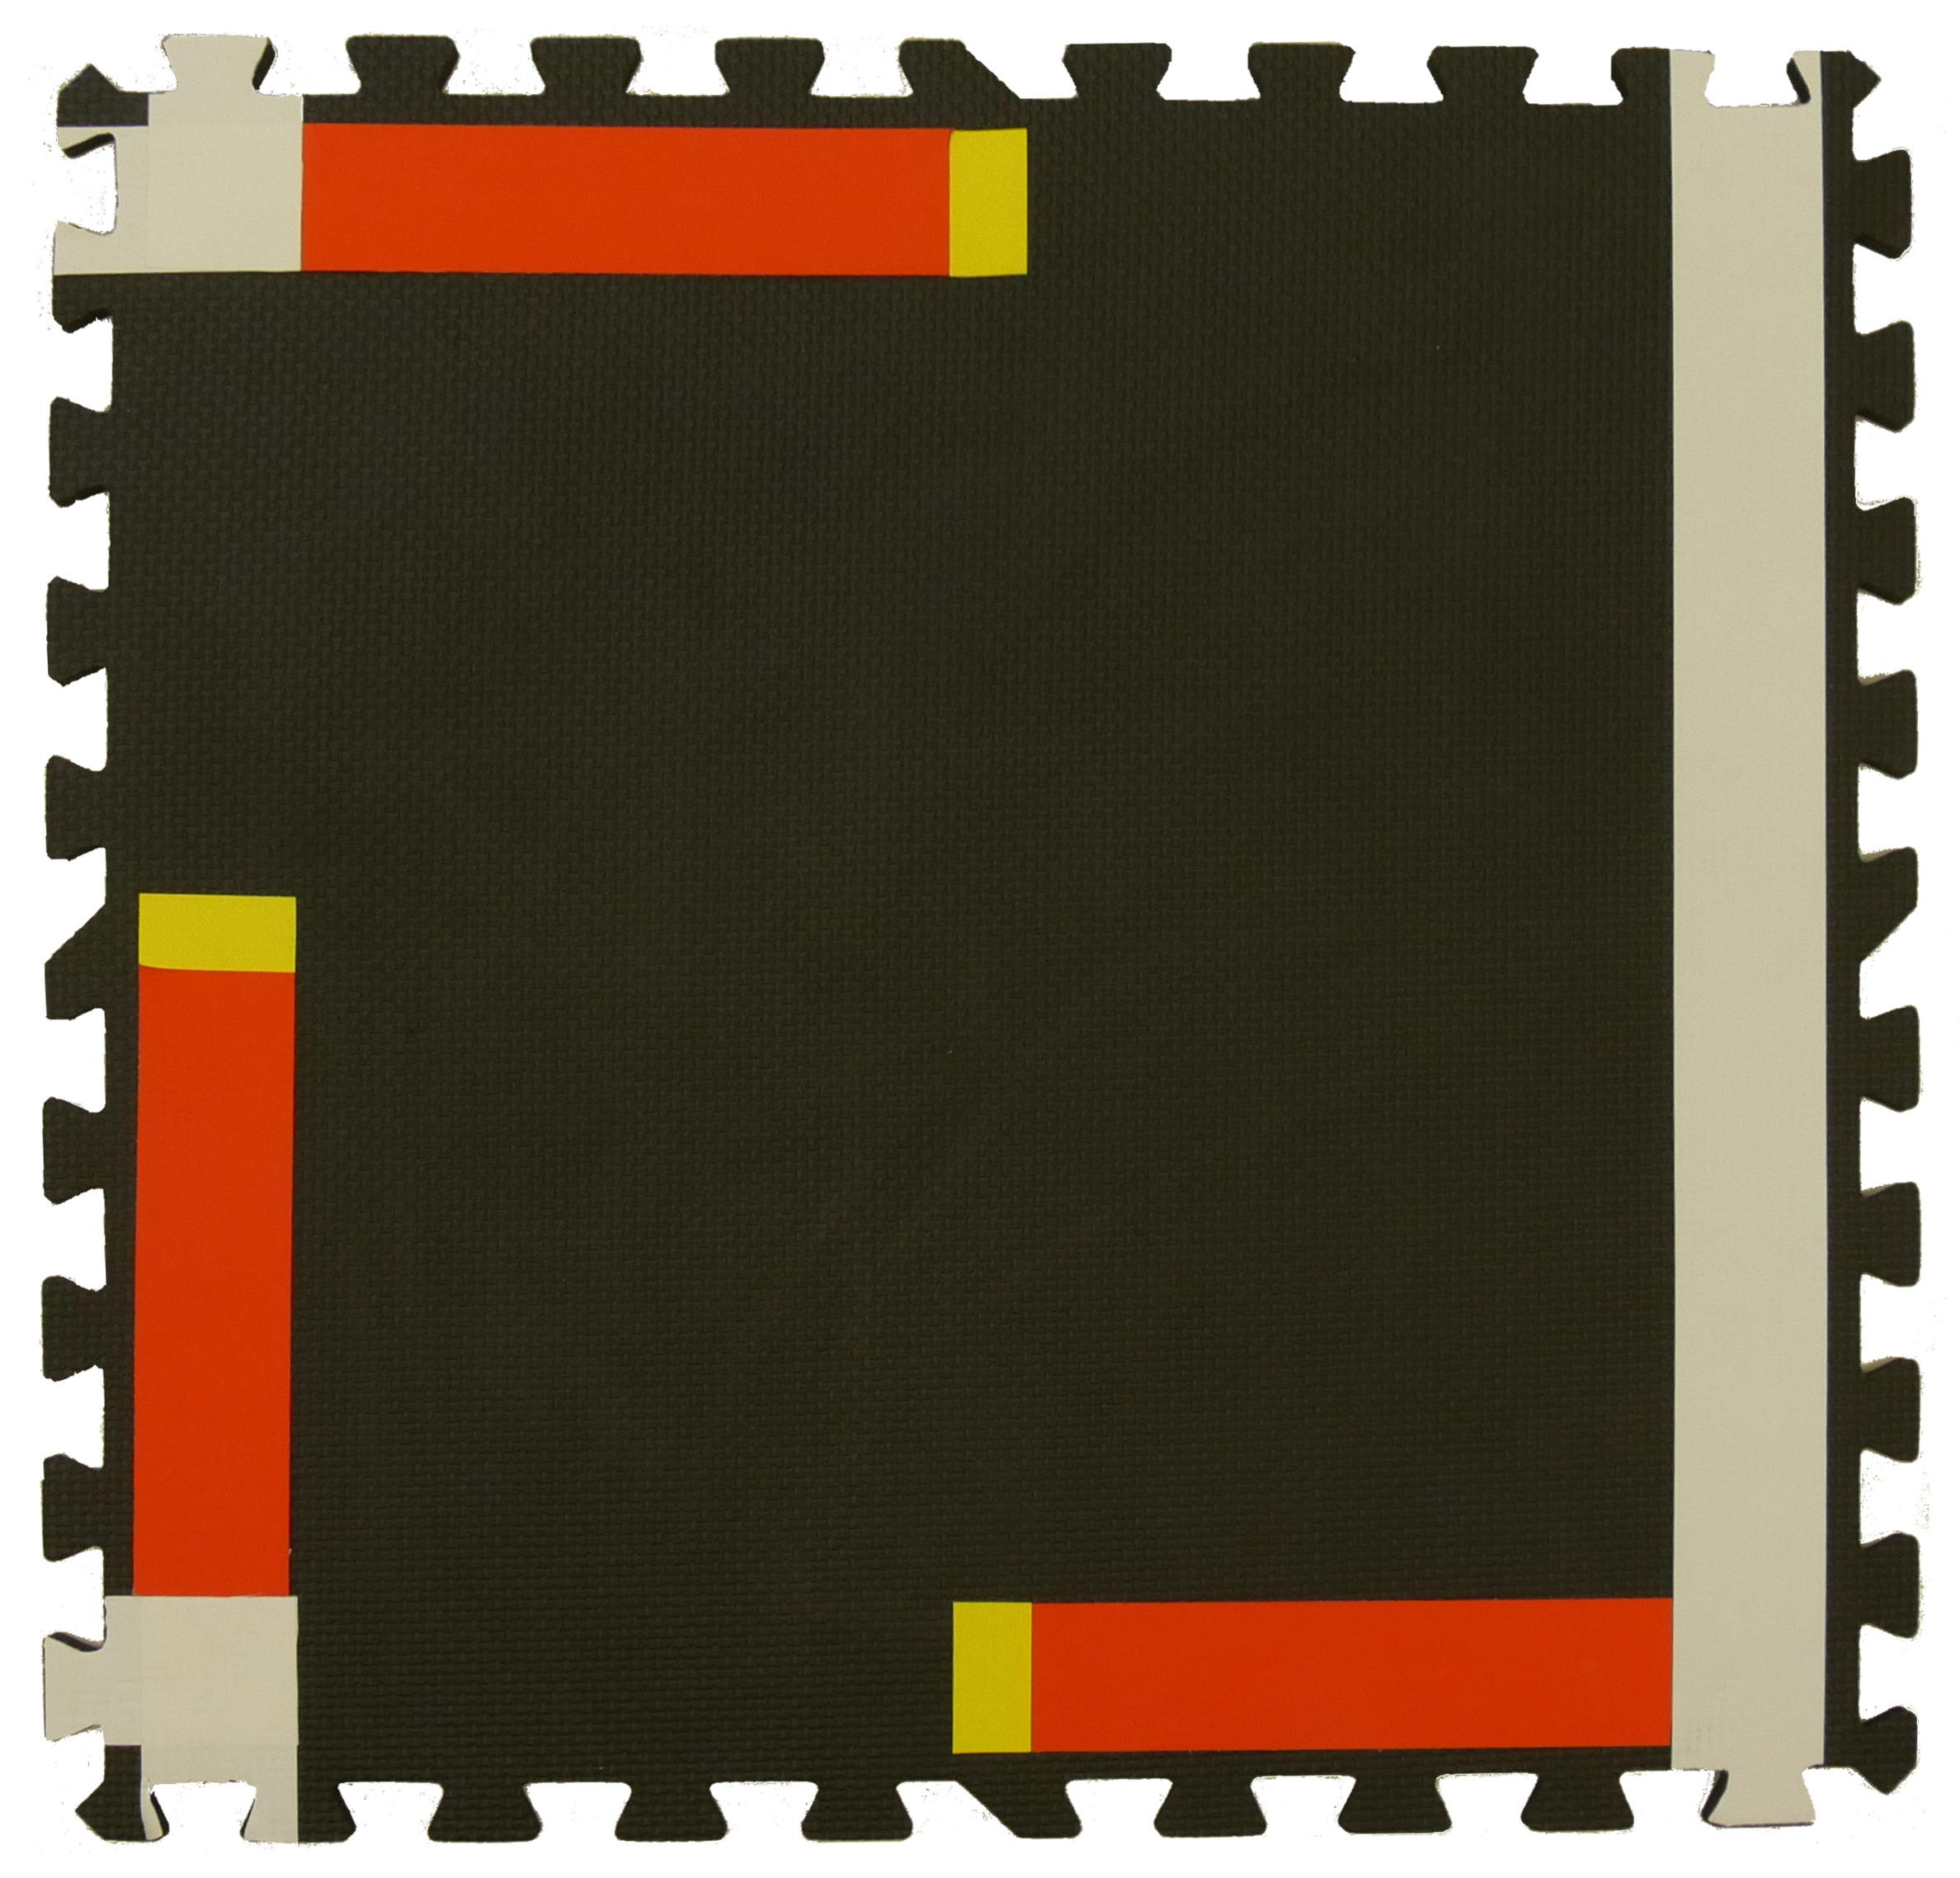
3-way intersections are built the same way as 4-way intersections with the difference that on one edge white tape is placed instead of red and yellow. The resulting 3-way intersection can be seen in Figure 1.18.
Troubleshooting
✎Modified 2023-03-06 by Jacopo Tani
my tape tends to detach from the tiles. The glue is no good.
make sure you follow these steps:
- clean the tiles with a water and alcohol solution to remove residual oils before placing the tapes, and dry them completely
- apply the tape directly to the tiles and cut it on site, rather than using an intermediate medium
- use a heat source, e.g., a hair dryer, to warm up the tape after the first application. The objective is to soften the glue. Once back to room temperature, the stickyness will be much improved.