Setup - Duckiebot SD Card
✎Modified 2021-10-26 by tanij
This page is for the DB18 configuration and above (including Jetson Nano configurations).
An SD card of size at least 32 GB
A computer with Ubuntu
At least 20 GB of free space on the computer
An internet connection
SD card reader
Duckietown Shell, as configured in Subsection 1.3.4 - Duckietown Shell.
Docker, as configured in Subsection 1.3.3 - Docker.
Duckietown Token, as configured in Unit C-2 - Setup - Account.
2.5 hours on average (depends on internet connection and sd-card adapter used)
A correctly configured Duckiebot SD card, ready to be used to give life to your Duckiebot.
Choose a name for your robot
✎Modified 2019-08-24 by Andrea F. Daniele
Pick a hostname for your robot. This will be the name of your robot and has to be unique within
a fleet of robots connected to the same network.
A valid hostname satisfies all the following requirements:
- it is lowercase
- it starts with a letter
- it contains only letters, numbers, and underscores
Burn the SD card
✎Modified 2018-09-25 by liampaull
Video Tutorial
✎Modified 2021-03-22 by tanij
Step-by-Step Instructions
✎Modified 2022-09-03 by liampaull
Though the suggested operating system for this operation is Ubuntu 20.04, this
should work on any Unix-like operating system. If you are using dts through WSL or experience
any issues while performing this procedure, when prompted to enter the device name, simply
provide a path to a file, for example /home/user/duckiebot_sd_card.img. The program will
proceed by creating a disk image on that file that you can later transfer to an SD card
using any standard flashing tool, e.g., etcher, dd.
If you are using a microSD to SD card adapter, make sure the adapter does not have the write protection enabled. Check this link to learn more.
Plug the SD card in your computer using an SD card reader. If your computer does not have one, you will find a USB to microSD card adapter in your Duckiebot kit.
Initialize the SD card by running the following command,
laptop $ dts init_sd_card --hostname hostname --type type --configuration configuration --wifi wifi
where,
--hostname          Name of the robot to flash the SD card for.
--type              The type of your device. Types are `duckiebot` (default),
                    `watchtower`, `traffic_light`.
--configuration     The model of your robot. This is associated with
                    `--type` option. E.g. `DB21J`, `DB21M`, `DB19`, or `DB18`.
Other options are:
--wifi              A comma-separated list of WiFi networks, aeach network is passed in the format wifi_name:wifi_password
                    default: duckietown:quackquack
--country           Country code.
                    default: US
the default username and password for all Duckiebots are “duckie” and “quackquack”, respectively.
for the “Self-Driving Cars with Duckietown” online course on edX, the robot configuration to choose is DB21M if you have the 2GB Jetson Nano and DB21J if you have the 4GB Jetson Nano.
If you plan on connecting with the Duckiebot over different networks (e.g., at home and in class), you can list them like this:
laptop $ dts init_sd_card ... --wifi duckietown:quackquack,myhomenetwork:myhomepassword,myuninetwork:myunipassword
There should be no space after the commas.
Watchtowers and traffic lights by default have Wi-Fi not configured, as we recommend hard wiring them with Ethernet cables. Default Wi-Fi settings for other robot types is “duckietown:quackquack”.
Each network defined in the list can support the following arguments:
  - Open networks (no password) network: "ssid"
  - PSK (Pre-shared key) protected networks (no password) network: "ssid:psk"
  - EAP (Extensible Authentication Protocol) protected networks network: "ssid:username:password"
Make sure to set your country correctly with the --country option (e.g., CA for Canada, CH for Switzerland, US for the United States of America). Neglecting this sometimes will result in specific Wi-Fi hot-spots not being seen by the Duckiebot.
Additional options for init_sd_card exist. For a full list of the options, run:
laptop $ dts init_sd_card --help
After you run the dts init_sd_card command, follow the instructions that appear on screen.
Part of this procedure includes accepting the Duckietown Software License, Terms and Conditions and Privacy Policy, as well as robot configuration-specific licenses due to the presence of third party software in the SD card.
The next step is that of choosing among all the devices connected to your computer, which one represents the SD card that you want to flash for your Duckiebot. Given the danger of choosing a wrong device (from data loss to OS files corruption), the program will guide you through this step by asking the size of the SD card. Devices that do not match the given size will not be shown.
Type in or copy-paste the device name from the list and press Enter.
At this point, the SD card is being flashed. A verification step follows to make sure that the flashing went well.
On successful end of the procedure, the drives will be automatically ejected and you can just remove the SD card from your laptop.
Booting the Duckiebot
✎Modified 2022-09-03 by liampaull
Now insert the SD card as shown in the video below into your robot and push the button on the battery to power up the Duckiebot.
Unless you are using a Duckiebattery (available in the DB21M and DB21J Duckiebots), don’t charge the battery while you are doing the initialization (or in general when the Duckiebot is turned on). The external power supply might not be able to provide sufficient current and the Raspberry Pi will reboot. Should that happen during the initialization procedure, you will likely have to burn the SD card again.
Monitoring the First Boot
✎Modified 2022-09-03 by liampaull
You know that your Raspberry Pi, or NVIDIA Jetson Nano, has successfully booted when you see it using the dts fleet discover utility. Open a terminal and run the command:
laptop $ dts fleet discover
The command above (fleet discover) will show a list of all the Duckiebots
reachable on your network. Leave this tool open, it will refresh automatically every
second, so there is no need to manually restart it.
You should see your Duckiebot in a few minutes after you inserted your SD card and power on the robot.
The list will look like the following.

During the first boot, the robot will automatically reboot several times. Wait for the “Status” column to read “Ready” and turn solid green.
If the command above returns an error about the library zeroconf being
missing, run pip3 install zeroconf and retry.
When the column “Dashboard” reads “Up” and turns solid green, you can proceed to the robot’s first setup that can be performed through any Web Browser.

When the Dashboard is Up, open your browser and visit the
URL http://hostname.local/. You will see the following page,

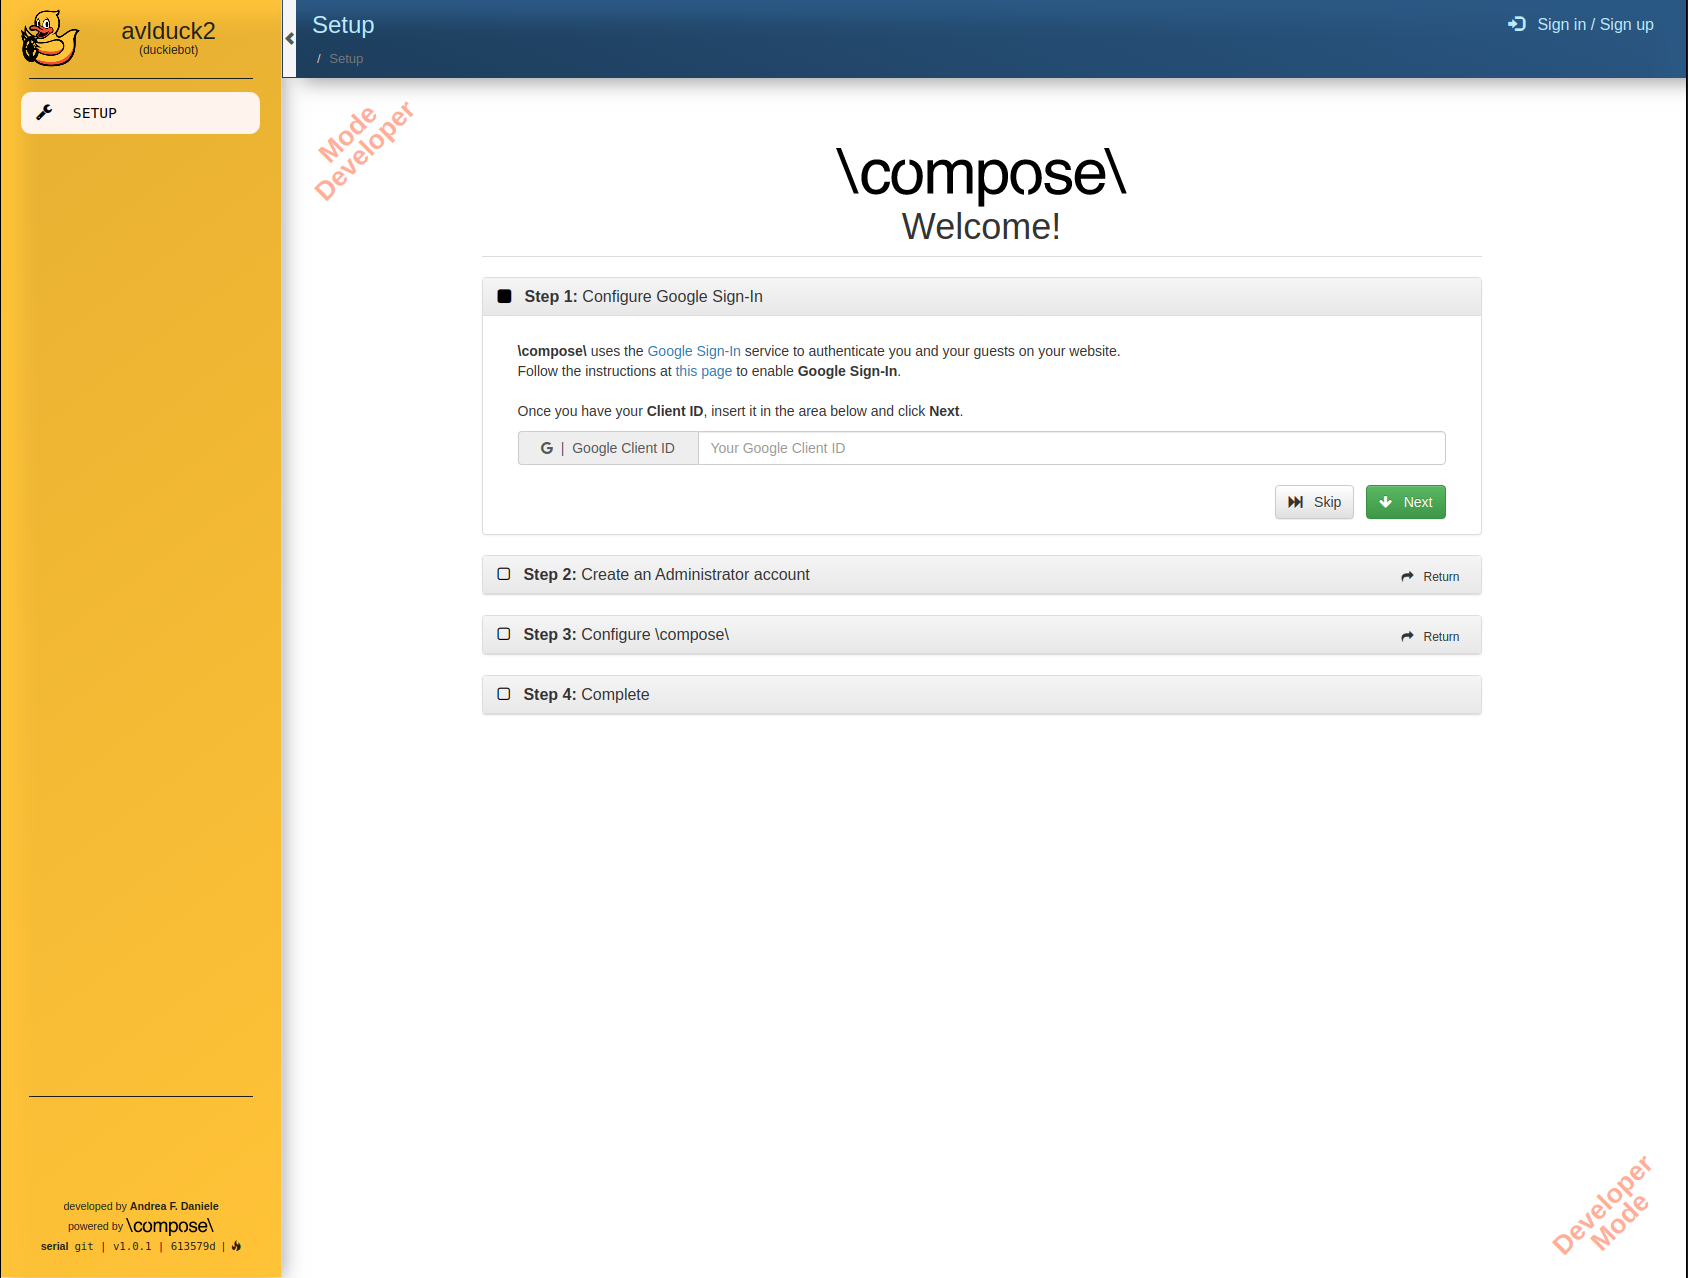
This is the dashboard of your Duckiebot. The Dashboard is built using a framework called \compose\. You will see how to configure it in Unit C-7 - Setup - Dashboard.
Troubleshooting
✎Modified 2021-03-22 by Andrea F. Daniele
SD card flashing
✎Modified 2021-04-04 by tanij
The SD card doesn’t seem to be written.
The SD card process seems extremely fast, and there is no data on my SD card.
Check if your SD card has a write protection switch or it is in read-only mode.
make sure you inputted the correct drive name during the initialization procedure.
The flashing procedure fails with a Bad archive error.
This happens when the downloaded compressed disk image file appears corrupted. You can force the re-download by adding the option --no-cache to the init_sd_card command.
The verification process fails with error Please set up a token using "dts tok set".
Make sure you completed the Duckietown token setup procedure Unit C-2 - Setup - Account.
First Boot
✎Modified 2021-03-22 by Andrea F. Daniele
The red LED on the Raspberry Pi is OFF.
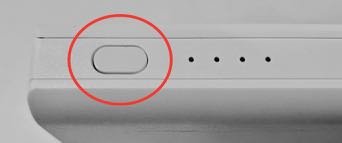
Press the button on the side of the battery (Figure 3.5).

The Raspberry Pi has power but it does not boot.
Initialize the SD card if not done already. If problem persists, try again.
I cannot ping the Duckiebot.
Check the networking section of the book to see if your network is set up correctly.
I am not sure whether the Duckiebot is properly initialized.
As long as the fleet discover tool shows ready, your Duckiebot should be ready. You can also visit http://hostname.local:9000 to see all the container status. Generally as long as you see the Duckiebot web UI is up, your Duckiebot should be correctly initialized.
(only for DB18 and DB19) The LEDs light up in a variety of colors when the battery is plugged in for the first time.
The LEDs of the (DB18 and DB19) Duckiebot should light up in white as soon as you power the Duckiebot. If the LEDs turn on and shine in any different color than white, probably the code on the microcontroller is corrupted. You can reflash it using the procedure in Unit C-20 - Debug - Re-flash Microcontroller.
On first boot, the lights of the Duckiebot do not turn white (might be blue).
Run the following commands:
laptop $ dts duckiebot update <hostname>
SSH to the Duckiebot
✎Modified 2021-04-04 by tanij
Next, try to log in using SSH, using
laptop $ ssh duckie@hostname.local
This should succeed without password. The default password is quackquack.
Rebooting the Duckiebot
✎Modified 2021-03-22 by Andrea F. Daniele
Do not test these commands before the Duckiebot has completed its first boot. If the Duckiebot gets rebooted/shutdown while the first boot has not finished, the Duckiebot might become unreachable and you will have to reflash the SD card.
To reboot your Duckiebot, use the command,
laptop $ dts duckiebot reboot hostname
Turn off the Duckiebot
✎Modified 2021-04-04 by tanij
To turn off your Duckiebot, use the command,
laptop $ dts duckiebot shutdown hostname
Then wait 20 seconds.
If you disconnect the power before shutting down properly using shutdown,
the system might get corrupted.
If you have a Duckiebot that is powered by the official Duckiebattery,
e.g., DB21M, this procedure will shutdown the battery as well.
This means that you do not need to manually disconnect any component from the battery. Learn more about handling the Duckiebattery in the DB21 handling instructions.
If you DO NOT have a Duckiebot that is powered by the official Duckiebattery, disconnect the USB cable from the battery.
If you disconnect frequently the cable at the computational unit’s end, you might damage the port.
(DB18 and DB19) Pressing the battery button does not shut down the power to the Duckiebot, it only activates the battery. If not in use anymore, disconnect the cables. The battery will automatically shut down if no load is detected over a period of 10 mins.