Part 4: Camera, Propellers, and Mounting Hardware Instructions
✎Modified 2020-10-18 by sageshoyu
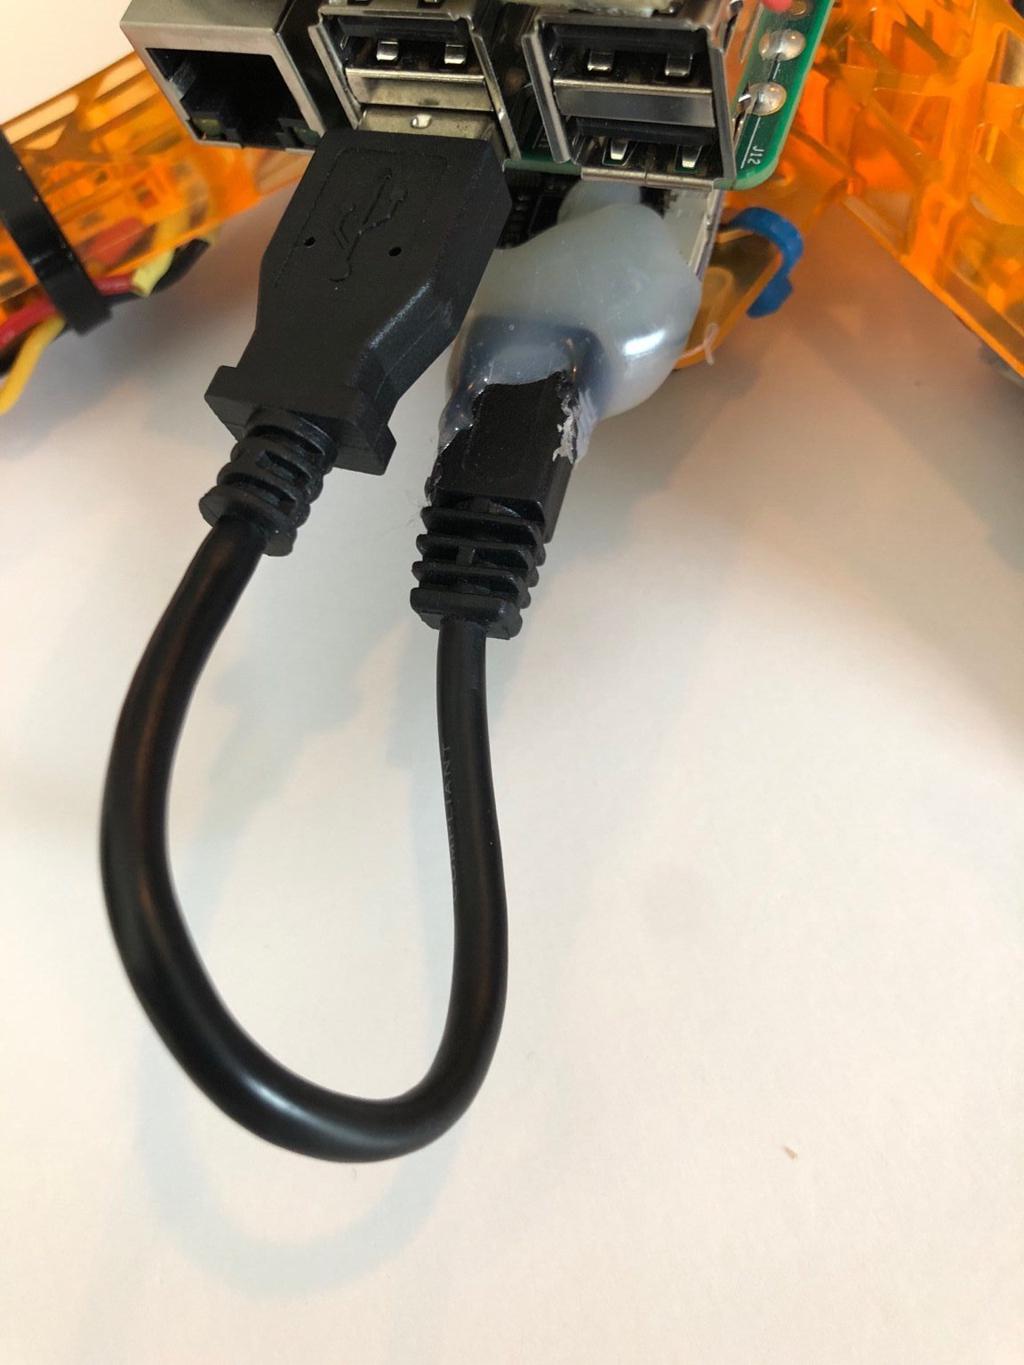
Glue USB Connector to Flight Controller
✎Modified 2020-08-06 by Garrett Warren
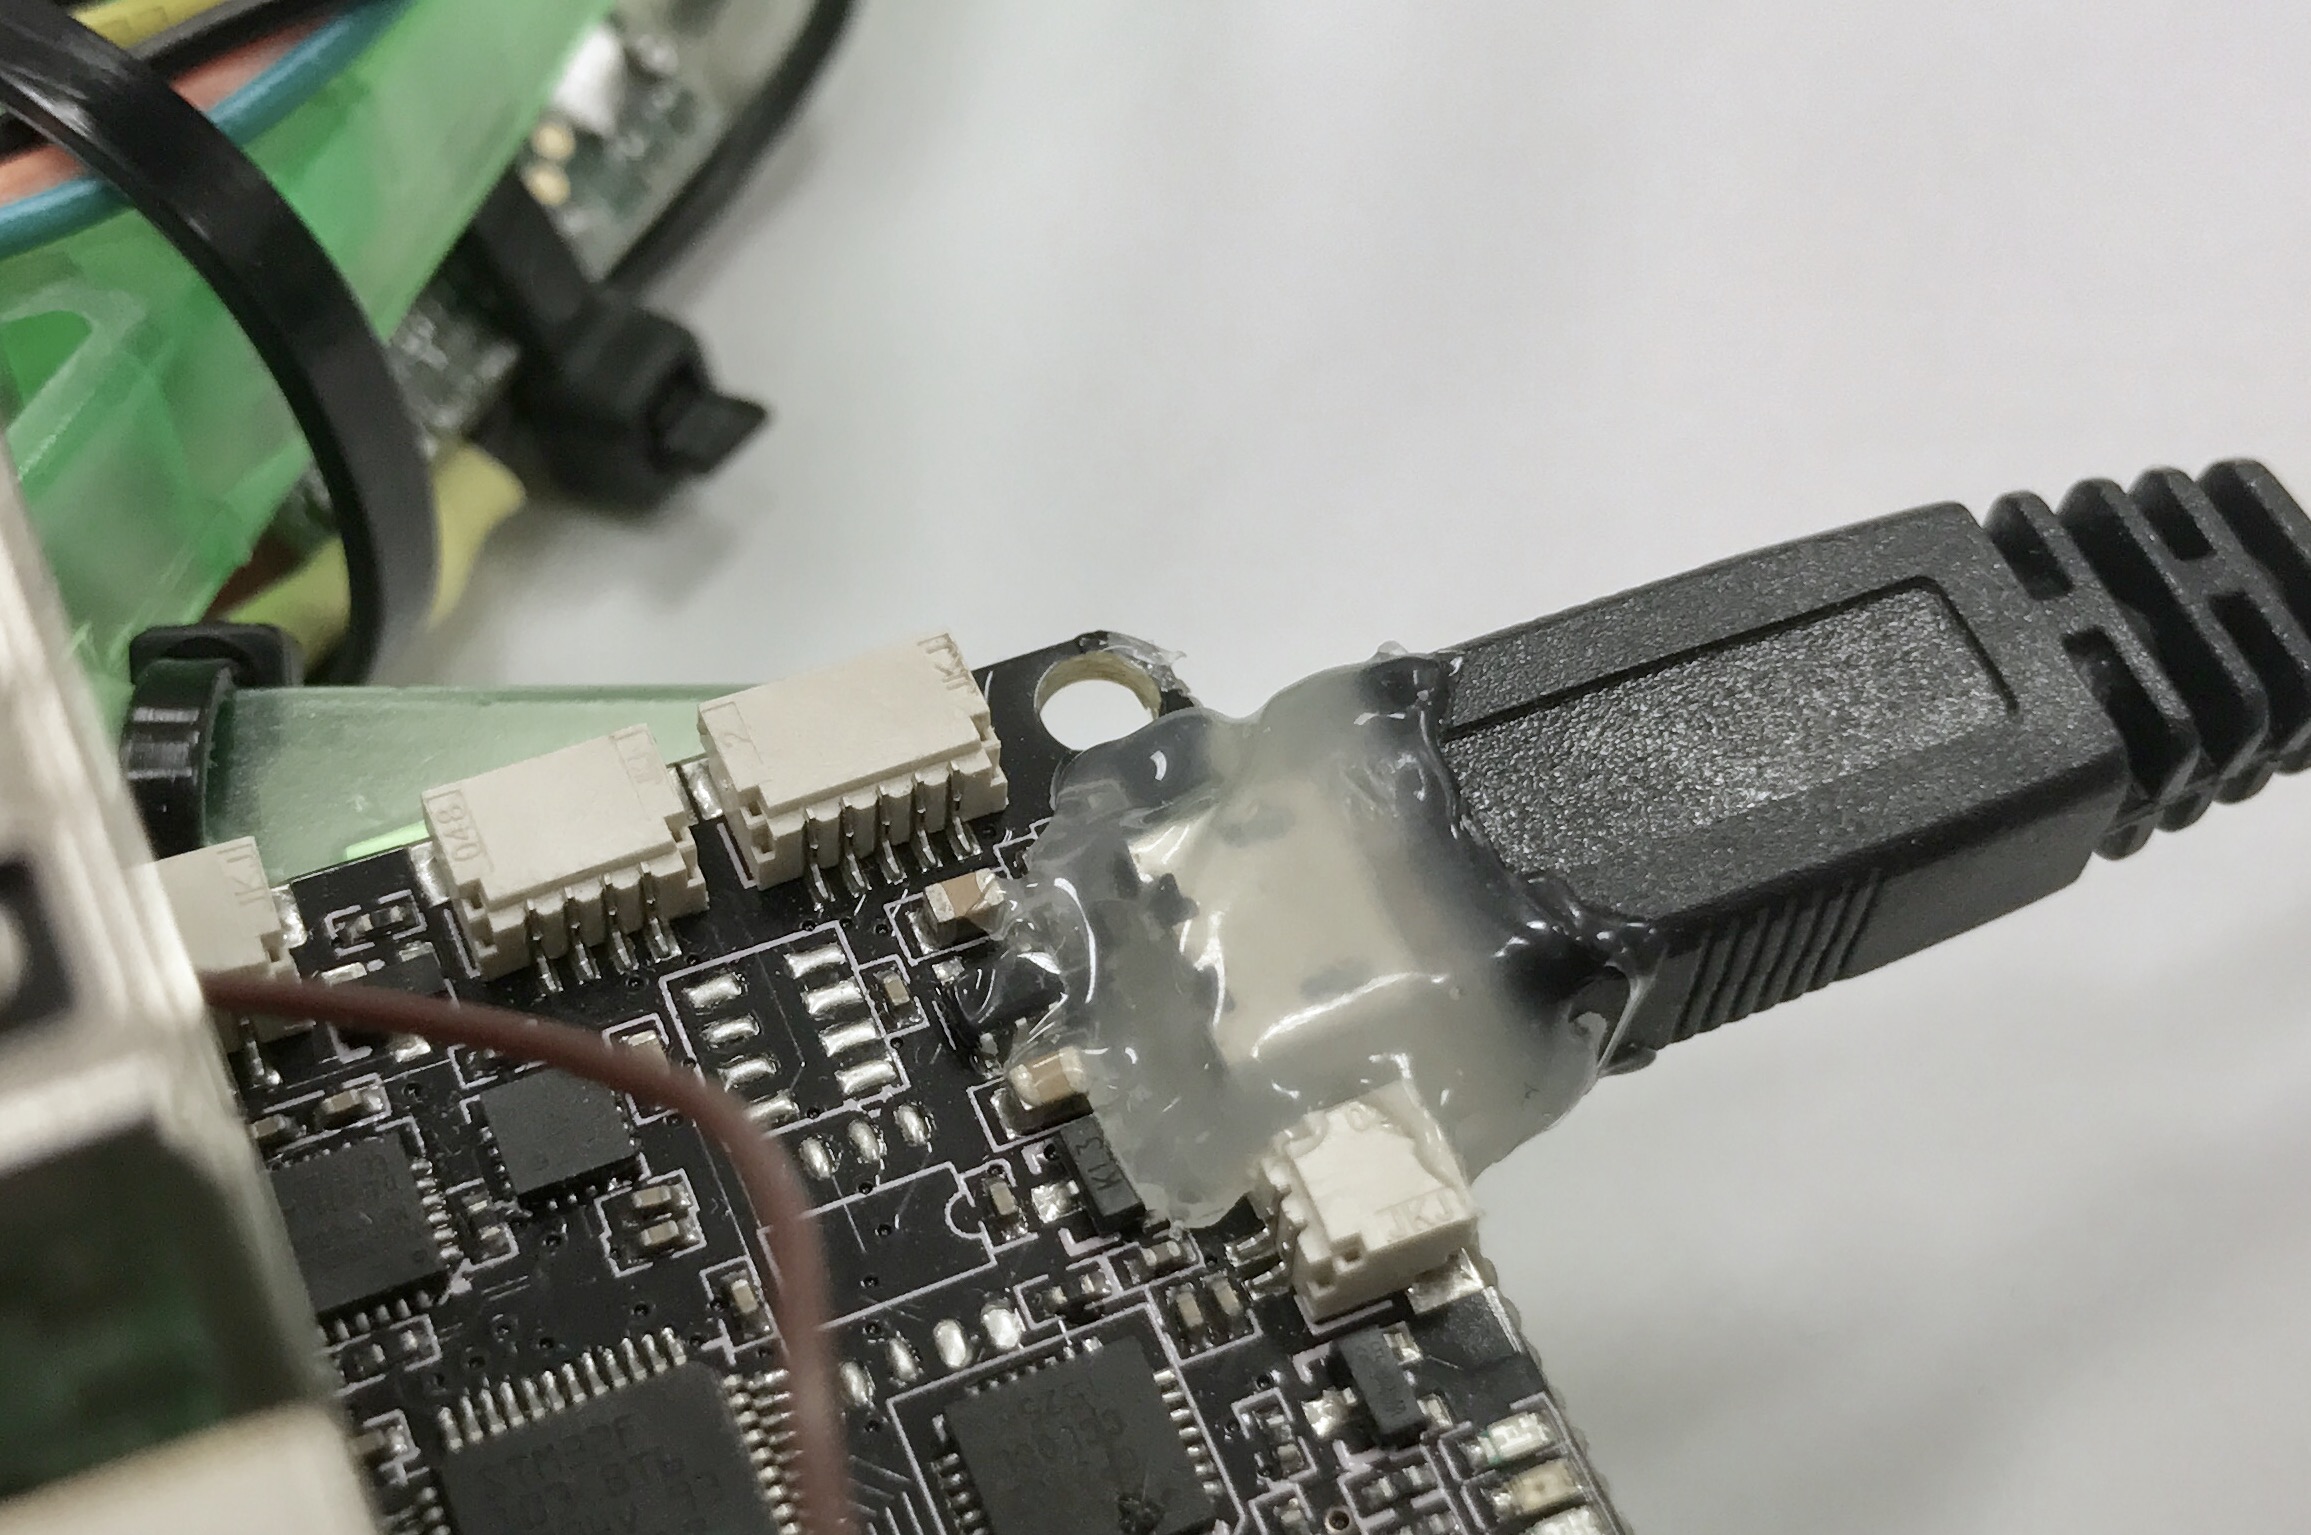
These little surface-mounted micro USB ports are prone to breaking upon impact; therefore, to minimize the likelihood of damaging the connect, you will thoroughly cover the port with hot glue.
Plug in the micro USB to USB cable
✎Modified 2020-08-06 by Garrett Warren
If it is not plugged in already, plug the 6” micro USB to USB cable into the micro USB port of the flight controller.
Glue the port
✎Modified 2020-08-06 by Garrett Warren
Liberally apply hot glue over the end of the usb cable and the port on the flight controller.
You will not be able to remove the USB cable. This is intentional. Also note that the flight controller shown is from a previous hardware version; use this as an example for how to glue your FC.
Attach the Pi Camera to the drone frame
✎Modified 2020-08-06 by Garrett Warren
Detach the Pi Hat
✎Modified 2020-08-06 by Garrett Warren
Gently lift near the pin header to detach the Pi hat
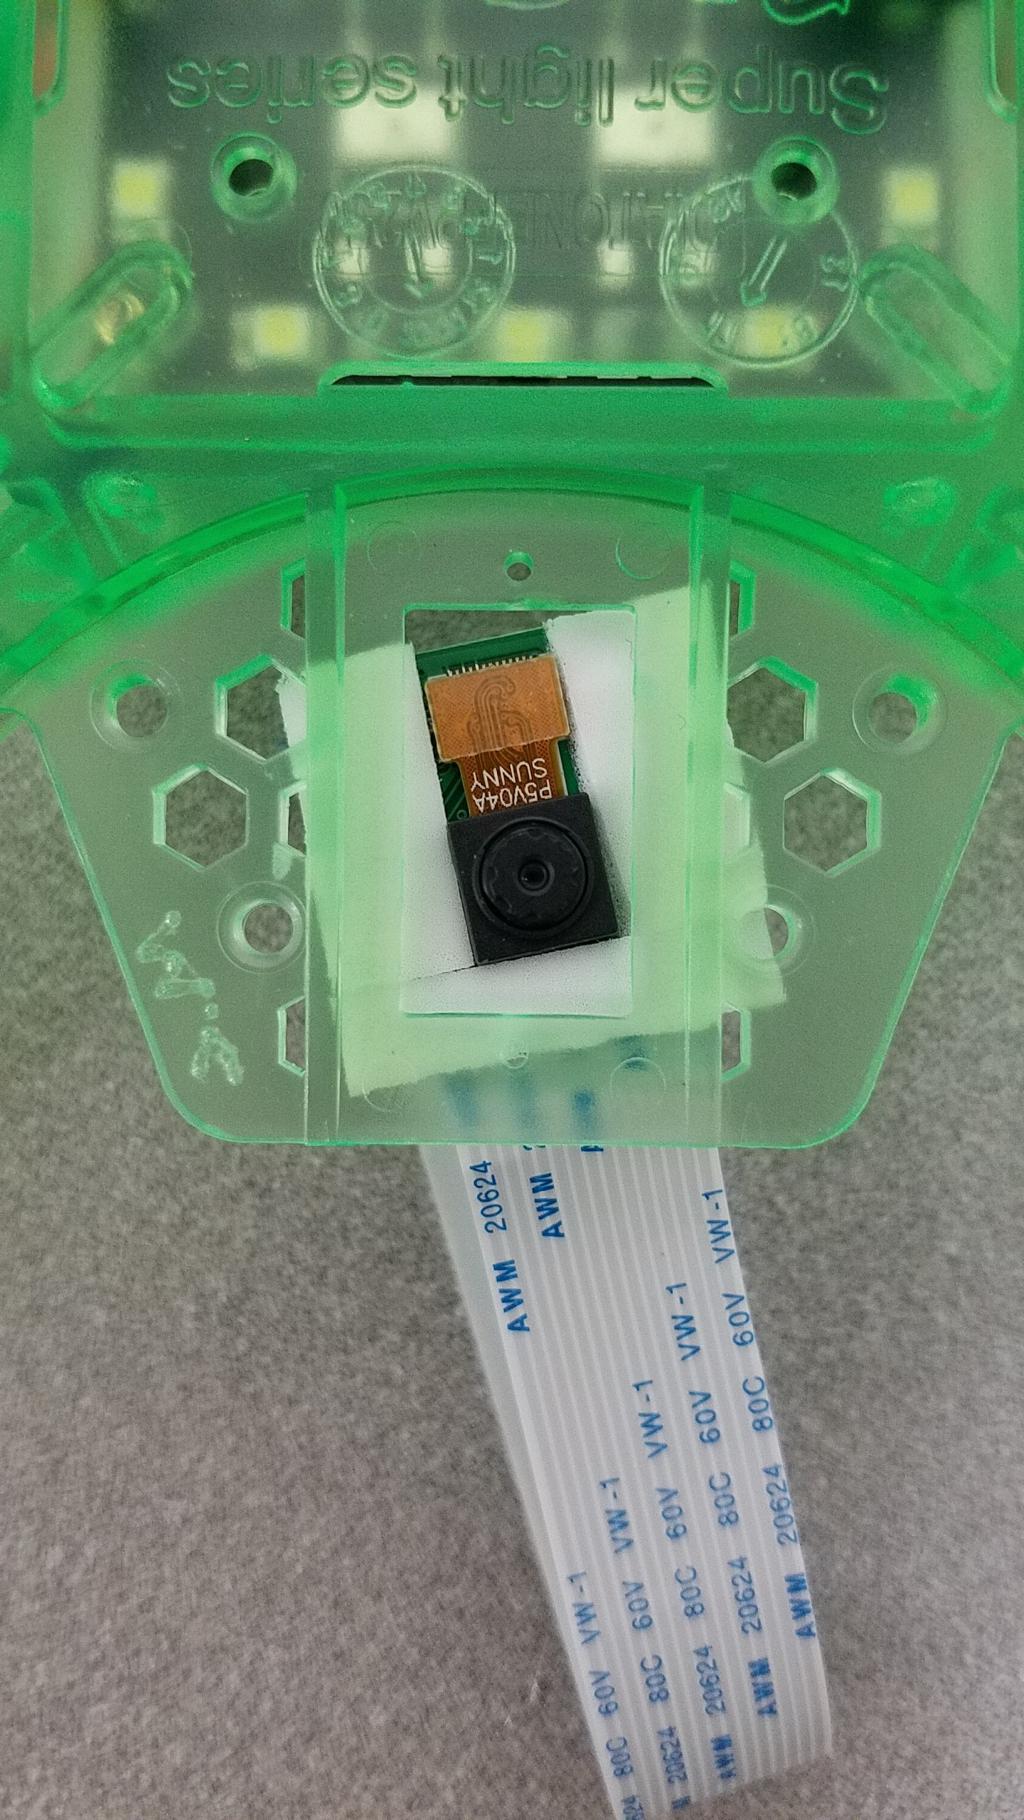
Put tape on the Pi Camera
✎Modified 2020-08-06 by Garrett Warren
Put foam mounting tape on the top, left, and right sides of the pi cam. Cut off any excess tape.
The camera in the photo does not have the white flexible flat cable (FFC) attached. This is just for the photo; it is better to leave the FFC attached to your camera

Stick camera to the drone frame
✎Modified 2020-08-06 by Garrett Warren
-
Peel off the back of the foam mounting tape
-
Stick the Pi Cam to the hole in the back of the drone. attach on top so camera faces downward and the FFC goes away from the drone. Ensure that the attachment is not skewed.

Attach Battery Mount
✎Modified 2020-08-31 by Garrett Warren
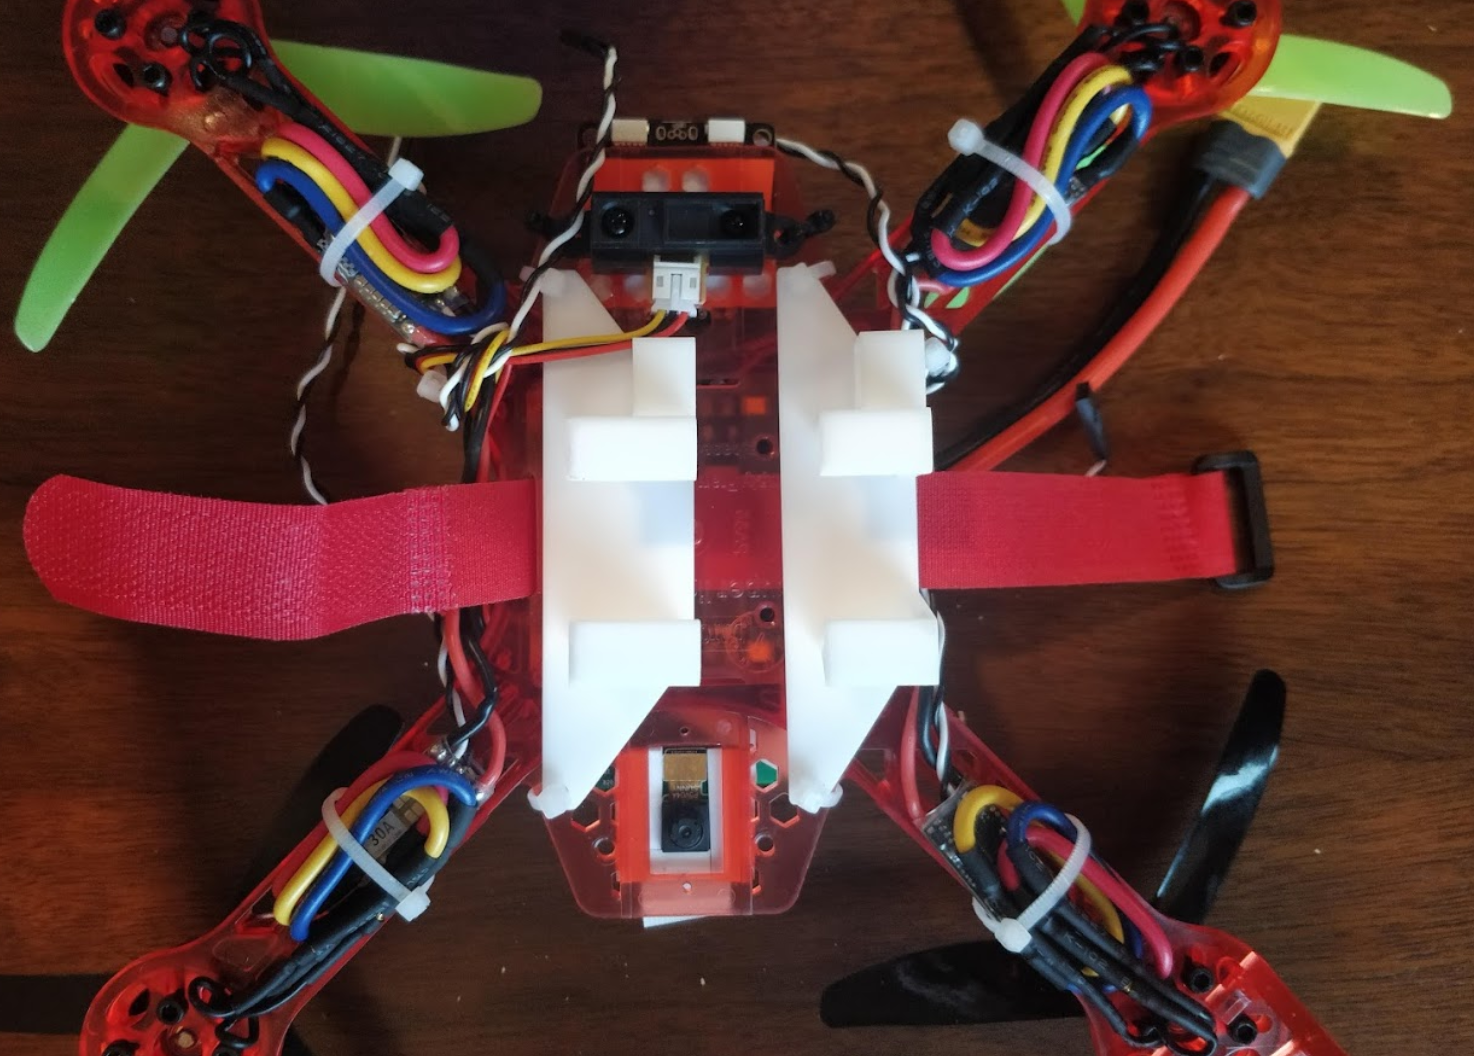
Use zip ties to attach the battery mount to the drone frame as shown in the image.
Ignore the propellers on the drone in the image. You will attach those in the final step.
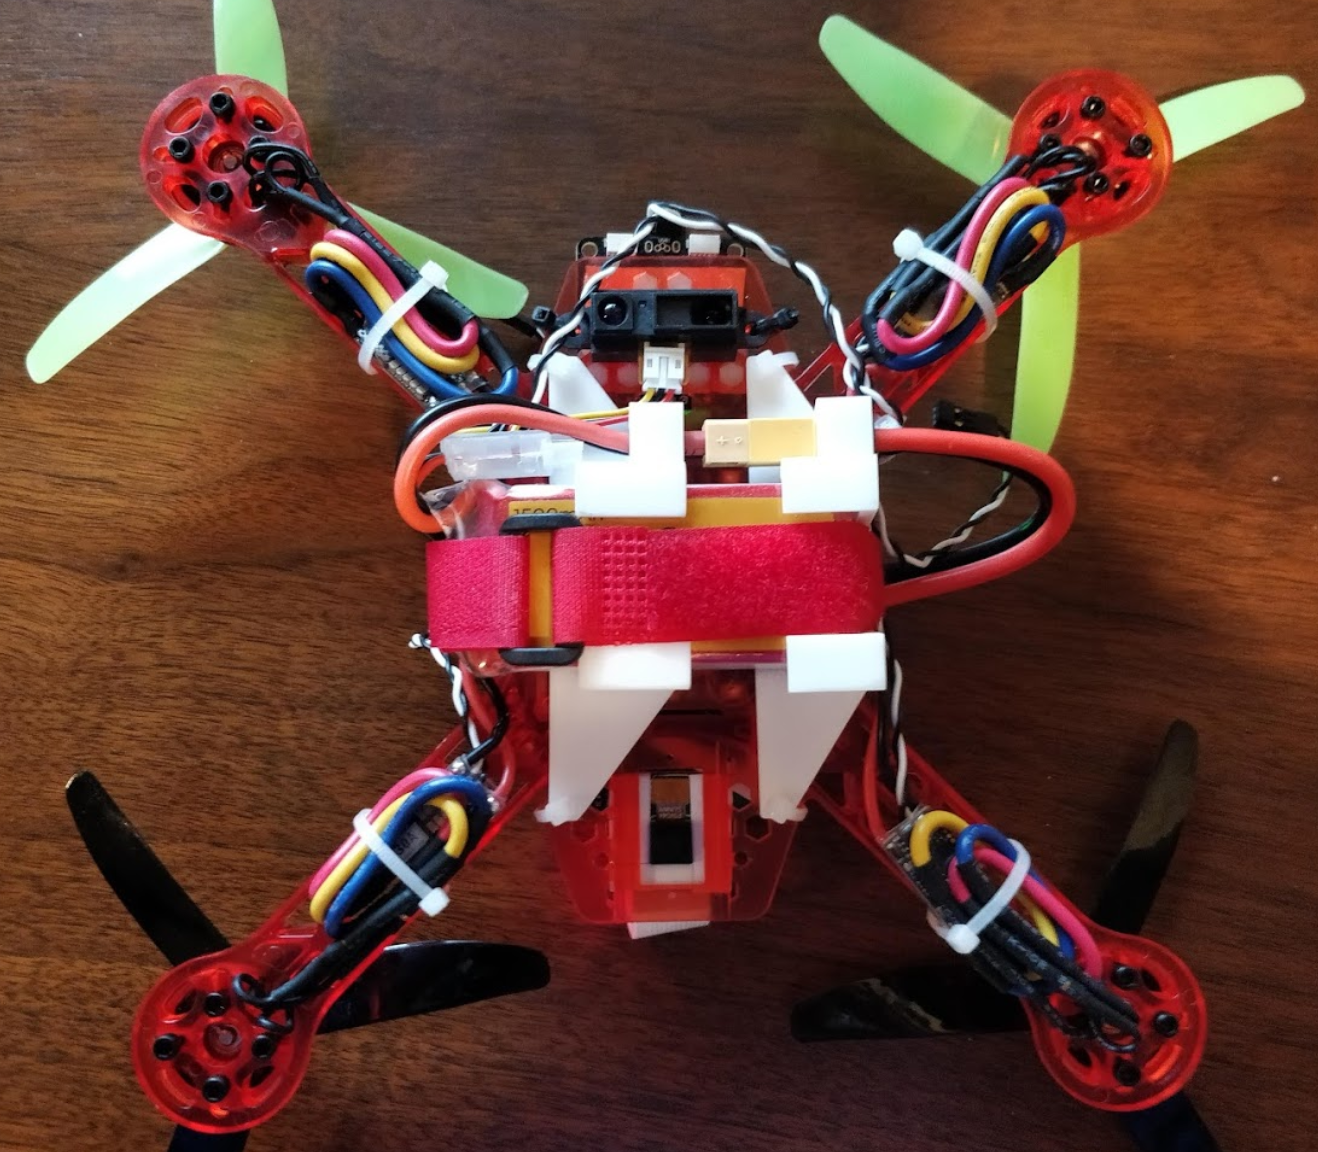
This is how the battery will be attached to the drone:

Attach PiMount
✎Modified 2020-08-06 by Garrett Warren
Place the PiMount on top of the PDB and use the short black M3 bolts from the motors box to secure the mount to the standoffs.
Ensure that the triangle shape is on the side of the camera.
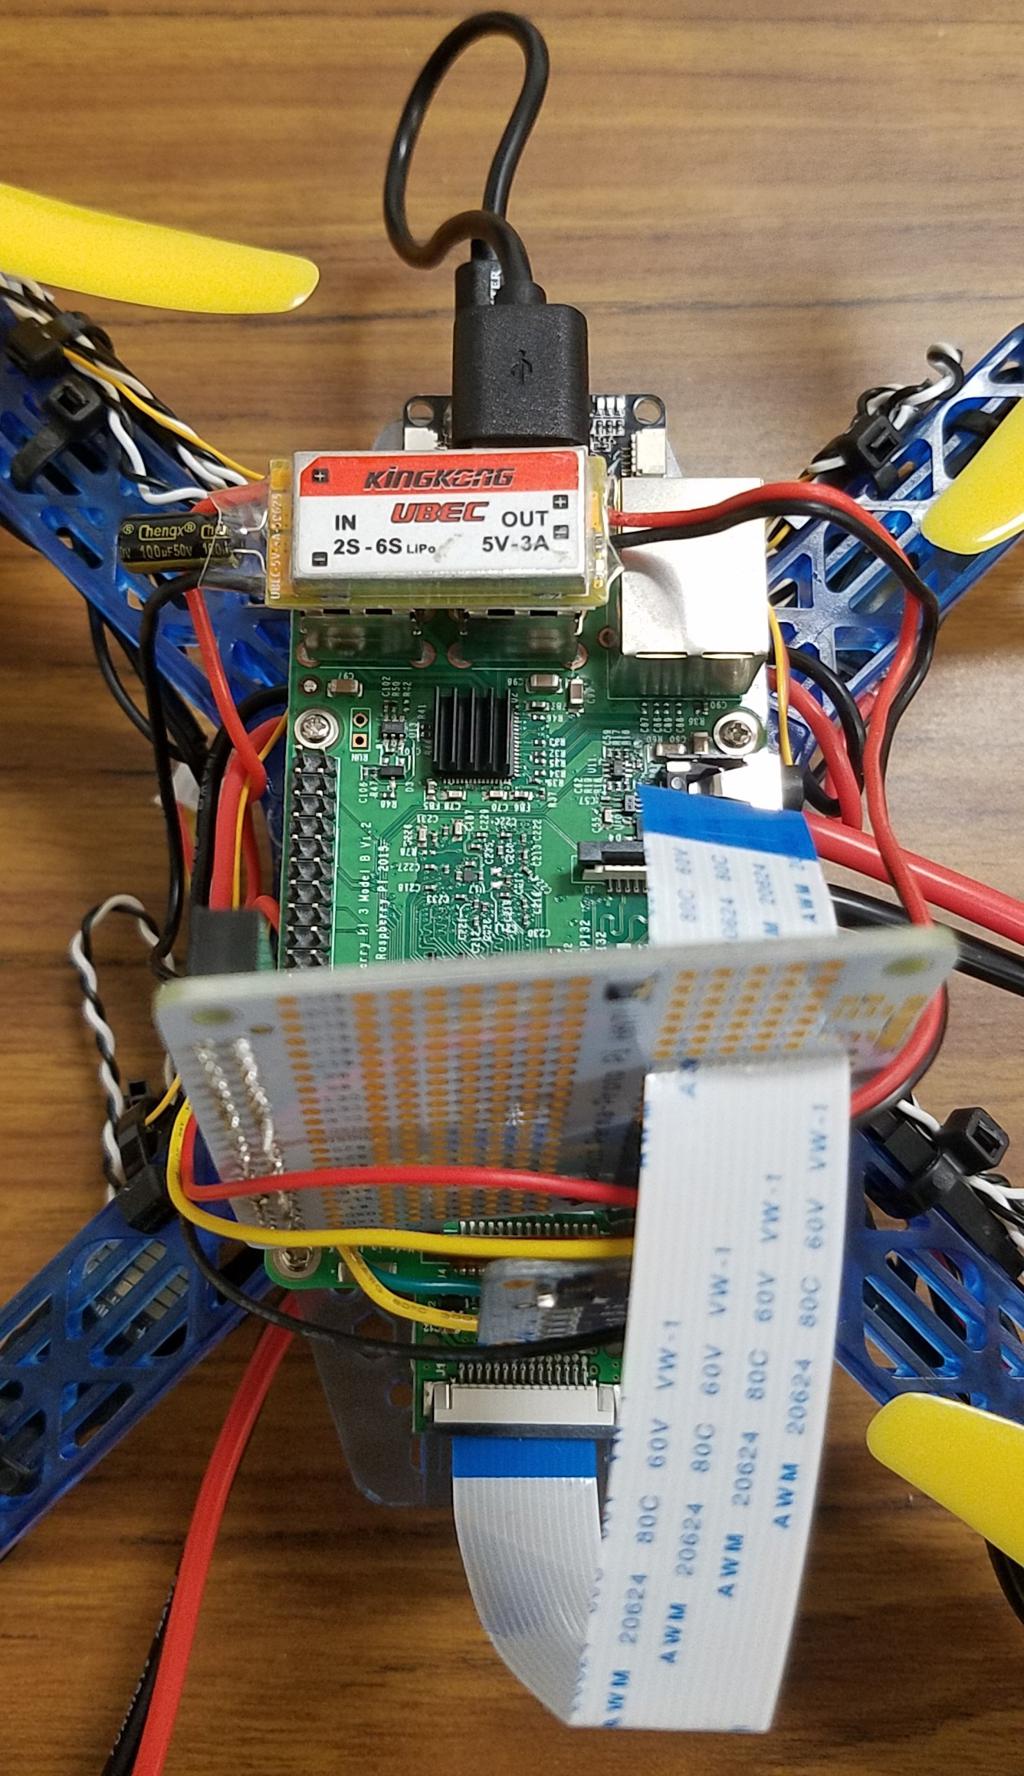
Attach Raspberry Pi
✎Modified 2020-07-21 by Garrett Warren
Insert standoffs
✎Modified 2020-08-06 by Garrett Warren
You will now insert standoffs into the Pi that will help support the Pi Hat and keep it from bouncing during flight.
- Screw in a pair of standoffs into bottom right hole of the Pi. It may help to first screw in a black screw into the standoffs, then use an allen wrench to screw the standoffs into the hole. Note that the hole may initially seem too small for the standoffs, but it will definitely screw in.

Attach Pi to Pi Mount
✎Modified 2020-08-31 by Garrett Warren
Leaving the Pi Hat detached (to make the next step easier), use the sliver screws included in the drone frame kit to secure the Pi to the mount. You should use 3 panhead screws as shown in picture. The Pi USB ports should face toward the front of the drone.
The image below does not include the brass standoff from the previous step. Please ignore this discrepancy.

Plug in the Flight Controller USB
✎Modified 2020-09-01 by Garrett Warren
Plug in the Flight Controller USB to any of the USB ports on the Raspberry Pi. The USB sends the autonomous flight commands from the Pi to the FC.
Connect Pi Cam
✎Modified 2020-07-21 by Garrett Warren
Connect FFC to the Pi Camera
✎Modified 2020-08-06 by Garrett Warren
If not already done, attach the FFC to the Pi Cam.

Connect FFC to the Pi
✎Modified 2020-08-06 by Garrett Warren
Feed the flexible flat cable (FFC) from the Pi Cam through the slot in Pi Hat, then connect it to the Pi’s camera port, i.e. the black port close to the HDMI port.
Do not just push the FFC into the slot. Watch this video on how to insert the camera properly.

Re-attach Pi Hat
✎Modified 2020-08-06 by Garrett Warren
Put the Pi Hat back onto the Pi. Refer to part 1 for detailed instructions to attach the Pi hat.
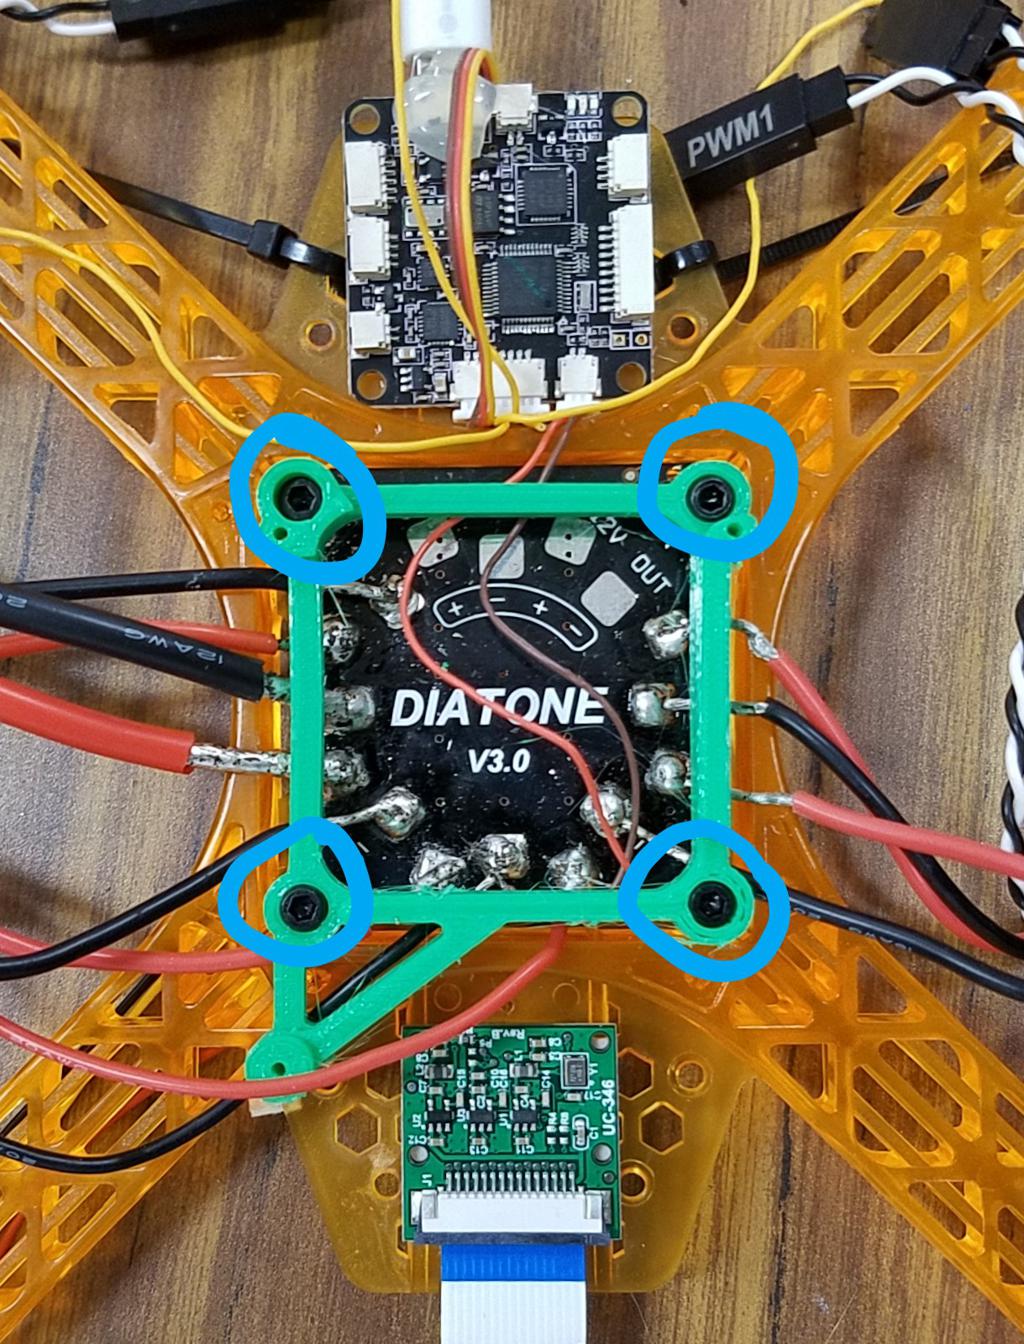
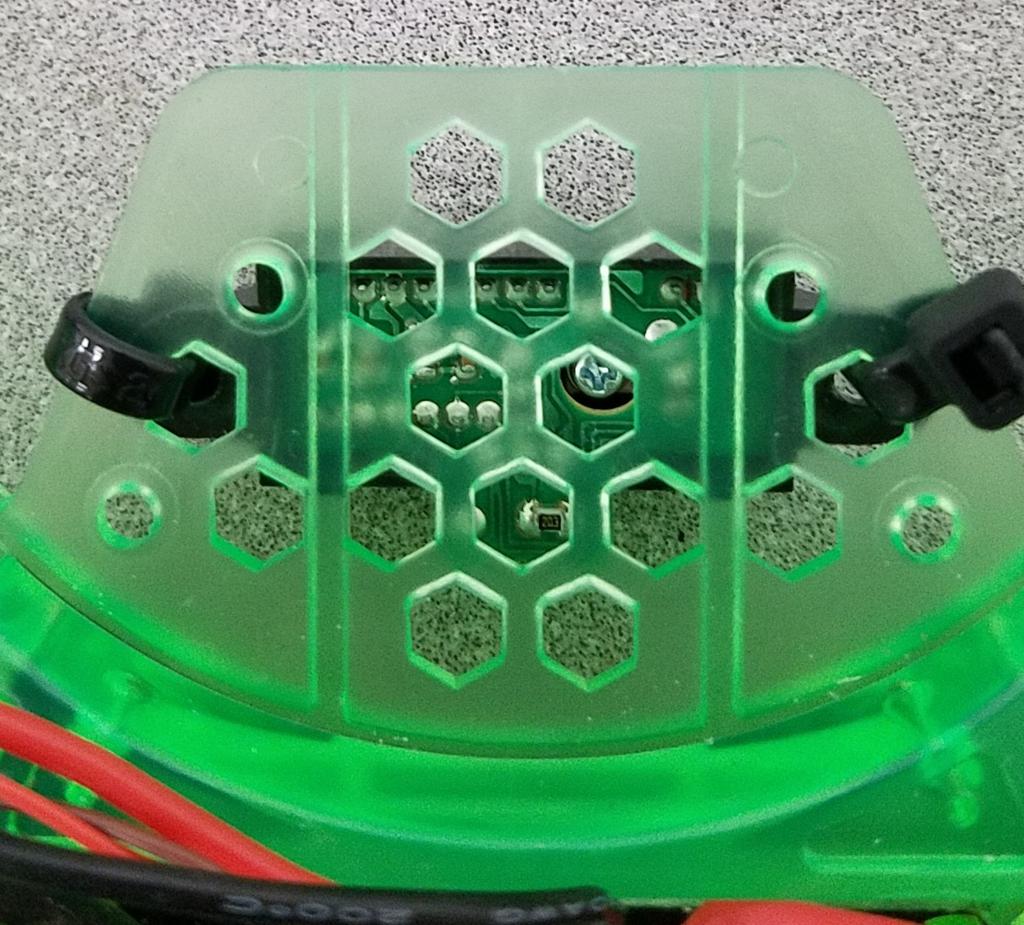
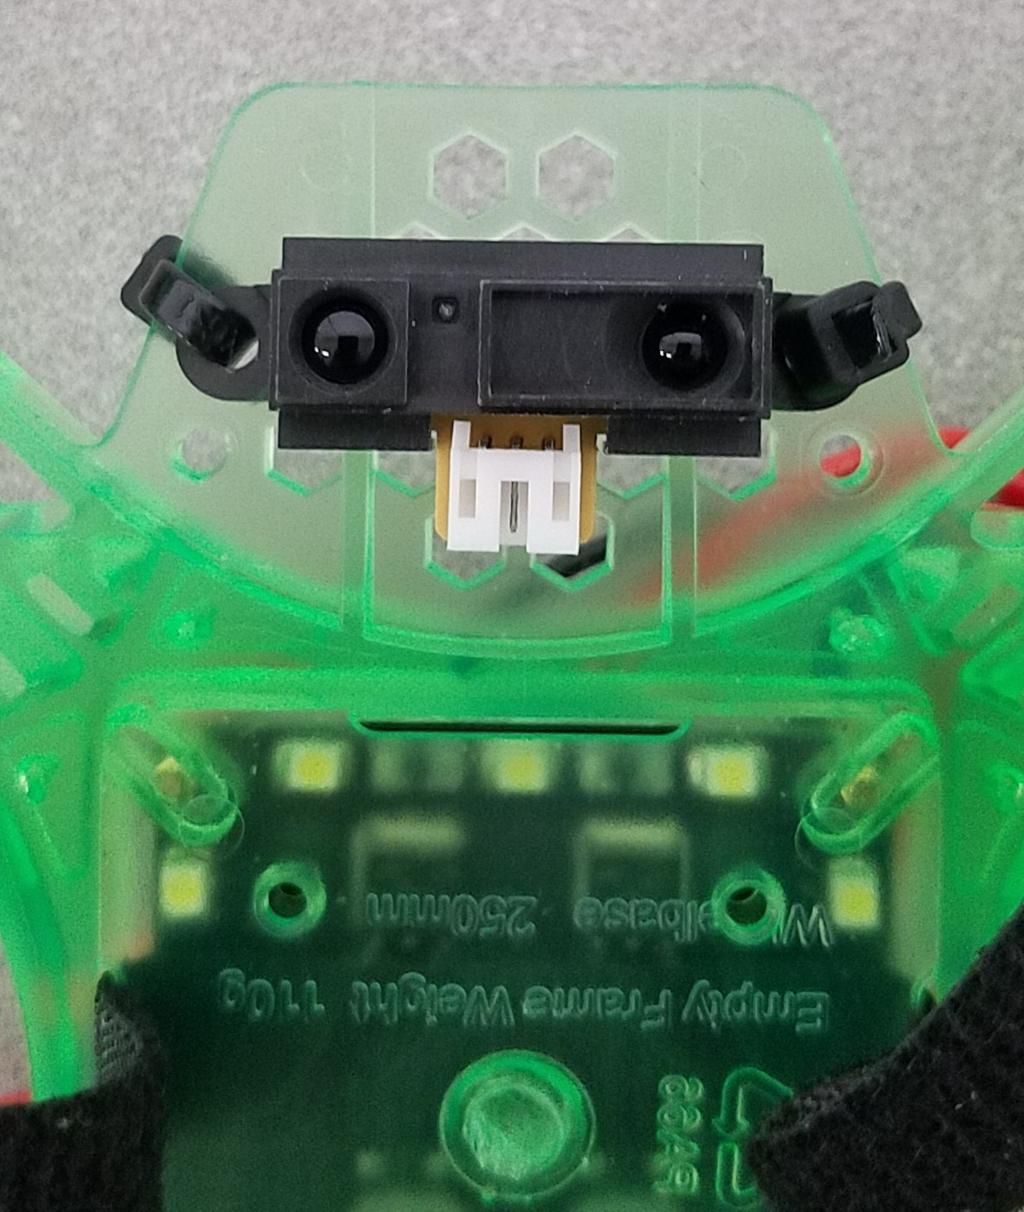
Attach the IR Sensor
✎Modified 2020-08-06 by Garrett Warren
Zip tie the IR sensor at the front of the drone, facing down. It will be underneath the flight controller and the wires will go back toward the frame.
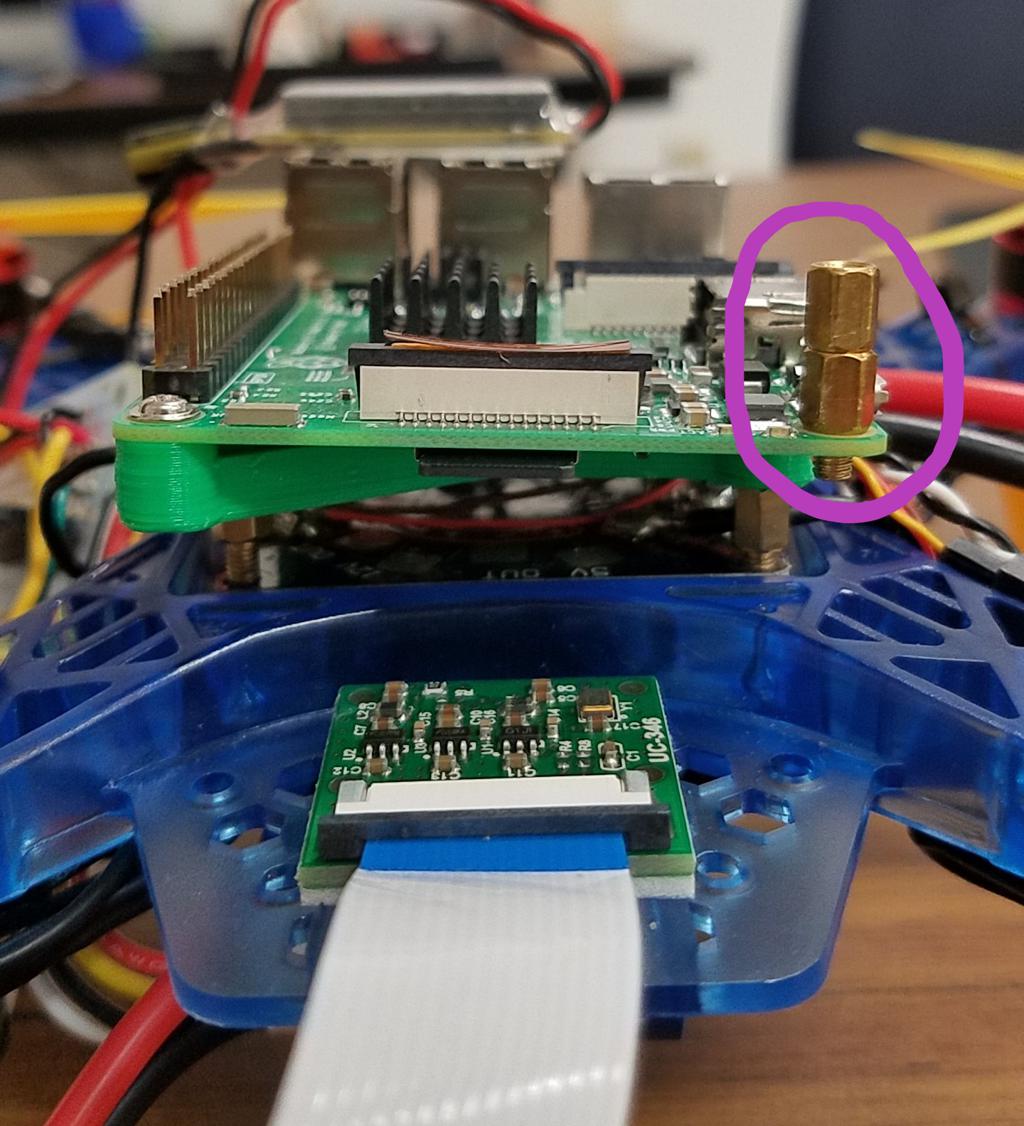
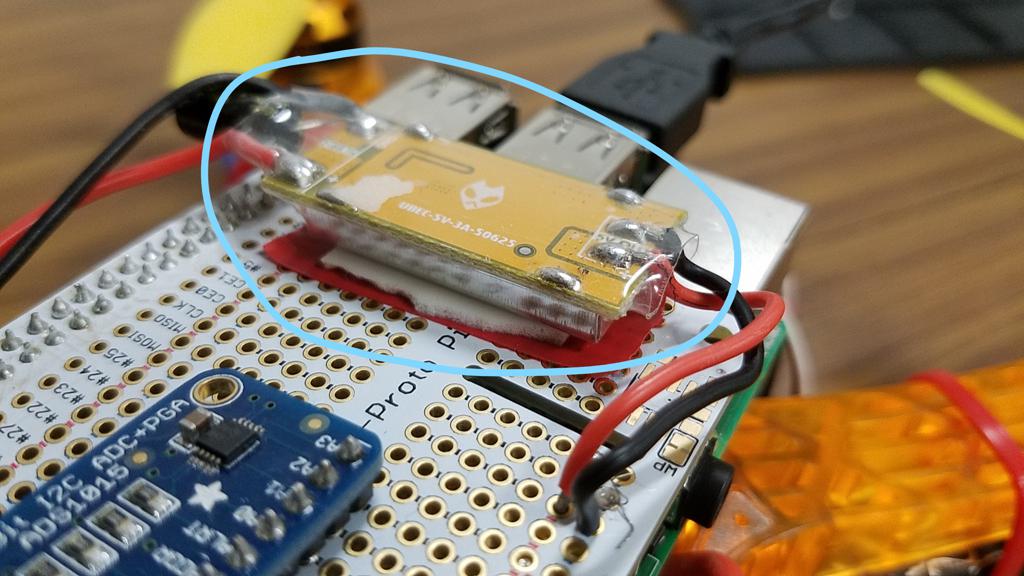
Attach BEC to Drone
✎Modified 2020-07-23 by Garrett Warren
Attach the BEC to the top of the USB ports using some double sided tape. Alternatively, if it does not reach, then 1) place electrical tape on the Pi Hat, 2) place double sided mounting tape on the electrical tape, and 3) place the BEC upside down on double sided mounting tape.

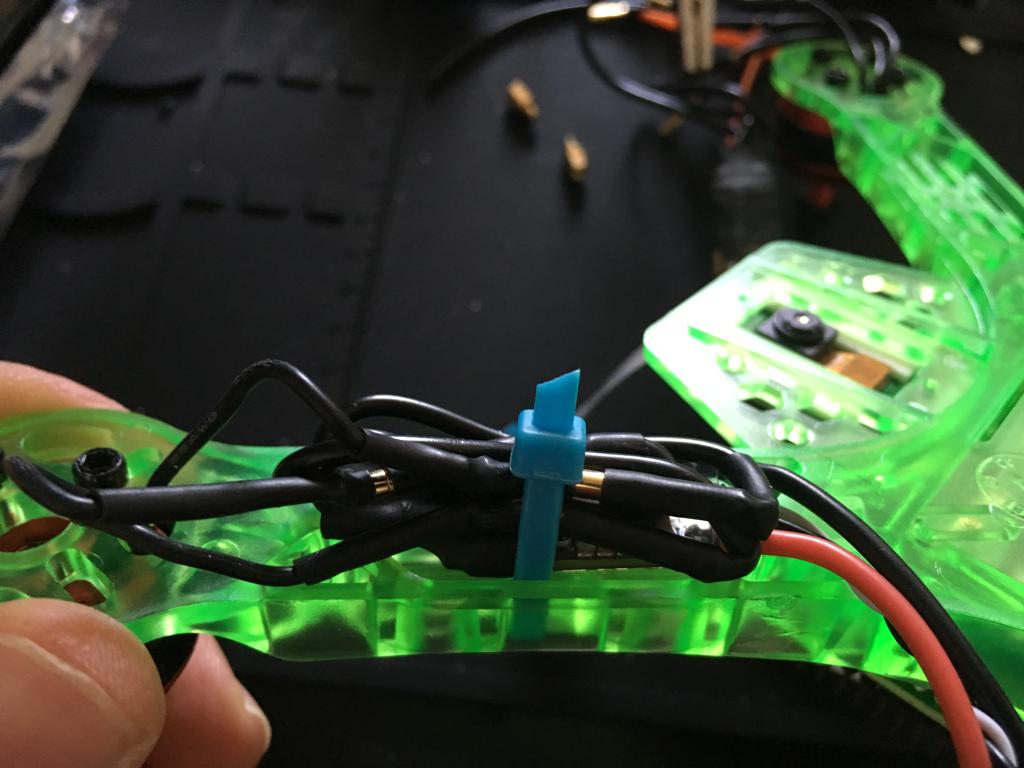
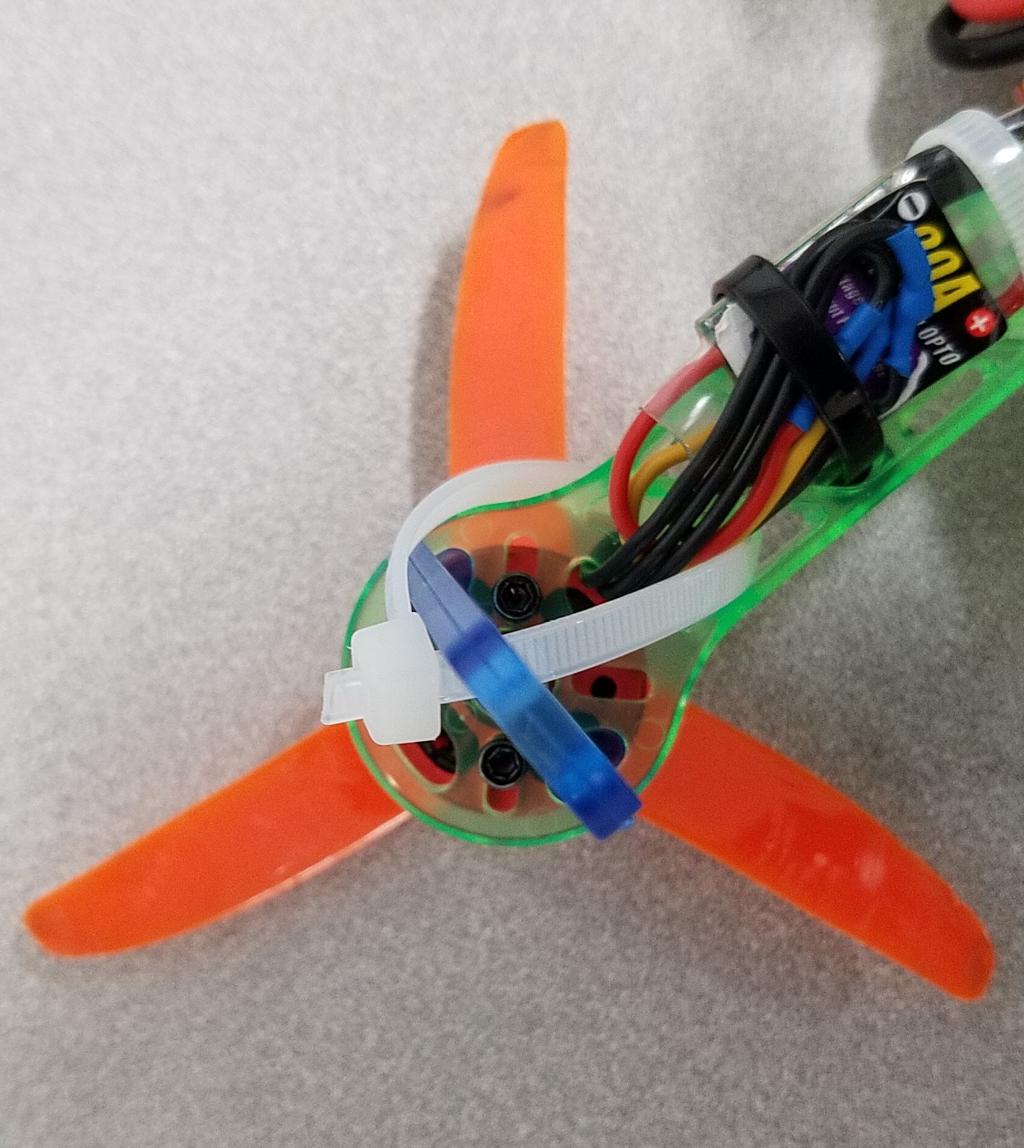
Ziptie ESCs and PWM Connectors to Frame Arms
✎Modified 2020-07-21 by Garrett Warren
Use the small zipties to secure the ESCs and motor wires to the bottom of each frame arm. To do this, thread the zip ties through the holes in each frame arm. If they do not fit, instead wrap the zip ties around the frame arm. Also, use zip ties to secure the PWM connectors to the sides of each frame arm.

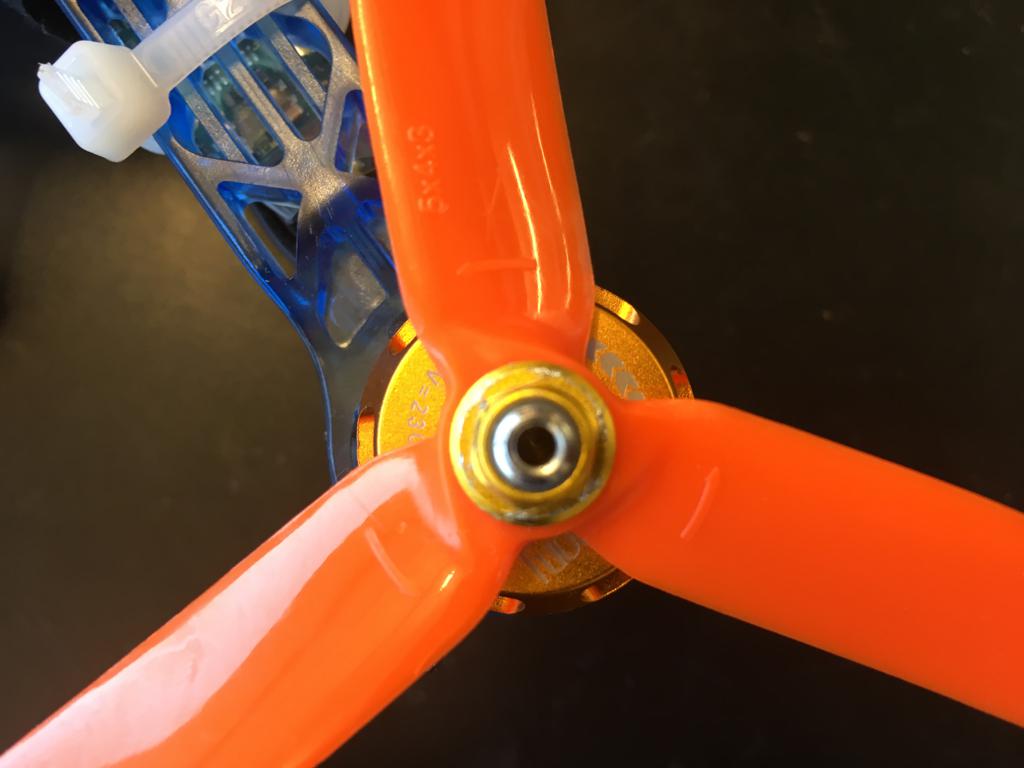
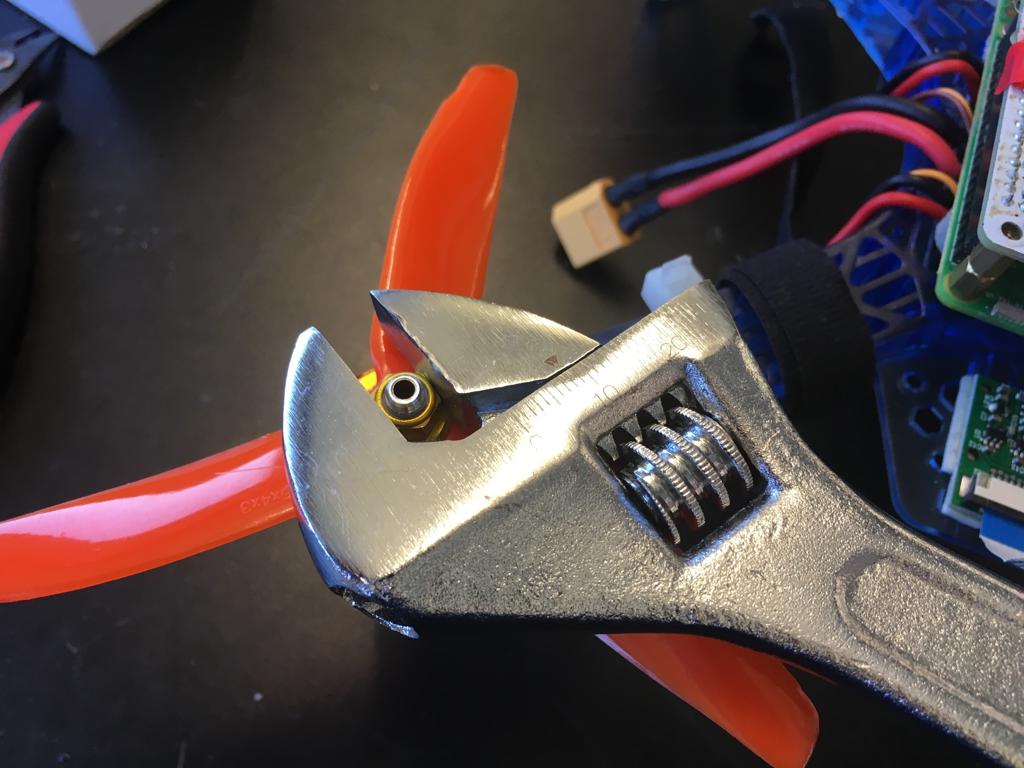
Propellers
✎Modified 2020-09-03 by Garrett Warren
Attach the propellers to the drone so that it may fly; attach CW propellers to the CW motors, and CCW propellers to the CCW motors. The motors have small arrows on them in the center to indicate which type they are.
The bolts on the motors that spin CCW tighten when turned CW, and the bolts on the motors that spin CW tighten when turned CCW.
Use the 8 mm wrench to tighten the bolts down so that the bottom of the propeller is flat on the top of the motor. Screw bolts down tightly, but not so tight that you could not remove the propellers if you had to.
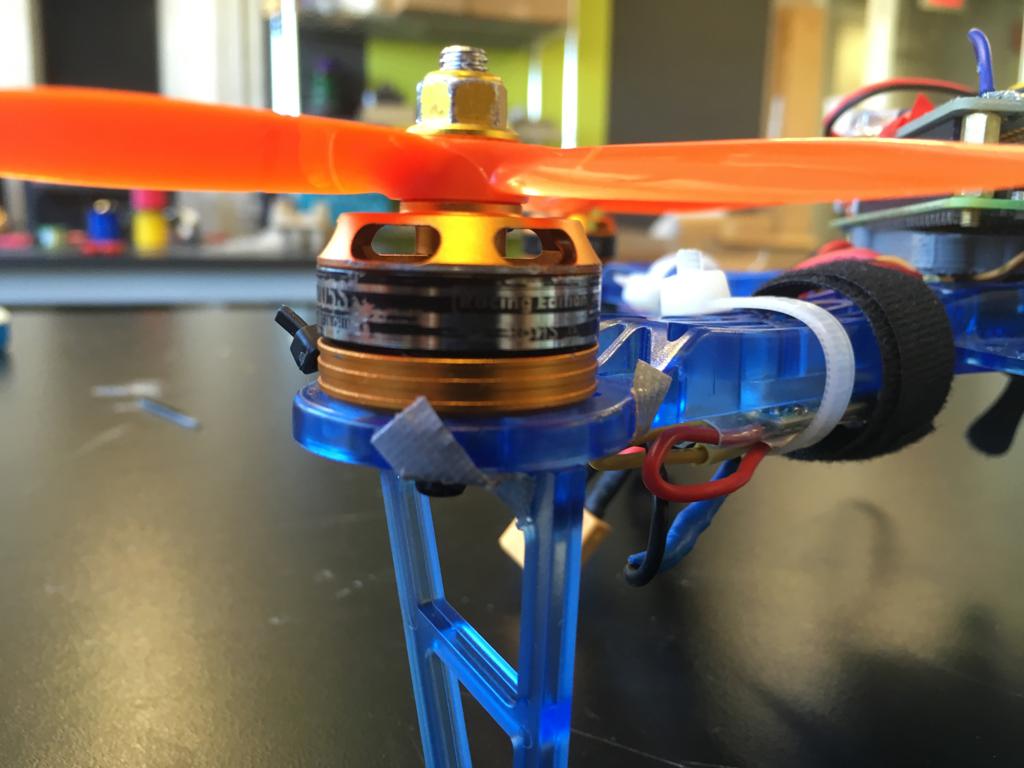
Propeller Direction:
-
The arrows on the propellers should be on visible from the top of the drone
-
The arrows should be going in the same direction as the arrows on the motors.
Propeller Attachment:
-
The propellers must be flat on the base of the motor
-
Make sure there is no gap between the propeller, the motor, and the motor nut.
-
Holding the motor still, try to spin the prop and make sure the props cannot spin around the motor shaft; the motors and the props should spin together.
Attach Drone Feet
✎Modified 2020-07-23 by Garrett Warren
Attach the drone feet in the drone frame box to the four arms of the drone. This can be done with either electrical tape or zip ties. DO NOT use hot glue, as it will not work.

Make sure ESC-motor wires are ziptied down properly. If not, you risk having a short.
Spin the propellers manually with your finger. Ensure no wires are hit by the propellers.
Make sure no wires or parts are dangling from the drone frame.