Prerequisites
✎Modified 2020-07-21 by Garrett Warren
Expected Time: 1 hours
Preface
✎Modified 2020-07-21 by Garrett Warren
This section contains information about the most important skills used in the build. If you are new to soldering, it is recommended that you complete the soldering module before starting the build. Whether you’re new too soldering or not, we recommend reading through this page to review the basic techniques used in the build.
Strip Wires
✎Modified 2020-08-06 by Garrett Warren
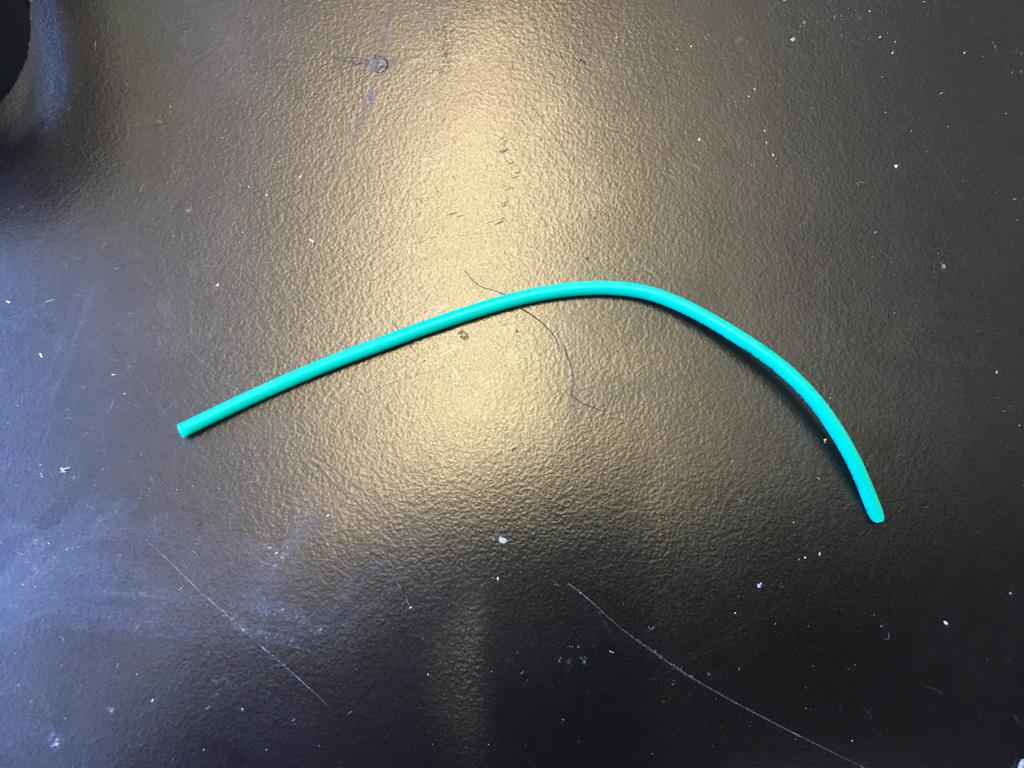
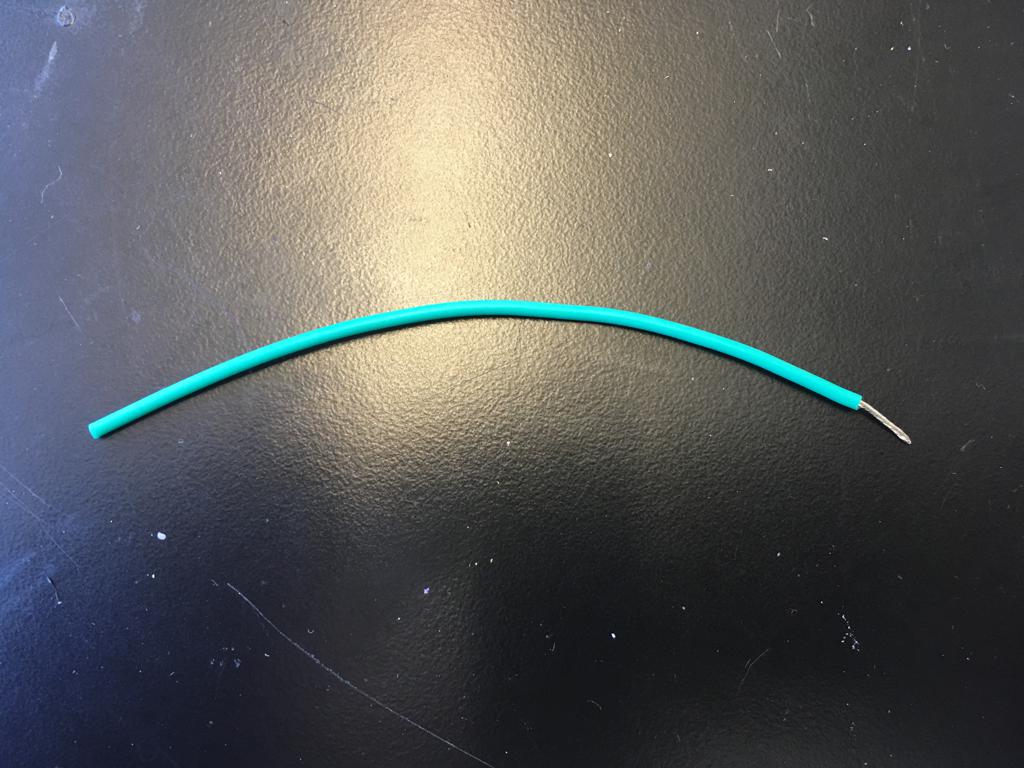
Stripping is the process of removing a portion of insulator from a wire in order to expose its strands. It is done by using a wire stripper. The exposed wire is then able to be tinned and soldered.
Tin
✎Modified 2020-08-06 by Garrett Warren
Tinning is the process of applying solder to exposed wire or metal pad. It is done by using a soldering iron to heat up the metal, and then solder melts into the wire or onto the pad. The purpose of Tinning is to make the soldering proecess easier.
Tinning a Wire
✎Modified 2020-08-06 by Garrett Warren
See this tutorial to learn how to tin and join two wires.
Sometimes parts will have wires already tinned out-of-the-box by the manufacturer (i.e. pre-tinned). You can identify this by: 1) the “shininess” of the tip of a wire and 2) the inability to fray the wire strands of the tip of a wire. However, such tinning is often ineffective. Cut off any pre-tinned tips, then strip and tin the part yourself.
Tining a Pad
✎Modified 2020-08-06 by Garrett Warren
Soldering
✎Modified 2020-08-06 by Garrett Warren
Soldering is the process of joining two metal components by melting an alloy; namely, solder. Since solder is conductive, the resulting joint acts as a bridge for electricity traveling between the two metal components.
We recommend you complete the soldering module before starting the drone build to ensure you’ve had plenty of practice soldering practice parts before soldering your drone parts. Below, there are brief resources on soldering, as well as specific instructions for each type of soldering technique that will be used in the build.
TODO: Link soldering module
Resources
✎Modified 2020-08-06 by Garrett Warren
For a quick overview of soldering, watch this beginner soldering tutorial YouTube video.
For a more in-depth introduction, review this article
Wire-to-Wire
✎Modified 2020-08-05 by Garrett Warren
soldering instructions on wire-to-wire solders
Wire-to-Pad
✎Modified 2020-08-05 by Garrett Warren
soldering instructions on wire-to-pad solder
Through-Hole
✎Modified 2020-08-05 by Garrett Warren
soldering instructions on through hole soldering
How to Fix Solder Mistakes
✎Modified 2020-08-05 by Garrett Warren
instructions for fixing soldering mistakes
Safety Tips:
✎Modified 2020-07-21 by Garrett Warren
-
Be careful holding wires and components with your bare hands while soldering, as they will get very hot very quickly. We recommend using long-nose pliers or helping hands whenever possible.
-
Don’t touch the soldering iron tip (or any other metal piece) while the soldering iron is on, since doing so can cause burns. If you get burned, rinse the affected area with cold water immediately.
-
Likewise, don’t use the soldering iron on anything you don’t intend to solder. The high heat will cause things to melt or burn.
-
Don’t breathe soldering fumes; use a soldering fan whenever possible.
-
If you have difficulty soldering (e.g. shaky hands), please seek the advice of a TA or teacher.
Basics of electrical circuits
✎Modified 2020-07-21 by Garrett Warren
We recommend that you’ve completed the circuitry module before starting the build so that you are introduced to electrical circuits like the ones you will be creating. For an introduction or review of circuit basics and Ohm’s Law, , check out this (SparkFun article)