Handling circuits and batteries
✎Modified 2019-04-27 by tanij
Nothing
Preliminary knowledge on circuits and power source properties useful in Duckietown
Duckiebots support several power bank models, although not any power will work. Here, we list properties of the supported models.
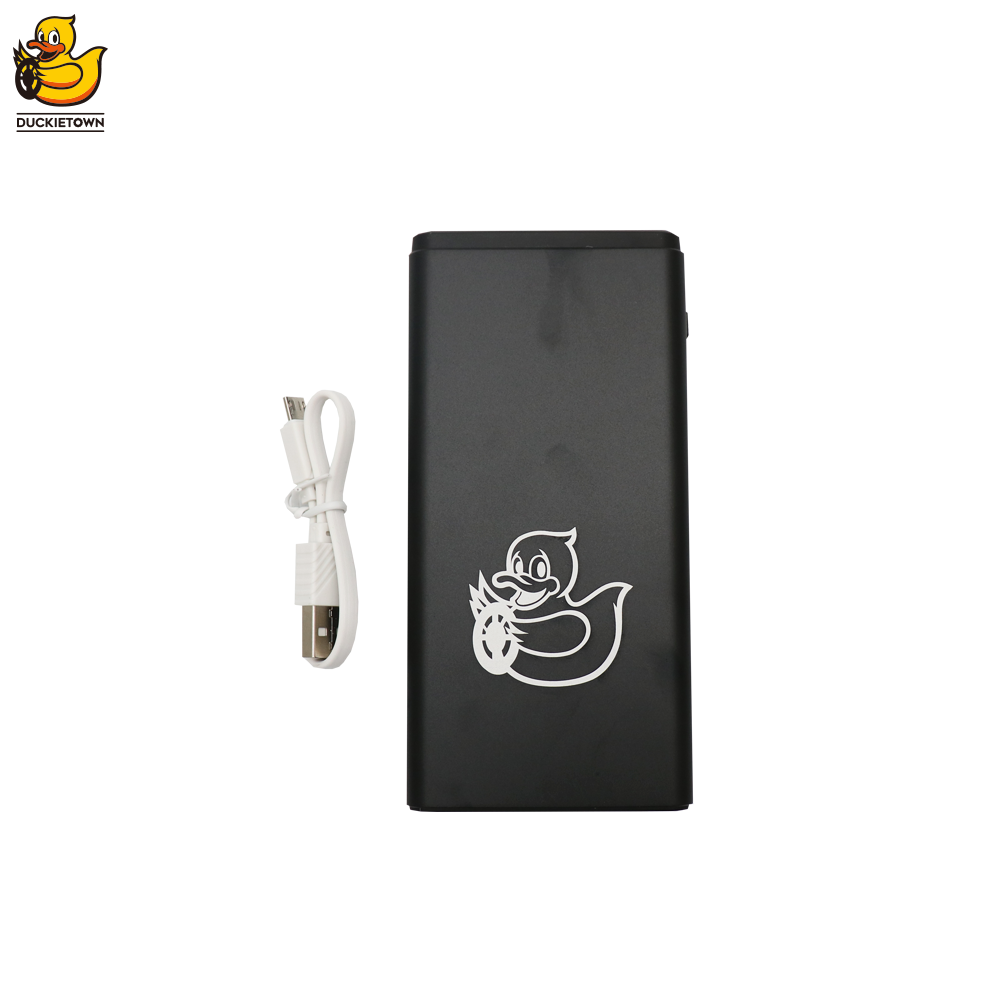
The Duckiebattery (DB-C-DBatt)
✎Modified 2021-09-26 by tanij
This battery is the standard battery for the Duckiebot Founder’s edition (DB21M).
Technical specification
✎Modified 2021-04-04 by tanij
- Capacity: 10Ah at 3.7V
- Charging: Micro USB 5V at up to 2A
- Output 2 x USB type A 5V at up to 4A (combined)
- Charge time: 0-100% takes about 5h and 0-90% about 4h with a 2A power supply
- Weight: 189g (fully charged)
Lithium Ion batteries, like the Duckiebattery, are potentially dangerous and must be handled with care. Here are some do’s and don’t. Please do not skip this section.
Handling: DO’s
✎Modified 2021-10-29 by tanij
- If a battery has been subject to moisture and/or the case has been damaged eminently, dispose of the battery pack.
- In case of fire use a CO2 extinguisher.
- Store preferably in cool, dry and ventilated area which is subject to little temperature change.
- Storage at high temperatures should be avoided.
DONT’s
✎Modified 2021-03-21 by tanij
- Do not connect a charge voltage greater than 5V.
- Do not connect an external voltage source to the USB output ports.
- The battery must not be opened, destroyed or incinerated, since it may leak or rupture, releasing in the environment it’s hermetically sealed chemicals.
- Do not short circuit terminals.
- Do not crush or puncture the battery, or immerse it in liquid.
- Do not place the battery near heating equipment, nor expose to direct sunlight for long periods.
LED description
✎Modified 2021-03-21 by tanij
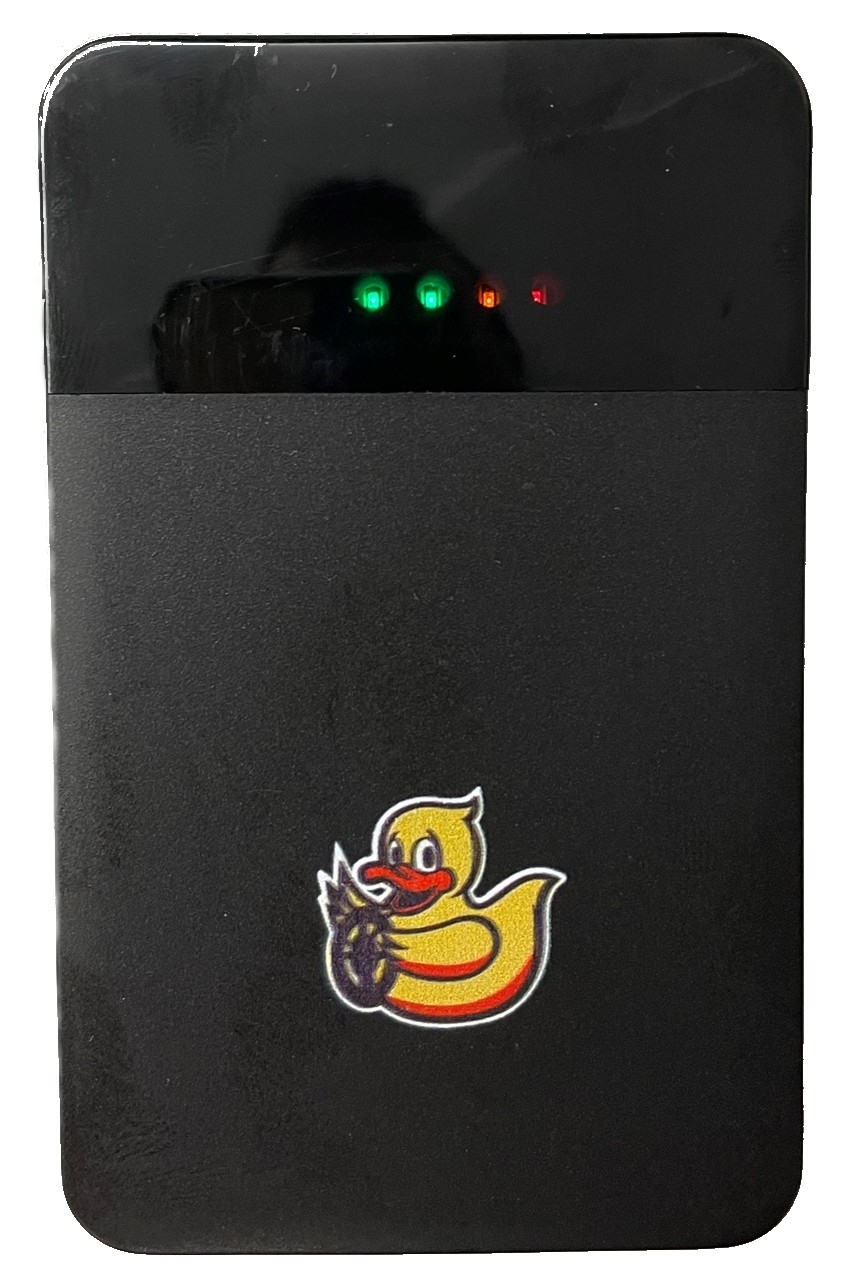
The battery has five LEDs on the top, used for indicating state of charge.
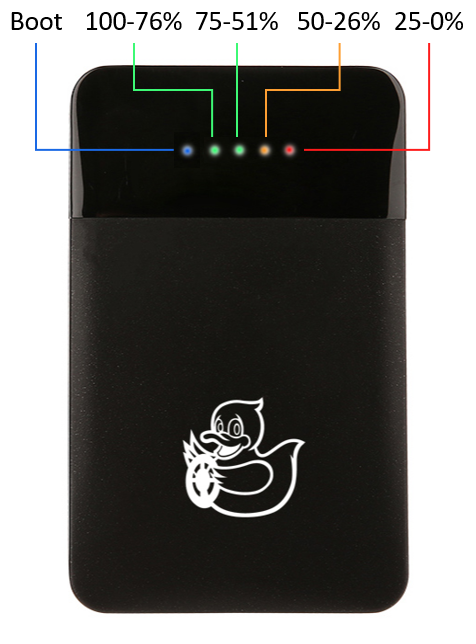
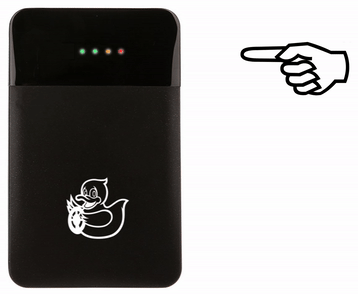
To see the battery state of charge, click once on the button. The state of charge LEDs will stay on for 10 seconds and the battery set in idle state, ” waking up” the battery.
Charge the battery
✎Modified 2021-03-21 by tanij
After setting the battery in idle mode, we can charge it by connecting the charger. The LEDs will be flashing at 1Hz, showing the battery is receiving charge.

Battery protection mode
✎Modified 2021-03-21 by tanij
The battery is equipped with safety features to prevent damage to others and itself. In particular, it has dedicated hardware to protect its cell from low voltage discharge.
When a certain low cell voltage level is detected, the battery micro-controller, together with all other active components will be turned off, except the charger. When a Duckiebattery enters protection mode, it will look unresponsive.
Nonetheless, the charger will “trickle” charge the battery cell until it has reached a safe voltage level, exiting the battery protection mode.
The battery protection mode can last up to 30 minutes, during which the battery might not indicate a state of charge nor that it is actually being charged. This does not mean the battery is dead, just “hibernating”.
USB outputs
✎Modified 2021-03-21 by tanij
The battery have two separate 5V 2A USB type A output, namely USB OUT-1 (a.k.a. the muscles) and USB OUT-2 (a.k.a. the brains).

-
USB OUT-1: Connect this output to a non sensitive power load, i.e., motor or LEDs. This output will experience short power drops when plugging and unplugging the charger cable.
-
USB OUT-2: this is an 5V 2A USB output, uninterrupted by the charging process or the status of USB OUT-1. This port should be connected to the computing unit (i.e., NVIDIA Jetson Nano or Raspberry Pi) to allow the unit not to restart when plugging or unplugging the charger of the battery.
Troubleshooting
✎Modified 2021-03-21 by tanij
The most common fault is not related to the battery pack itself but the connection between the pack and the charger and/or the load.
Always make sure the USB cable is not damaged and of good quality. Do not use a cable longer then 30cm. A faulty cable can cause excessive voltage drops between the battery pack and load, leading to low voltage issues.
My battery does not charge.
There can be several reasons why a charge is not being accepted. Below are the most common issue.
-
The input voltage is too low or too high. Make sure you are apply 5V via the micro USB connector
-
The battery is in battery protection mode and does not look like it’s charging, but it is. Come back in >30 minutes and press the button once to enter
idlemode. -
The battery is in a fault state. This can be caused by over temperature on the battery cell and/or its internal PCB. Leave the battery to cool down for 1h then attempt to charge it again.
One or both USB output are not working
There can be several reasons why the USB output is not working. Below are the most common issue.
-
The battery is not on
idlemode. Press the battery button once. -
The battery is in battery protection mode. Remove all loads, put in charge and wait >30mins to have the battery exit protection mode. Then enter wake up the battery by pressing the button once.
-
The USB output is in over current/temperature mode. Disconnect all loads, enter
idlemode and let the battery rest for 30 minutes. -
A external voltage was applied to the USB (output) port(s). This is a big no no (refer to DO’s and DONT’s above). Disconnect all loads and enter
idlemode.
The Duckie-power-bank
✎Modified 2021-03-12 by duckietown
The Duckie-power-bank (or Duckiebattery version 1) is the standard power source for Duckiebots in DB18 and DB19 configurations. Duckiebatteries are easily recognizable.
Overview
✎Modified 2021-02-17 by tanij
The Duckiebattery is equipped with 2 USB type A outputs (port A and B) and 1 Micro USB connector for charging.

It also has 4 LEDs representing the state of charge. Push the button on the side of the battery pack to turn on the LEDs. The LEDs indicate the residual charge according to:
| D1 | 3-25% |
| D2 | 25-50% |
| D3 | 50-75% |
| D4 | 75-100% |
If D1 is flashing (0.5Hz) while not being charged, the battery pack is at a critical low charge ( less than 3%).
Charging
✎Modified 2021-02-17 by tanij
The battery pack is charged via the Micro USB port with a 5V supply. While charging, one of the LEDs will be flashing (0.5Hz) indicating where in the charge cycle it is.
When the battery pack is connected to the charger, the output voltage of port A and B will turn off for around 280ms:

This is an unwanted effect which will cause the Raspberry Pi, if on, to reboot.
likewise, when disconnecting the charger, the outputs will turn OFF for 20ms causing the Raspberry Pi to reboot as well.
Furthermore, while the Duckiebattery supports pass-through (both outputs A and B will function while the Duckiebattery is being charged), during charge the output voltage of port A and B will drop around 300mV which might cause an under voltage warring of the Raspberry Pi. This will put the Raspberry Pi in a throttling mode limiting its performance.
Discharging
✎Modified 2019-04-27 by tanij
The output ports A and B have an unloaded output voltage around 5.1V. To turn the outputs on simply attach a load on port A/B (e.g., plug in to the Raspberry PI and duckieboard) or push the button.
The output ports will automatically turn off if less than 100mA is being drawn.
To turn the outputs back on simply push the button or reconnect the USB connector.
The combined output current is limited to 2.8A.
The battery capacity is 7.4Ah at 5V with an efficiency as follows:
| Load | Efficiency | Autonomy |
|---|---|---|
| 1 A | 91% | 6h 44m |
| 1.5 A | 88% | 4h 33m |
| 2 A | 85% | 3h 9m |
| 2.5 A | 79% | 2h 21m |